This page explains how to add users, get them set up with access, and manage them over time. It is written for internal team members and customer administrators.
If you are new to how a solution is structured, read the administrative area overview first. This page assumes the Teams your users will belong to already exist. If they do not, set those up first using the Teams guide.
A user is an individual person who logs in to Eversource, identified by their own email address and password.
A user's access does not come from the user record itself. It comes from the Teams they belong to. This means a user must be assigned to at least one Team to be active. Until they are on a Team, they cannot access the site.
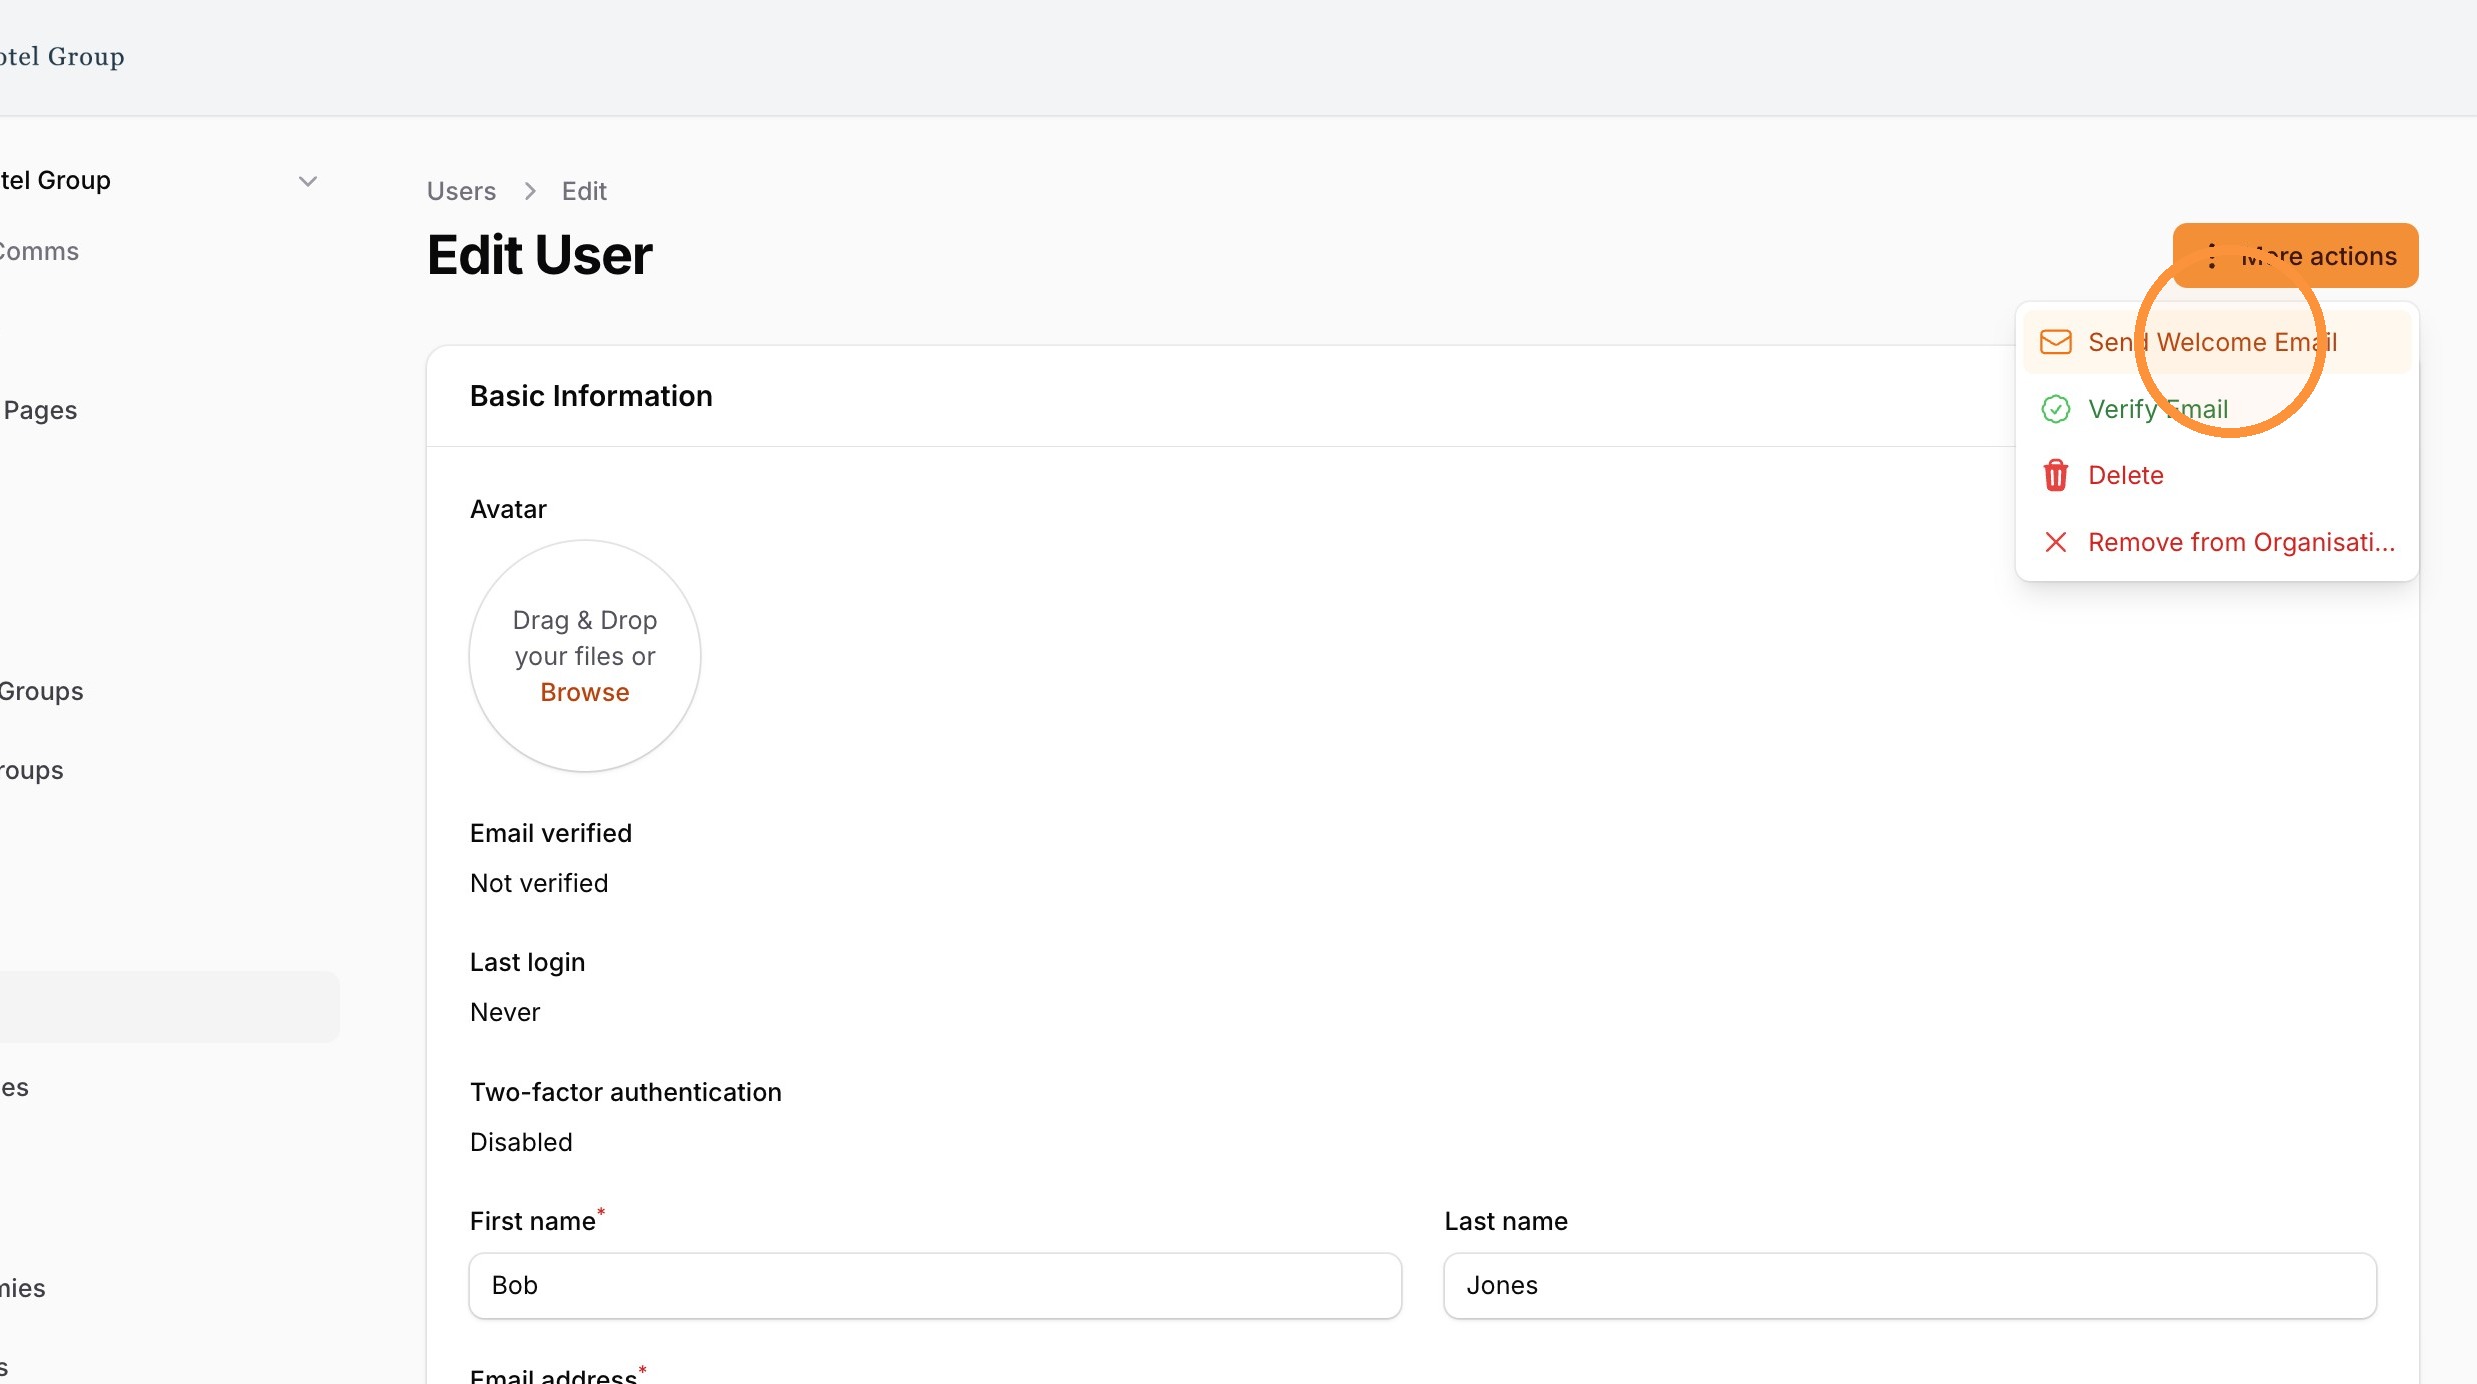
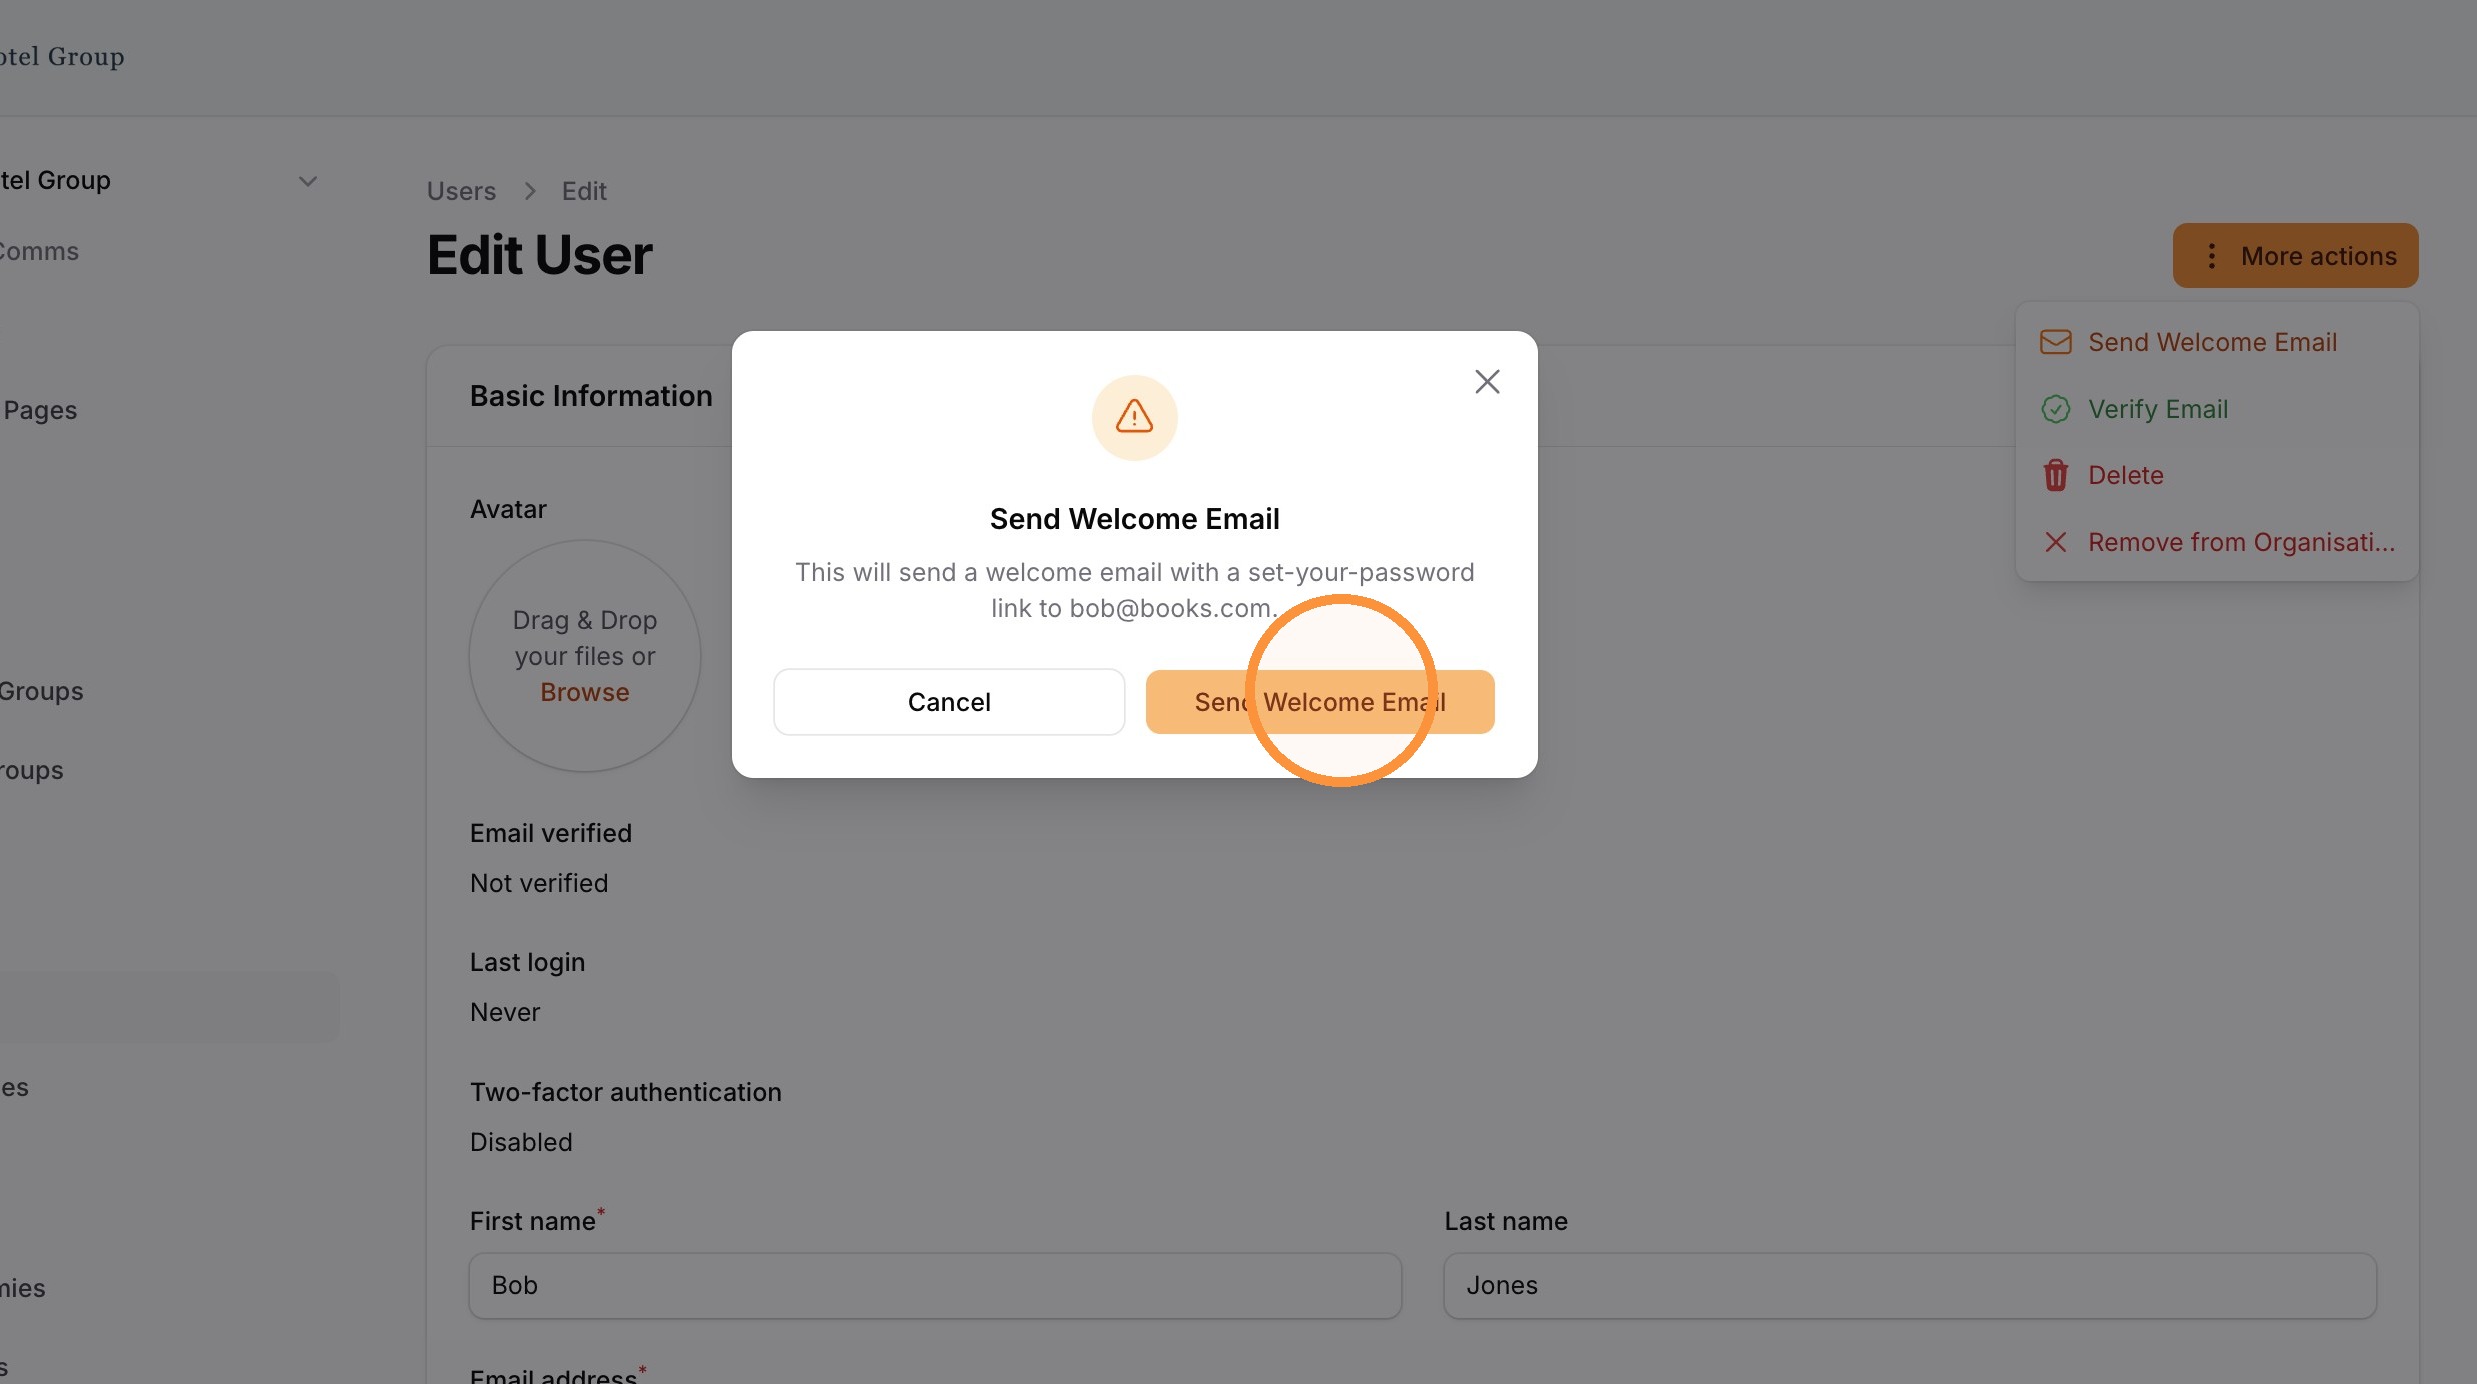
After the user is created, send them a welcome email. The welcome email does two things: it verifies their email address, and it lets them set their password for the first time.
Until the user completes this, they will not be able to log in, so it is worth confirming they have received it and finished setting up.
Once a user has been created, you can view their specific permissions. Because permissions come from the Teams a user belongs to, this view is a useful way to confirm a new user has ended up with the access you expected, and to check what someone can do if you are unsure.
If the permissions are not what you expected, adjust the Teams the user belongs to rather than the user record itself.
Two-factor authentication (2FA) adds a second check at login on top of the password. It should be set up for administrator users, since their accounts can change how the whole solution is configured.
Make enabling 2FA a standard part of setting up anyone with administrative access. [CONFIRM: how 2FA is enabled and whether it can be enforced for a Team or role]
Resetting a password. From More actions on a user, you can send a reset password email. The user then resets their own password from that email. Use this when someone is locked out or has forgotten their password, rather than sharing a password yourself.
Changing access. A user's access is the combined access of all their Teams. To change what someone can do, add them to or remove them from Teams rather than editing the user directly. Remember that a user must always belong to at least one Team to stay active.
Adding to more Teams. If someone takes on extra responsibilities, add them to the Team that covers those responsibilities rather than widening an existing Team for everyone.
Removing access. [CONFIRM: whether a user can be deactivated or removed, and what happens to their record and history]
Learn the process for adding a new user to your organization and managing their account settings. This guide also covers how to finalize the onboarding process by sending a welcome email to the newly created user.
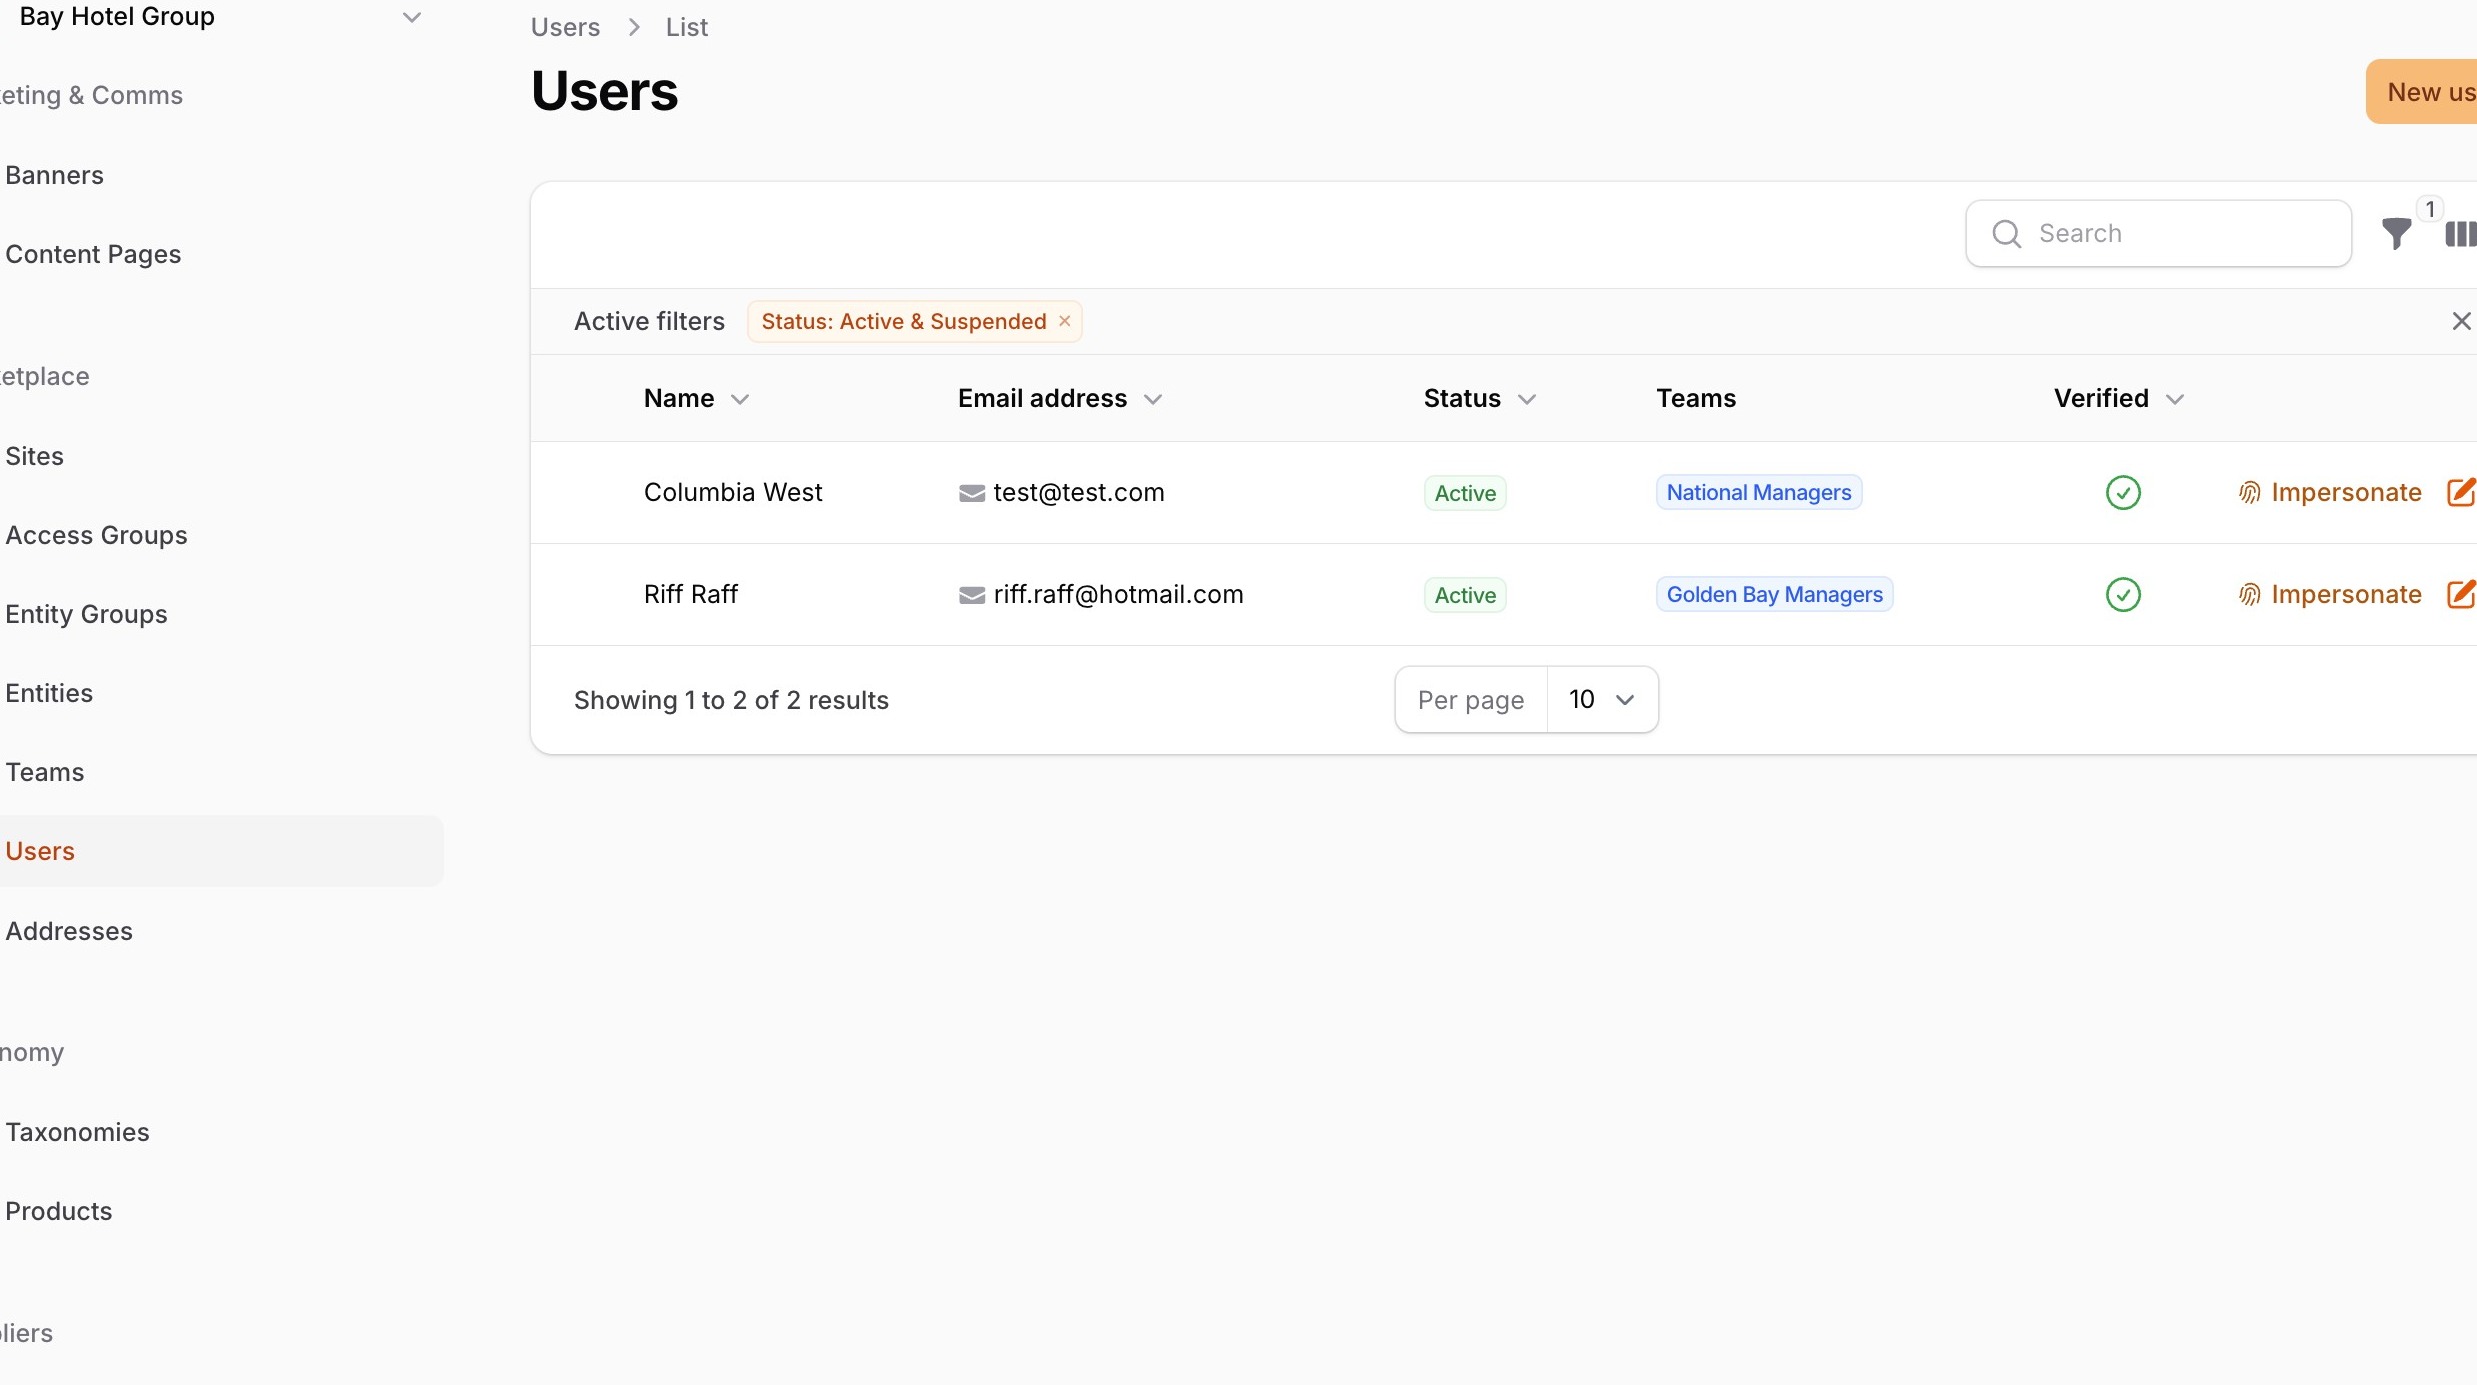
1. Navigate to Users
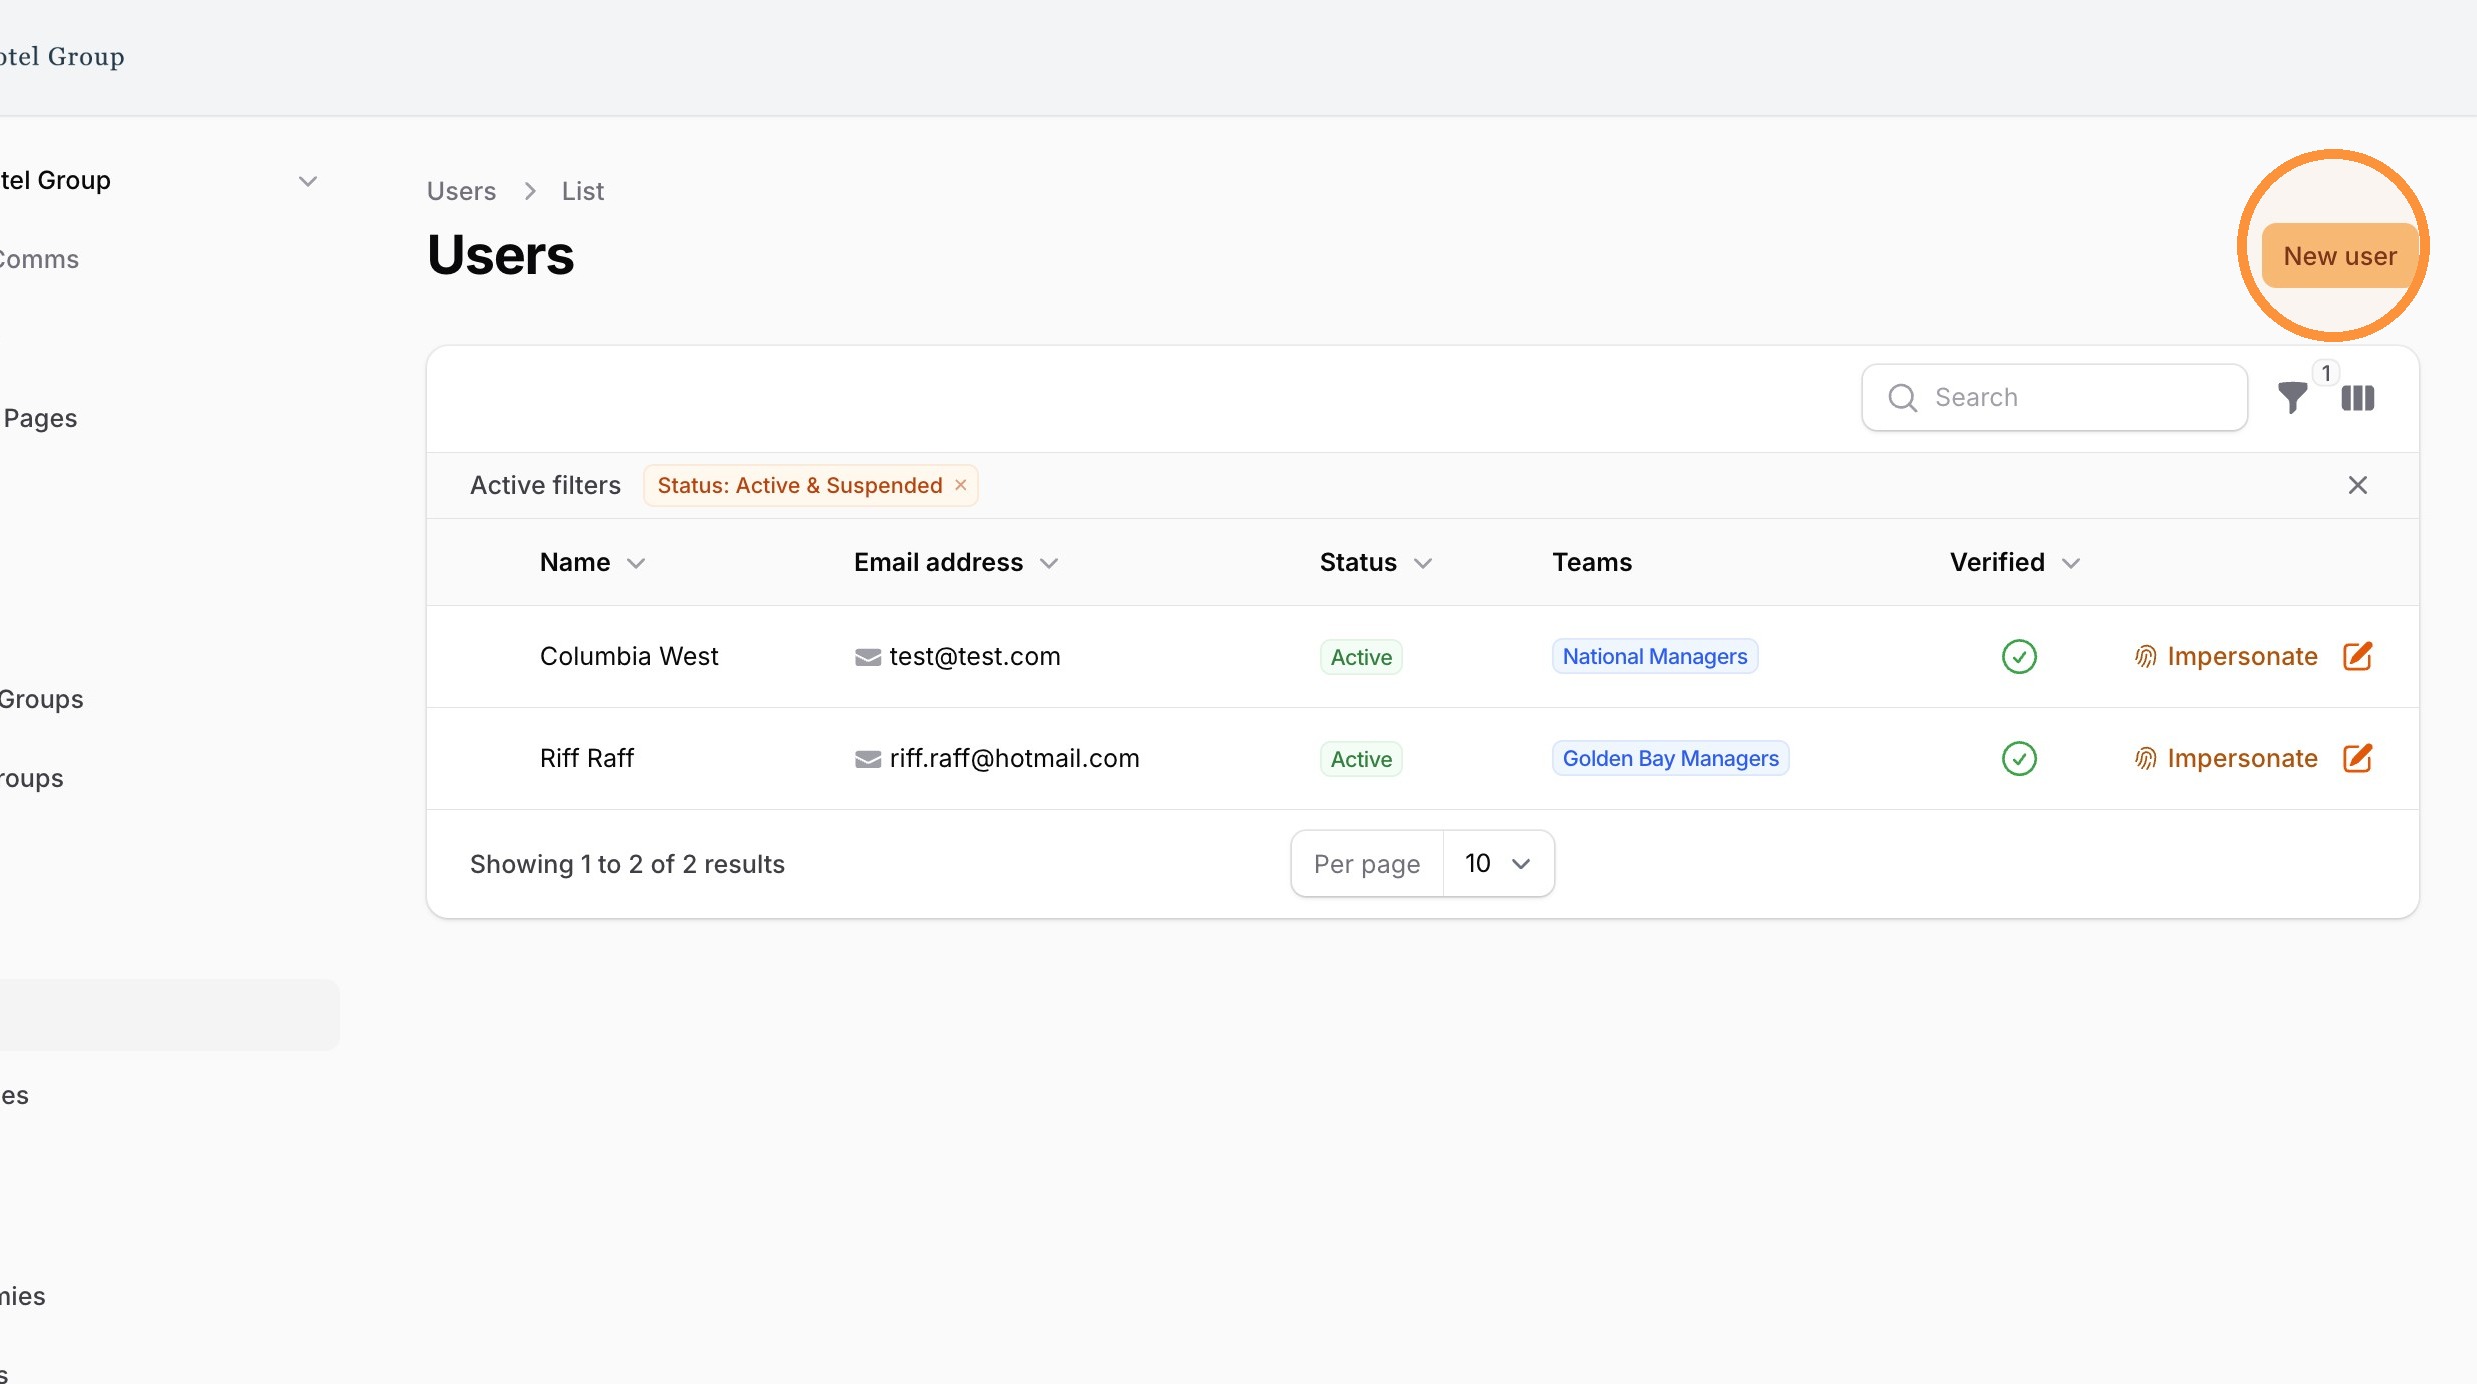
2. Click "New user"
3. Enter the new user's first name, last name, and email address.
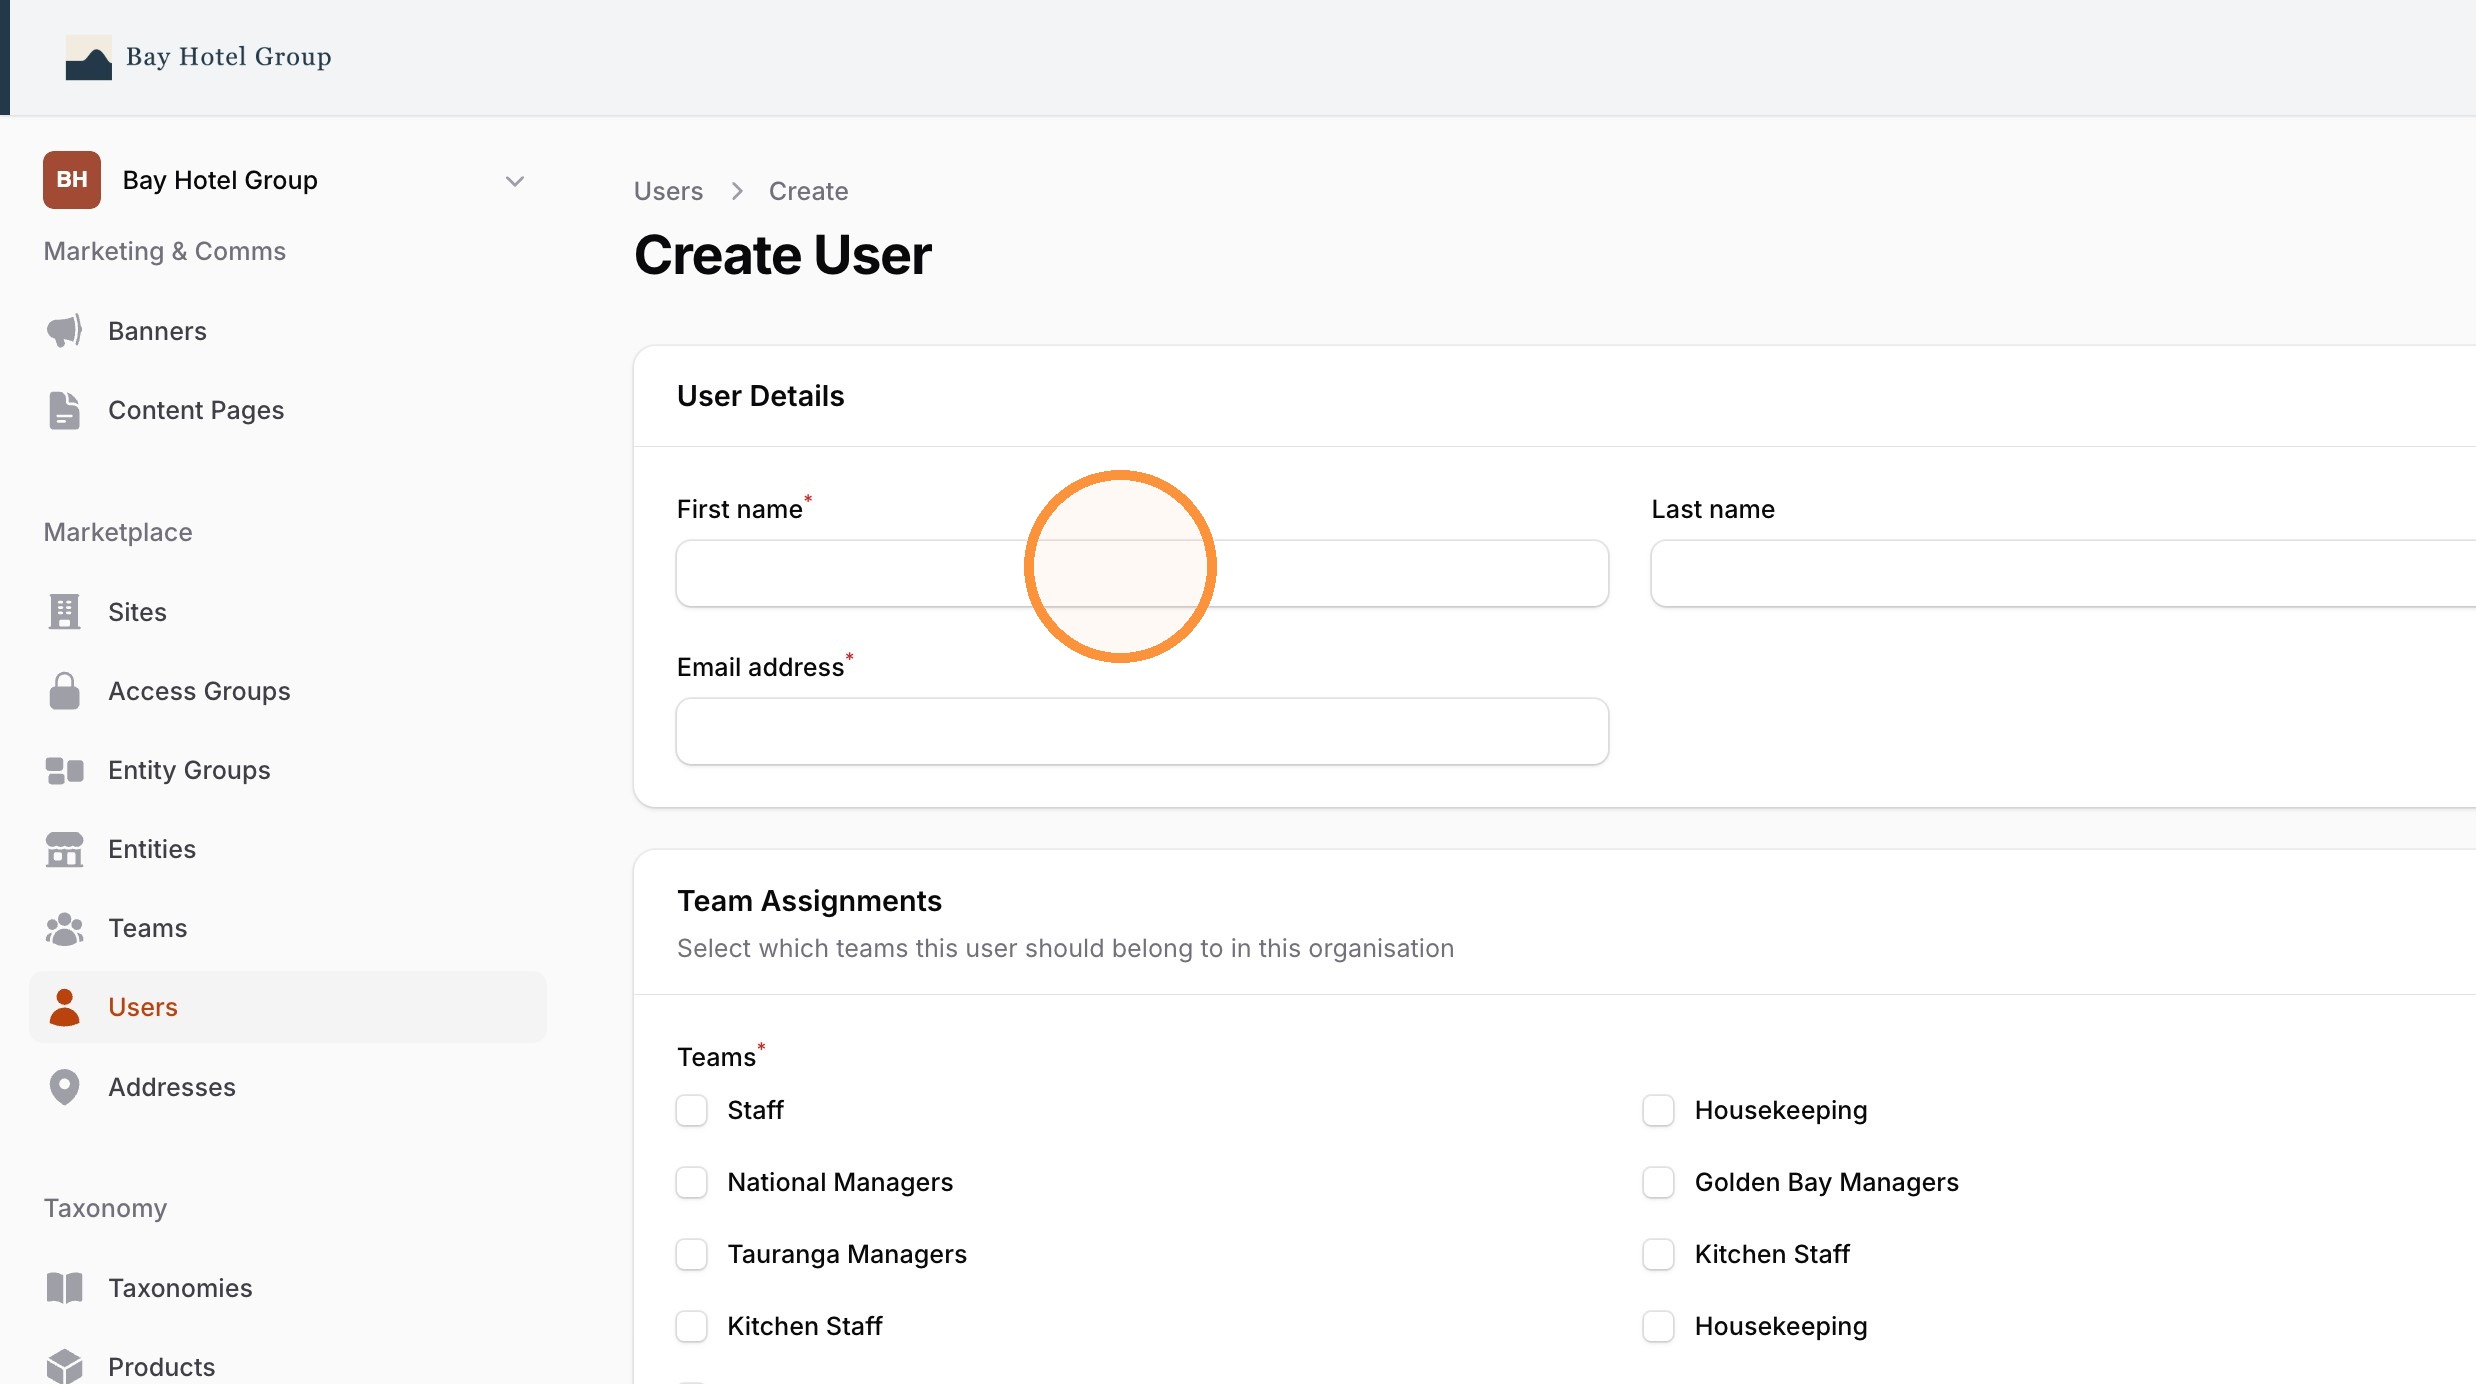
4. Assign the user to the 'Tauranga Managers' team.
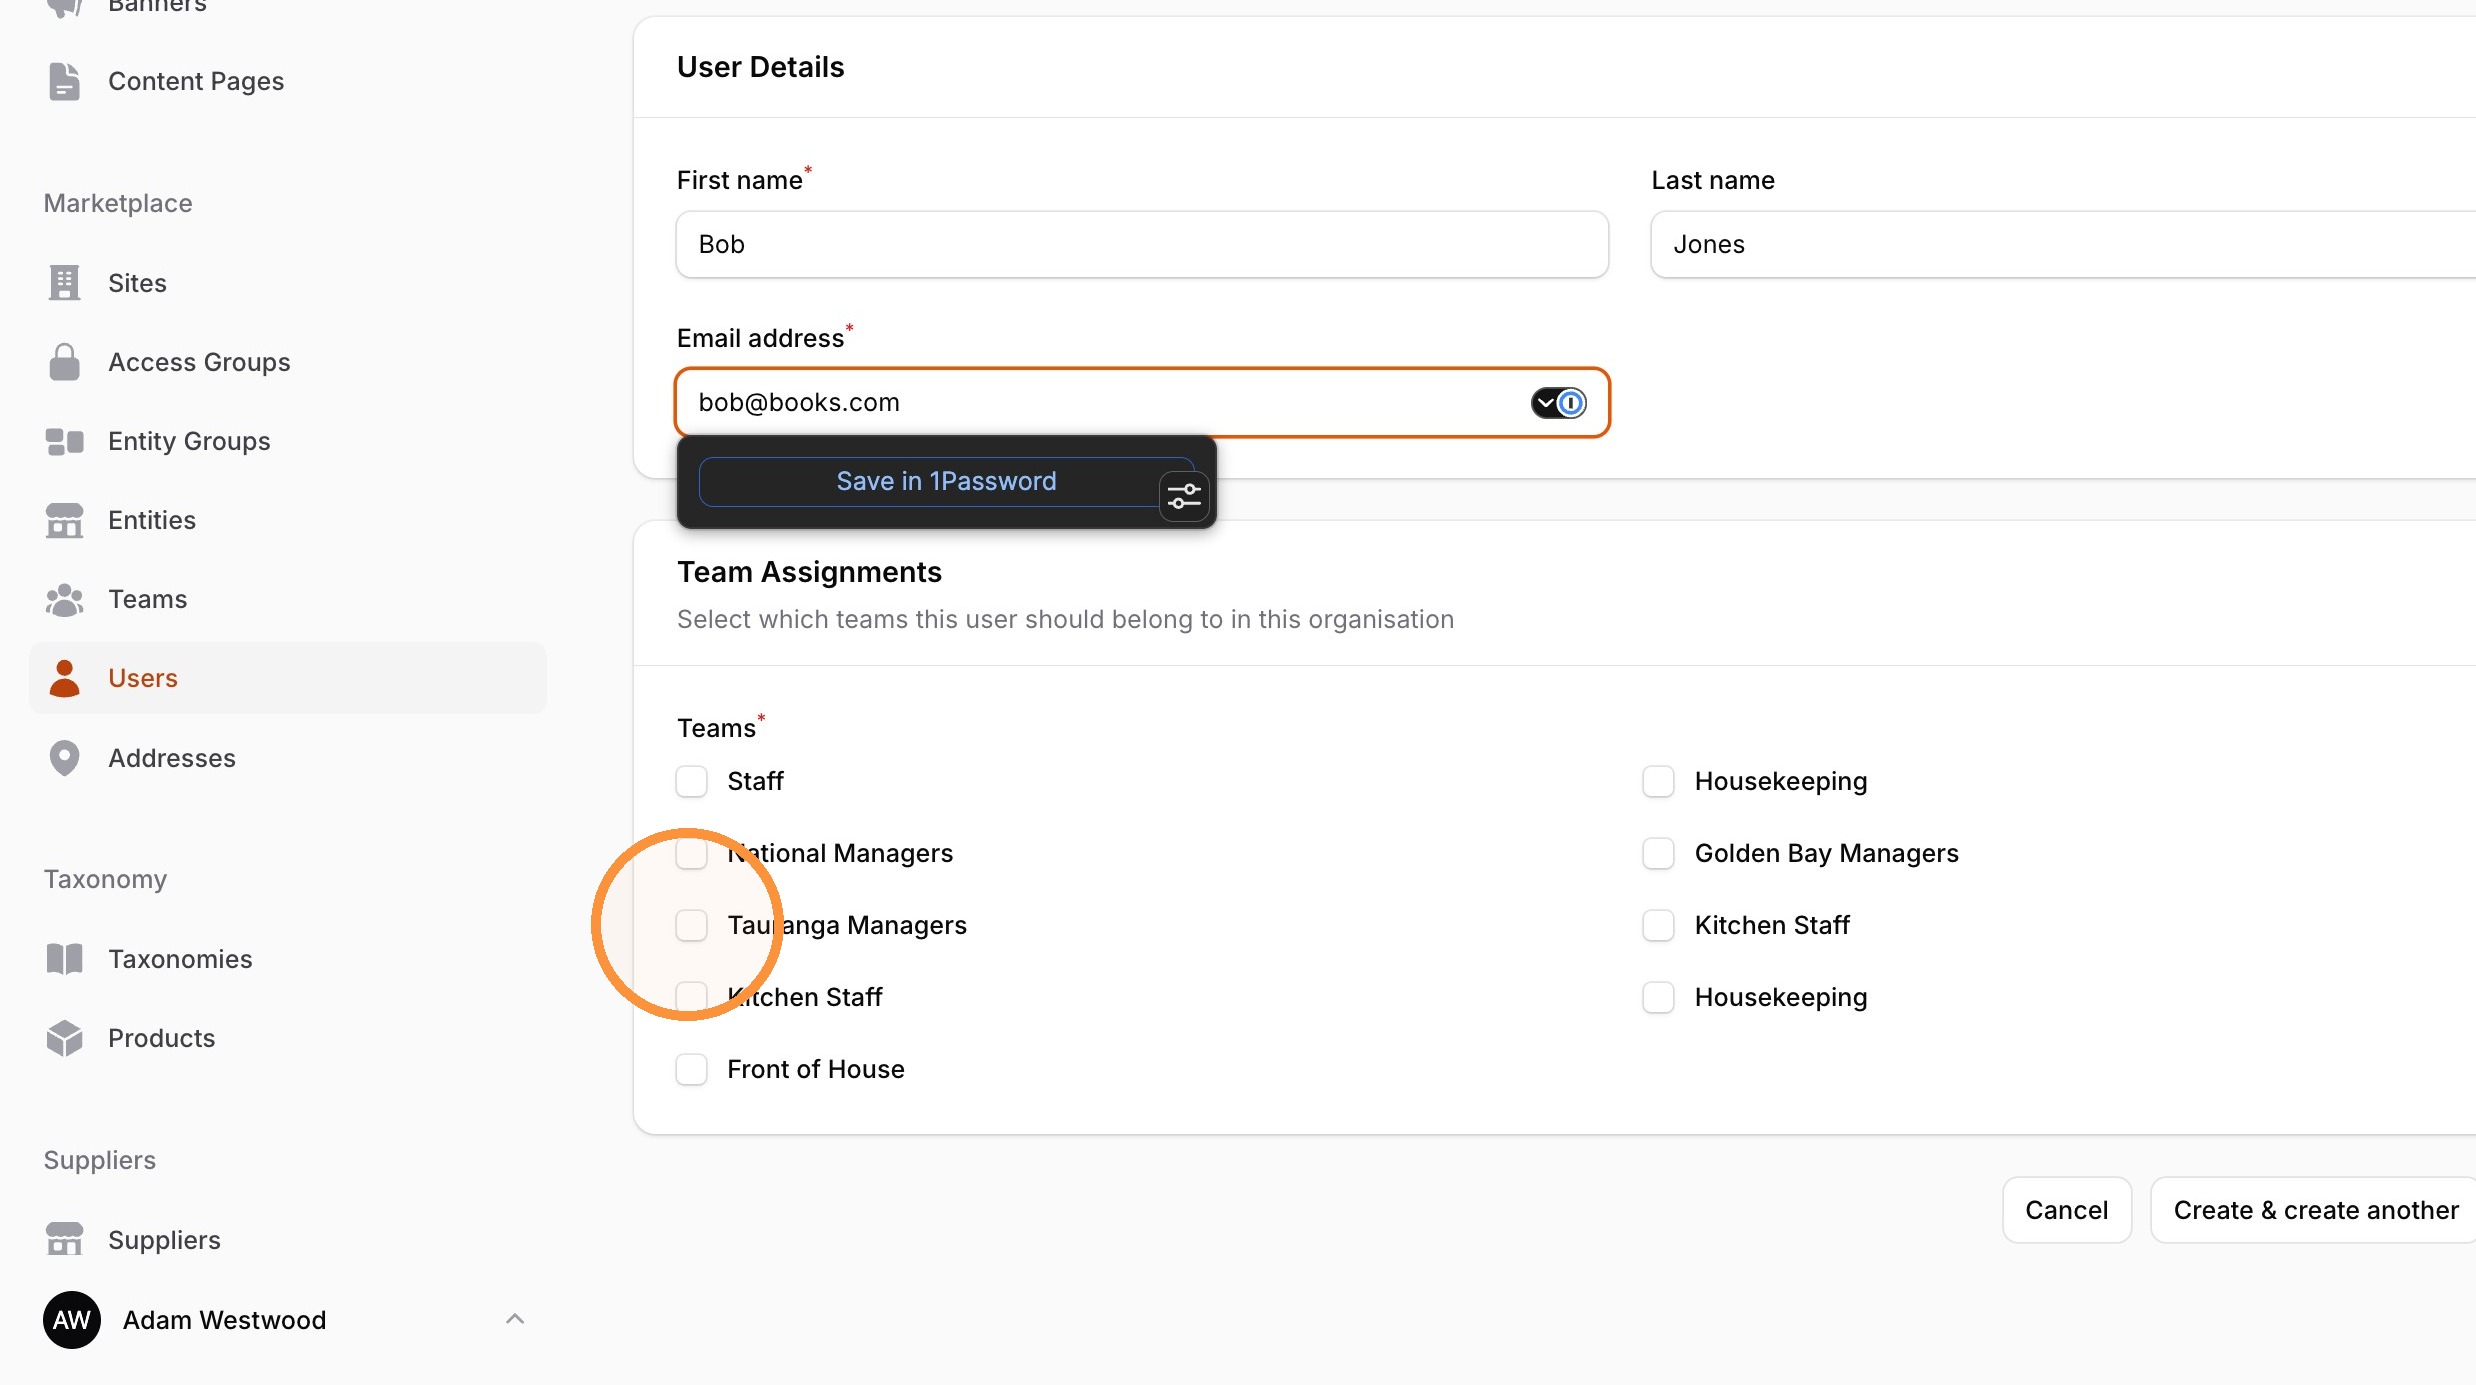
5. Click "Create"
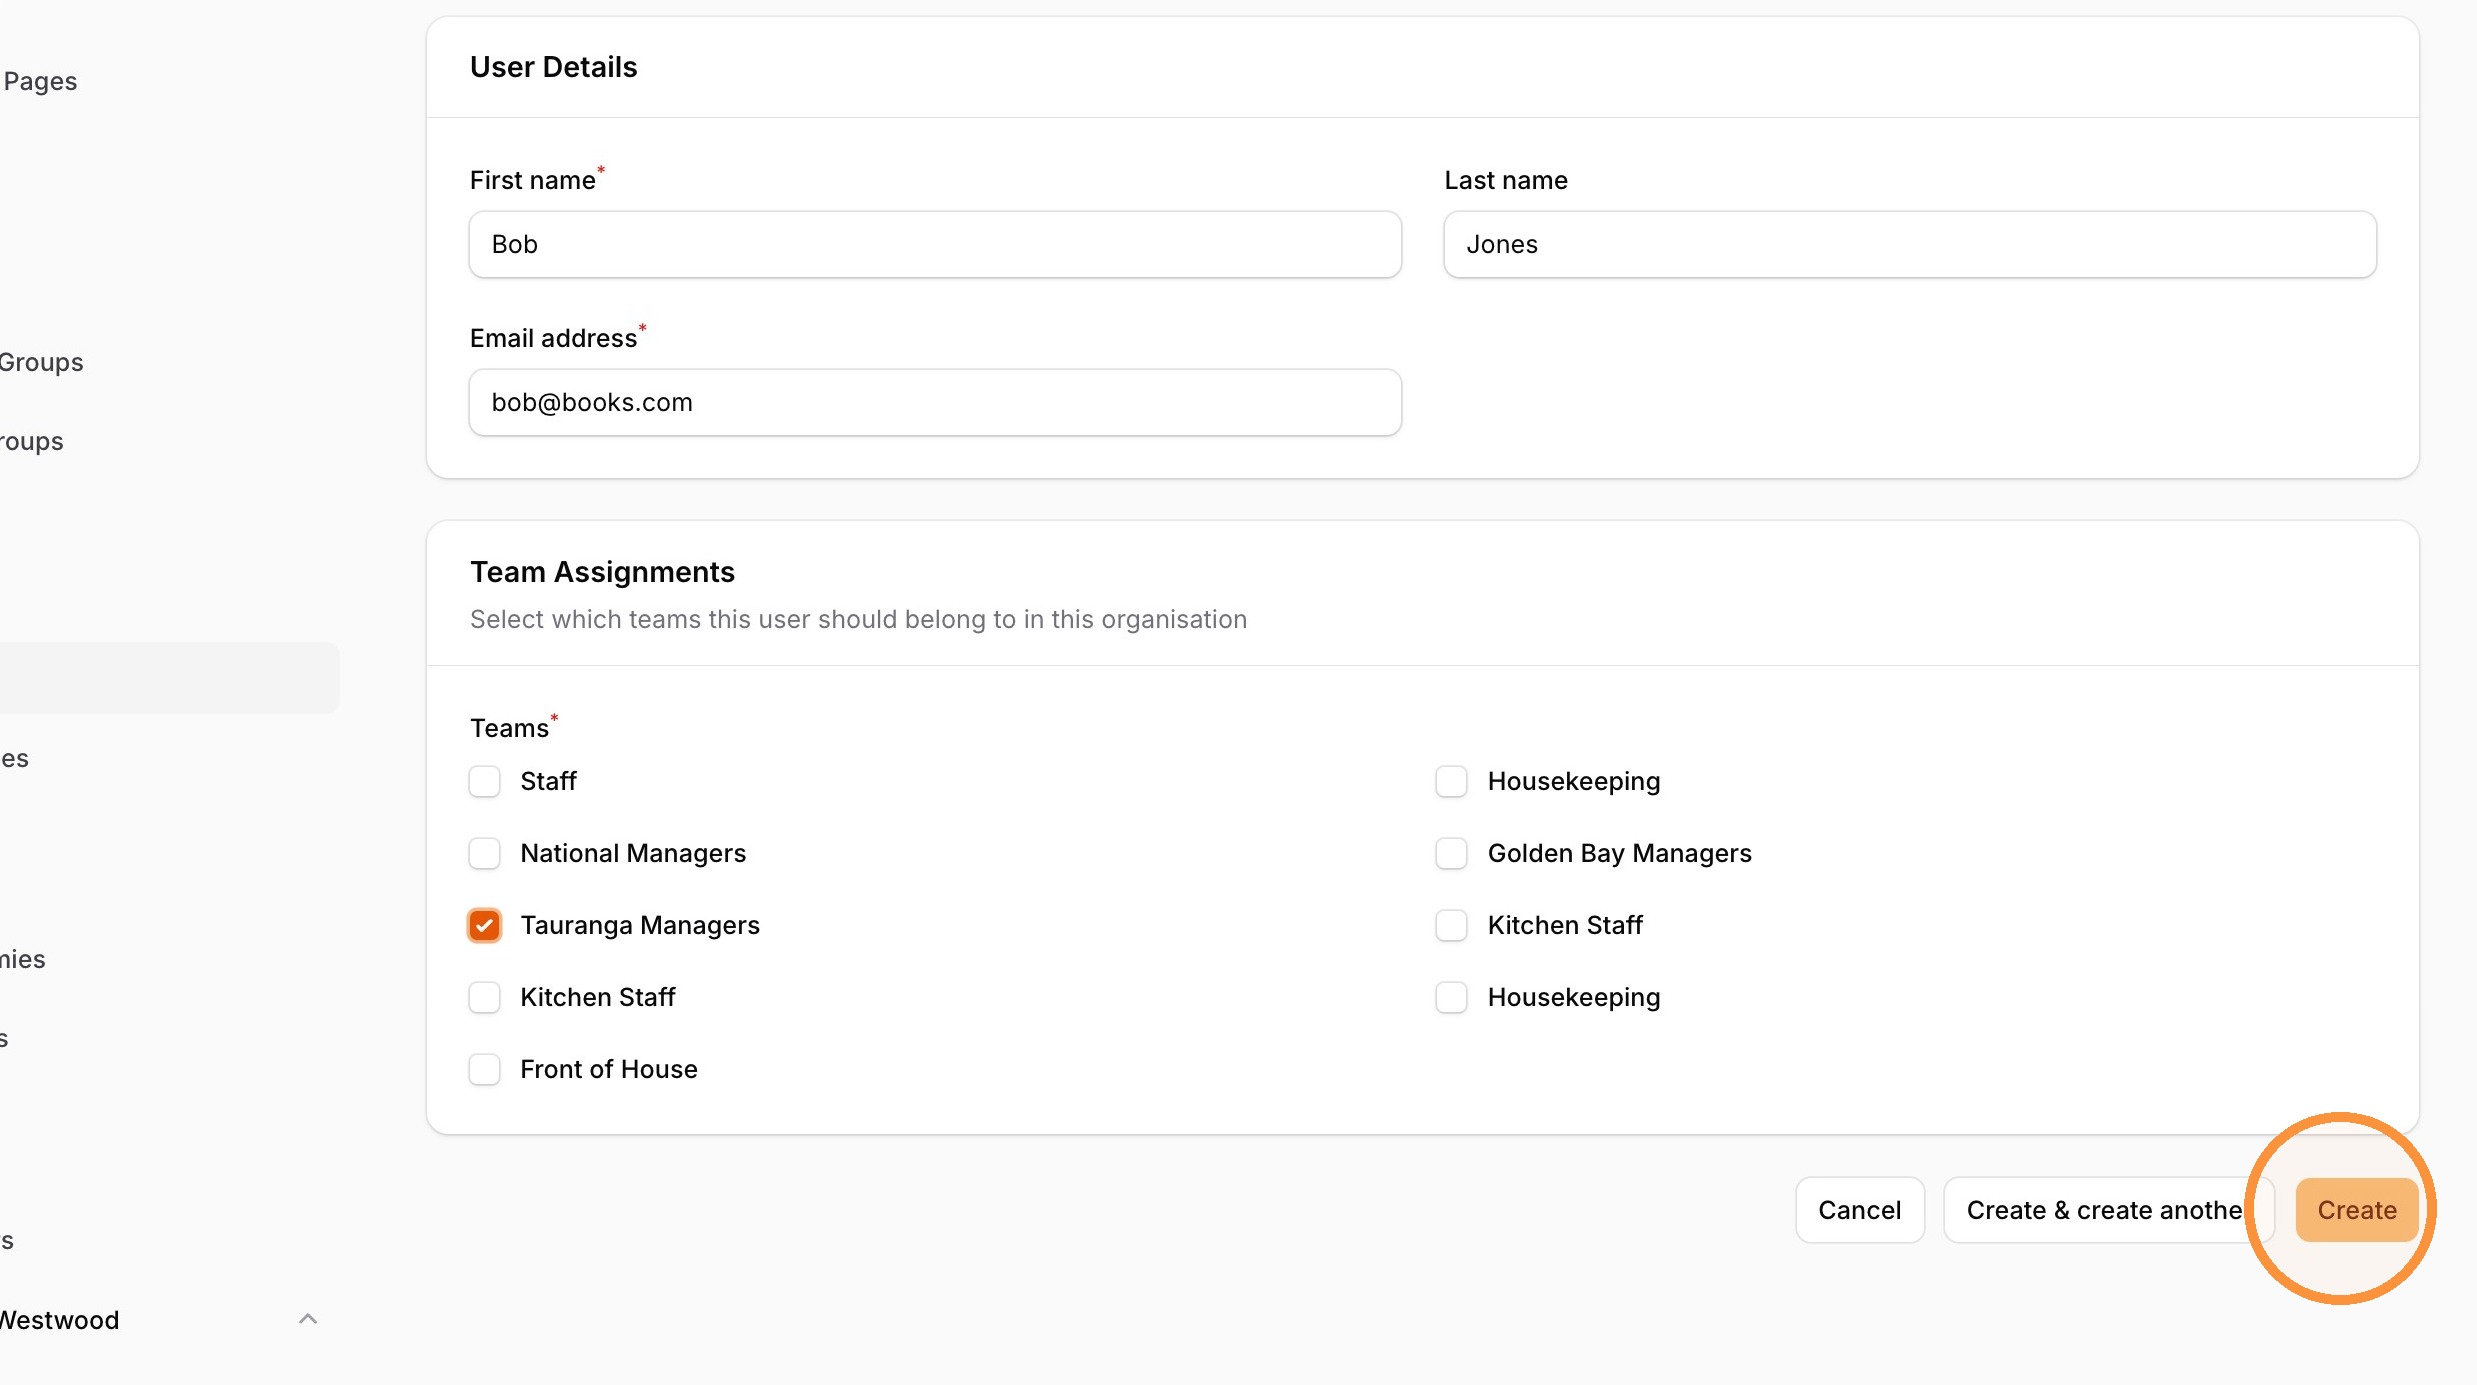
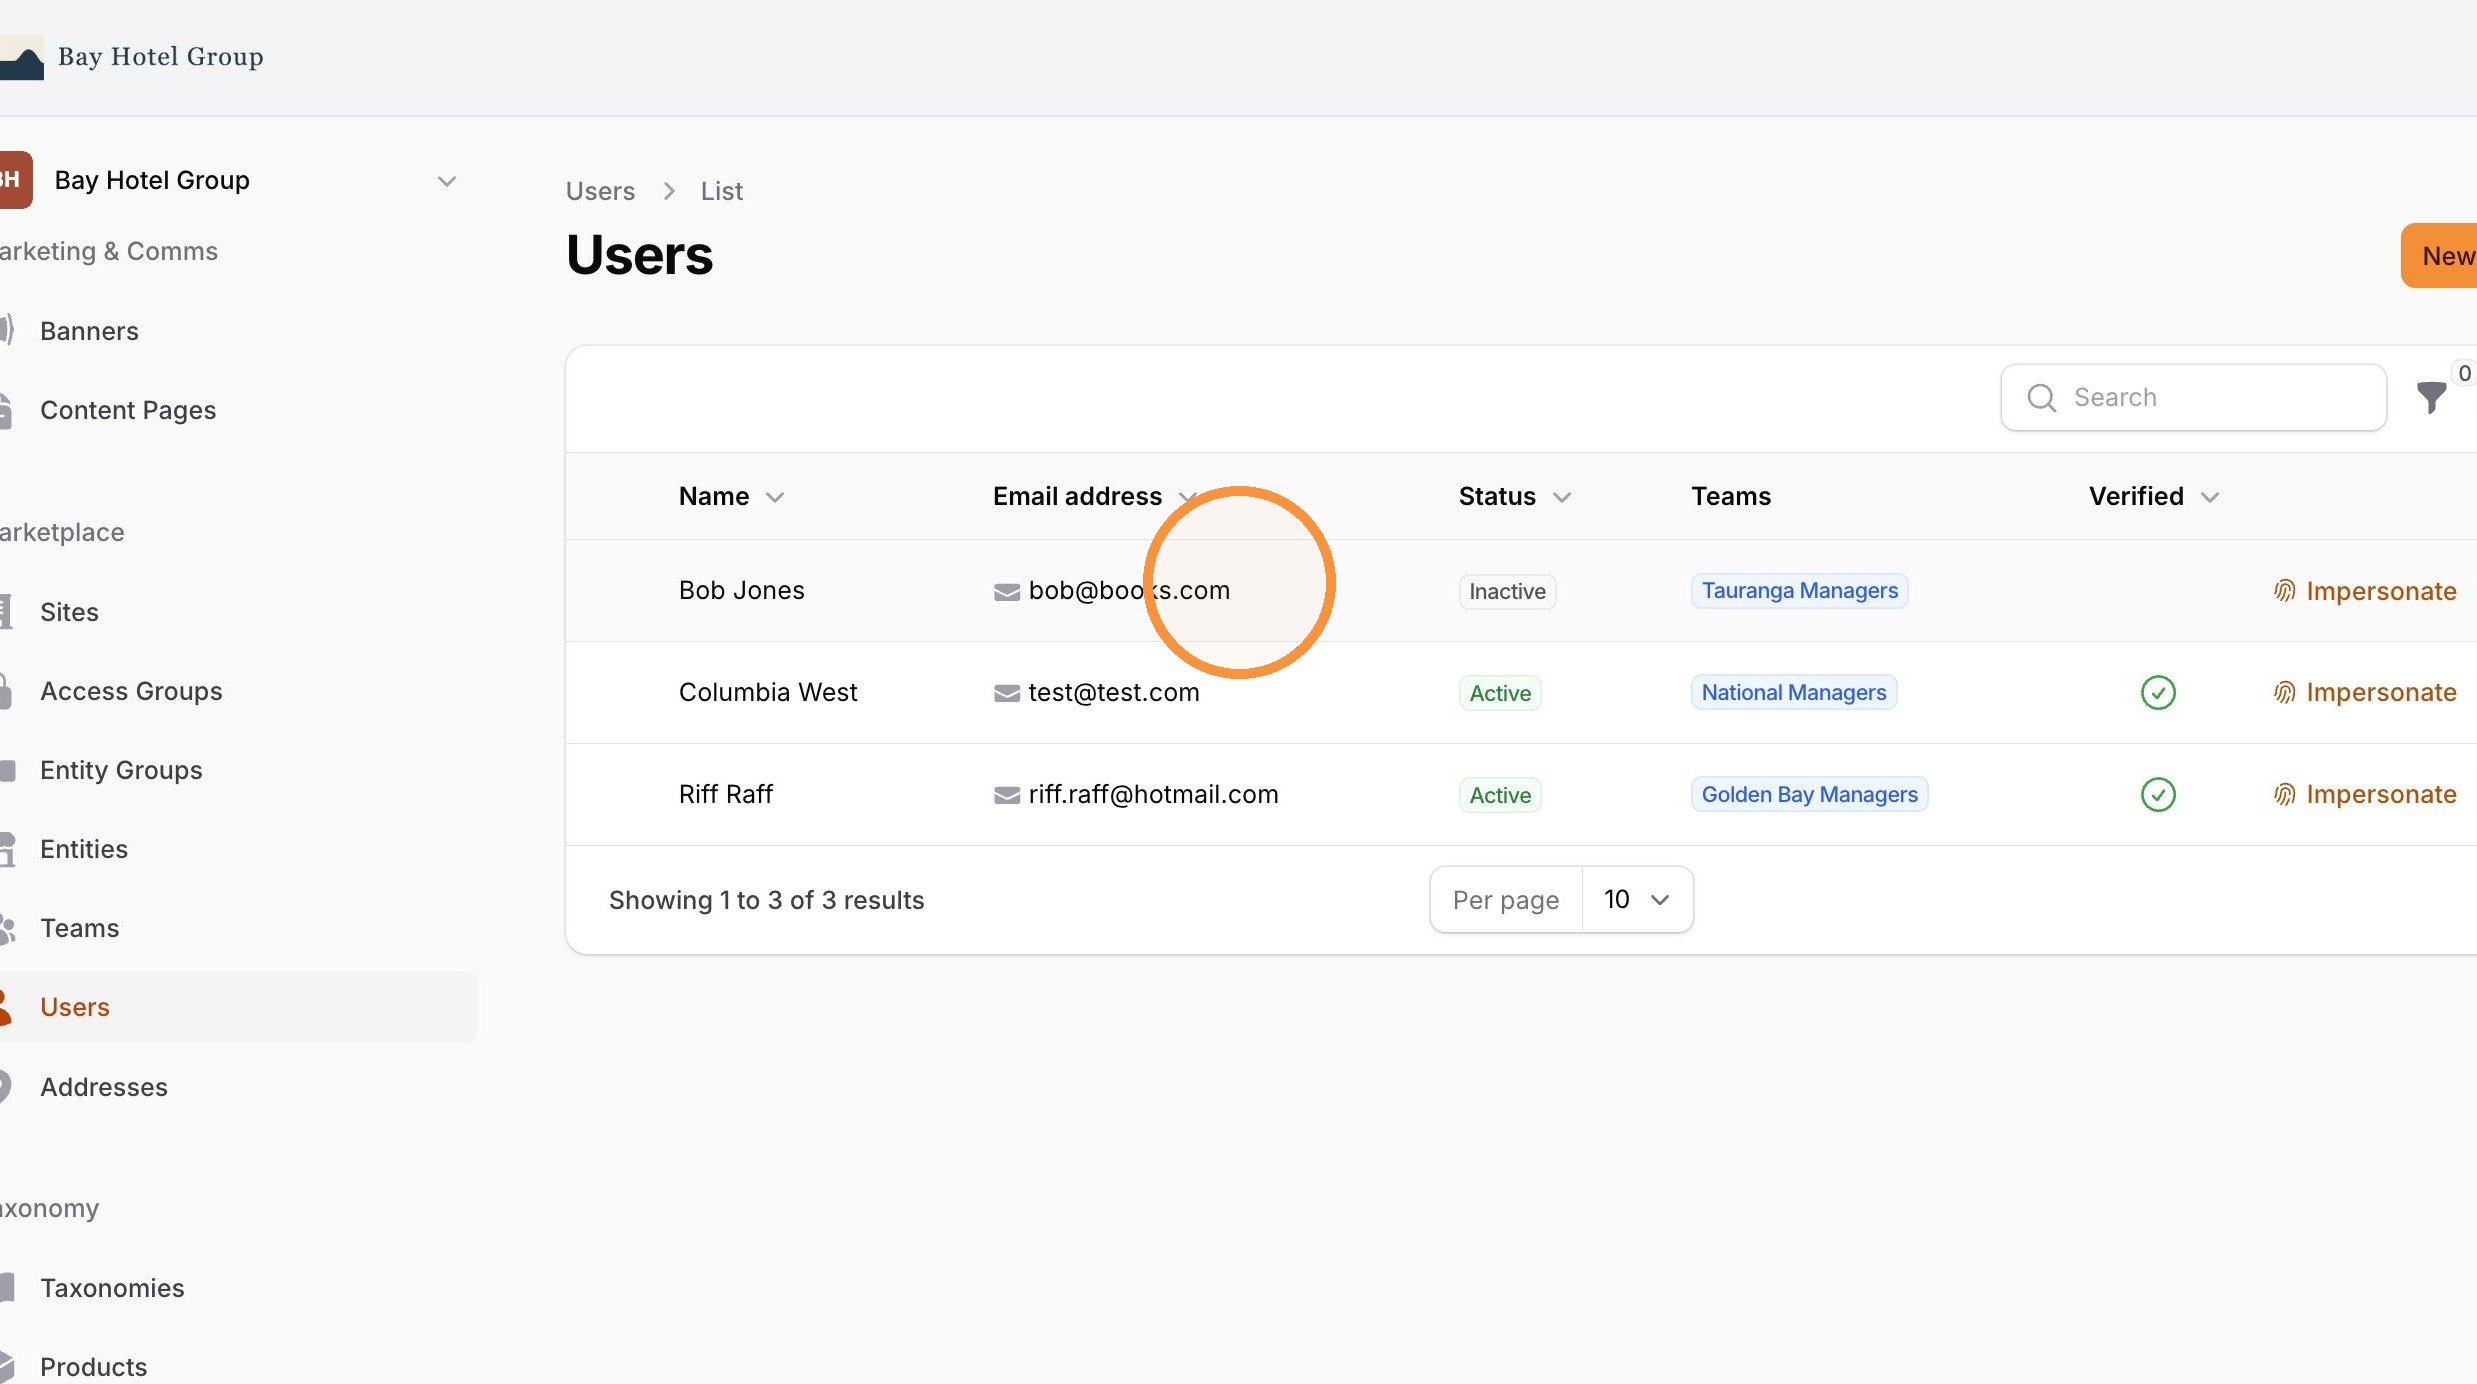
6. Find the newly created user in the list. (Filters for suspended and deactivated might need to be removed).
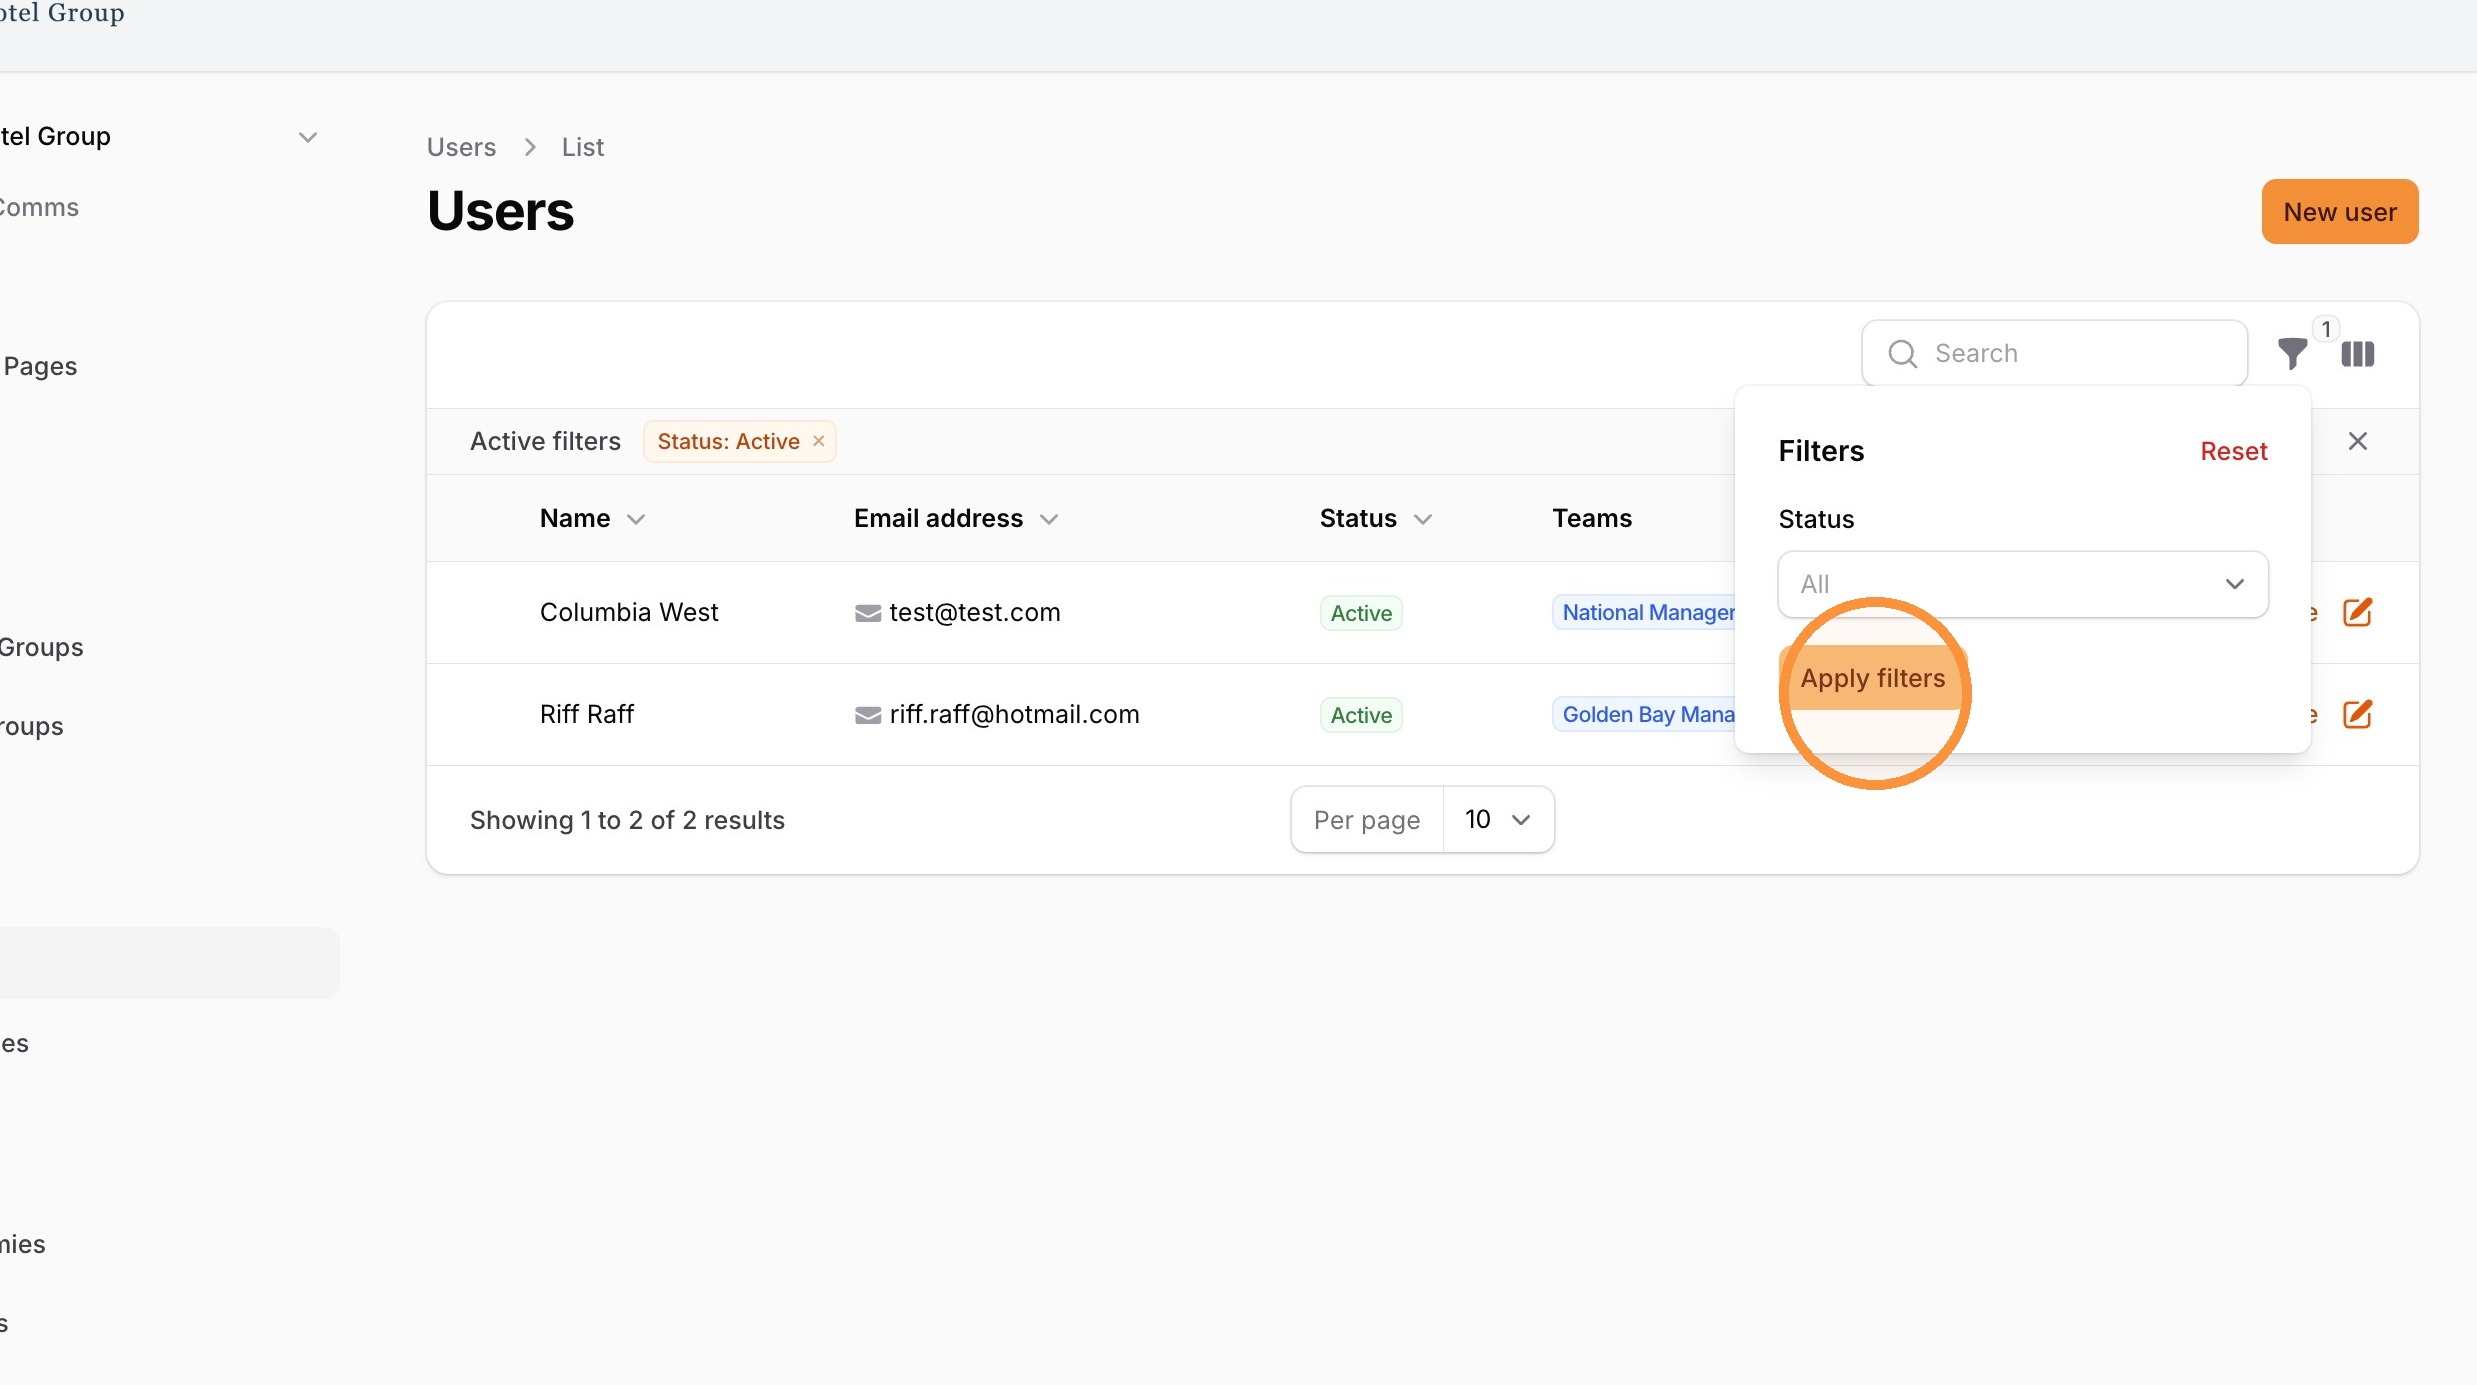
7. Select the user from the list to open their profile.
8. Click the 'More actions' button.
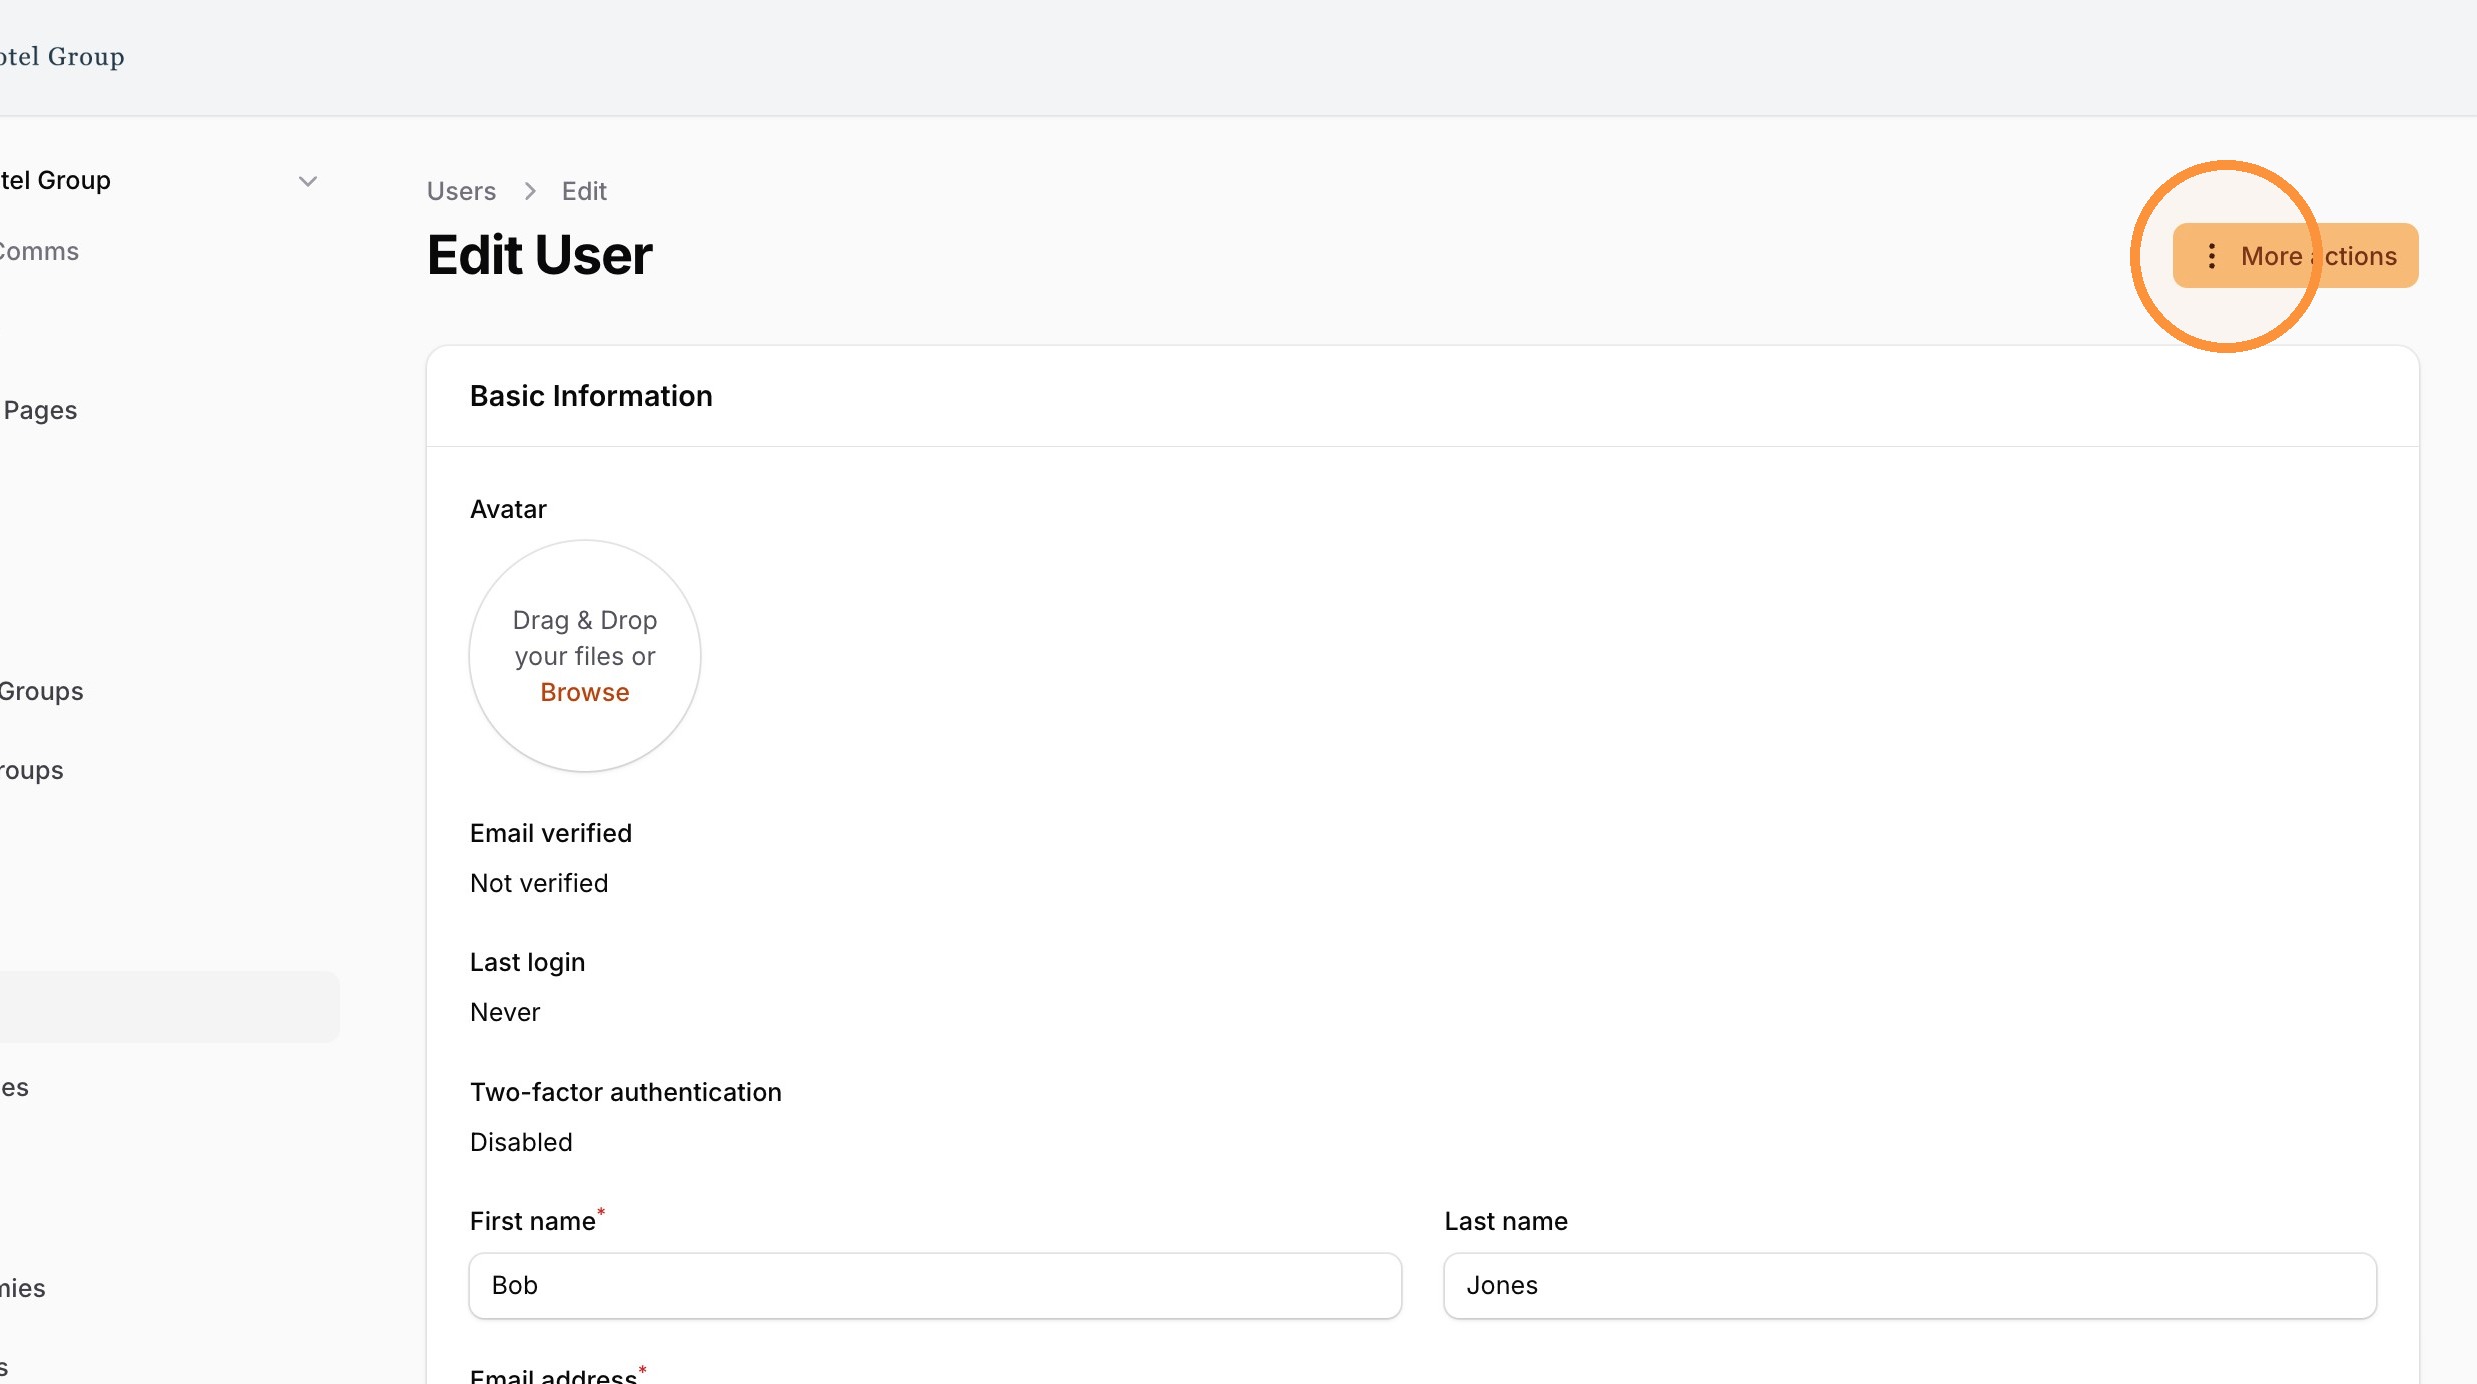
9. Select 'Send Welcome Email' and confirm the action in the pop-up.