This page explains what a Team is, how to plan your Teams, and how to create and configure them. It is written for internal team members and customer administrators.
If you are new to how a solution is structured, read the administrative area overview first. This page assumes you understand Entities, since Teams are what connect your users to those Entities.
A note on this guide: some behaviour described here is based on how Eversource is typically set up. Anything that depends on your specific configuration is worth confirming with your Customer Success Lead.
A Team is a group of users, and it is where access and permissions are defined. Users are not given access to the platform directly. Instead, a user is added to one or more Teams, and each Team carries the access and permissions its members receive.
Every Team is configured with four things:
Entity access. The Entities (or Entity Groups) the Team can work within. A Team can be given access to Entities across more than one Site.
Permissions. Which Eversource features the Team can use, for example placing orders, reviewing invoices, or managing approvals. And the specific actions and permissions the Team's members hold, from placing an order through to full site administration.
Approval Rules. What the Team must approve, and the limits that trigger an approval, across Orders, Invoices and other processes.
Because access lives on the Team rather than the user, adding someone to a Team is how you grant access, and removing them is how you take it away. This also allows for easy management of a group of users' permissions..
A user must belong to at least one Team to be active in Eversource. Until they are on a Team, they cannot do anything.
Users can belong to more than one Team. This is how you handle people who wear several hats: rather than building a special Team for one person, add them to each Team that matches what they do. Their access is the combined access of all their Teams.
Keep this in mind when planning. It is usually better to have a small number of clear, reusable Teams and let people join more than one, than to create many overlapping Teams.
Teams are arranged in a hierarchy. Each Team, apart from the top of the tree, has a Parent Team.
The hierarchy exists mainly to drive approvals. When something needs approval, it travels up the hierarchy from one Parent Team to the next until the Approval Rules along the way are satisfied. A Team's position in the hierarchy therefore decides where its approvals go.
Because of this, plan the hierarchy to match how sign off actually works in the business. If a location's orders should be approved by that location's management, the location Teams should sit beneath a management Team. Getting this shape right is what makes approvals route sensibly, so it is worth mapping before you build. For the full detail on limits, escalation and the Approvals tab, see the Approval workflows guide.
Team Roles define what the Team's members can do inside Eversource. A Team can hold more than one role, and every user in the Team receives that Team's roles.
Roles range from single actions to broad access, for example:
Place Order
Manage Orders
Invoice Reviewer
Site administrator (full administrative access)
And many others
Assign roles to the Team based on the job that Team does, then add people to the Team. If someone needs a permission their Team does not have, the cleaner fix is usually to add them to a Team that does, rather than widening an existing Team's roles for everyone.
Each Team is also configured with Approval Rules. These decide what needs approval and when, across Orders, Invoices and other Eversource processes. A common example is an order value above a set limit, which triggers an approval before the order can proceed.
Approval Rules work together with the hierarchy. The rules decide what needs approving; the hierarchy decides who it goes to. Set your Entities, roles and hierarchy first, then configure Approval Rules once the shape of your Teams is settled. The Approval workflows guide covers the rules in depth.
Each Team has a Team Leader. The Team Leader is the Team's default approver: when an Approval Rule sends a request to the Team, it goes to the Team Leader first.
Approval is not limited to the leader. When the approver on a rule is set to a Team, rather than to one named person, any member of that Team can also approve the request. The leader is the default, but others in the Team can step in. This is what keeps approvals moving when the leader is away.
This works together with the hierarchy. As a request escalates up the hierarchy, it reaches each Parent Team in turn and lands with that Team's Leader by default, while other members of that Team can also action it.
When a new Site is created, it starts with a default Staff Team and Admin Team. These give you a working starting point: a general Team for everyday users and an administrative Team for setup and management. You can build your structure out from these rather than starting from nothing.
As with Entities, decide your structure before you create Teams. Work through these questions:
What Teams do you need, and what is each one responsible for? Model Teams on function, not on individual people.
What does each Team need access to (which Entities or Entity Groups), which features, and which roles?
What does the hierarchy look like? Map the Parent Team relationships so they mirror your approval chain.
Where do approvals need to happen, and at what limits?
Can you reuse the same set of Teams across locations? A consistent pattern, for example the same four Teams at every location, is far easier to manage and understand at scale.
What naming convention will you use, so Teams are easy to find and sort?
A worked example: Bay Hotel Group gives each location an Admin Team, a Kitchen Team, a Front of House Team and a Management Team. The Kitchen, Front of House and Admin Teams sit beneath the Management Team, so orders that exceed a limit escalate to management for approval. The same four Teams are used at every location, which keeps the whole structure predictable.
Building a Team in this order avoids steps that depend on something not yet in place:
Confirm the Entities and Entity Groups the Team will use already exist.
Create the Team and set its Parent Team.
Grant the Team access to its Entities or Entity Groups.
Enable the features the Team needs.
Assign the Team's roles.
Configure the Team's Approval Rules.
Add users to the Team.
Keep Teams as simple as possible. Simple Teams are easier to understand, audit and change later.
Model Teams on function and responsibility, not on individuals.
Reuse a consistent set of Teams across locations.
Grant Entity access through Entity Groups rather than long lists of individual Entities.
Handle people with multiple responsibilities by adding them to several Teams, not by creating bespoke Teams.
Keep the hierarchy shallow and shaped like your real approval chain.
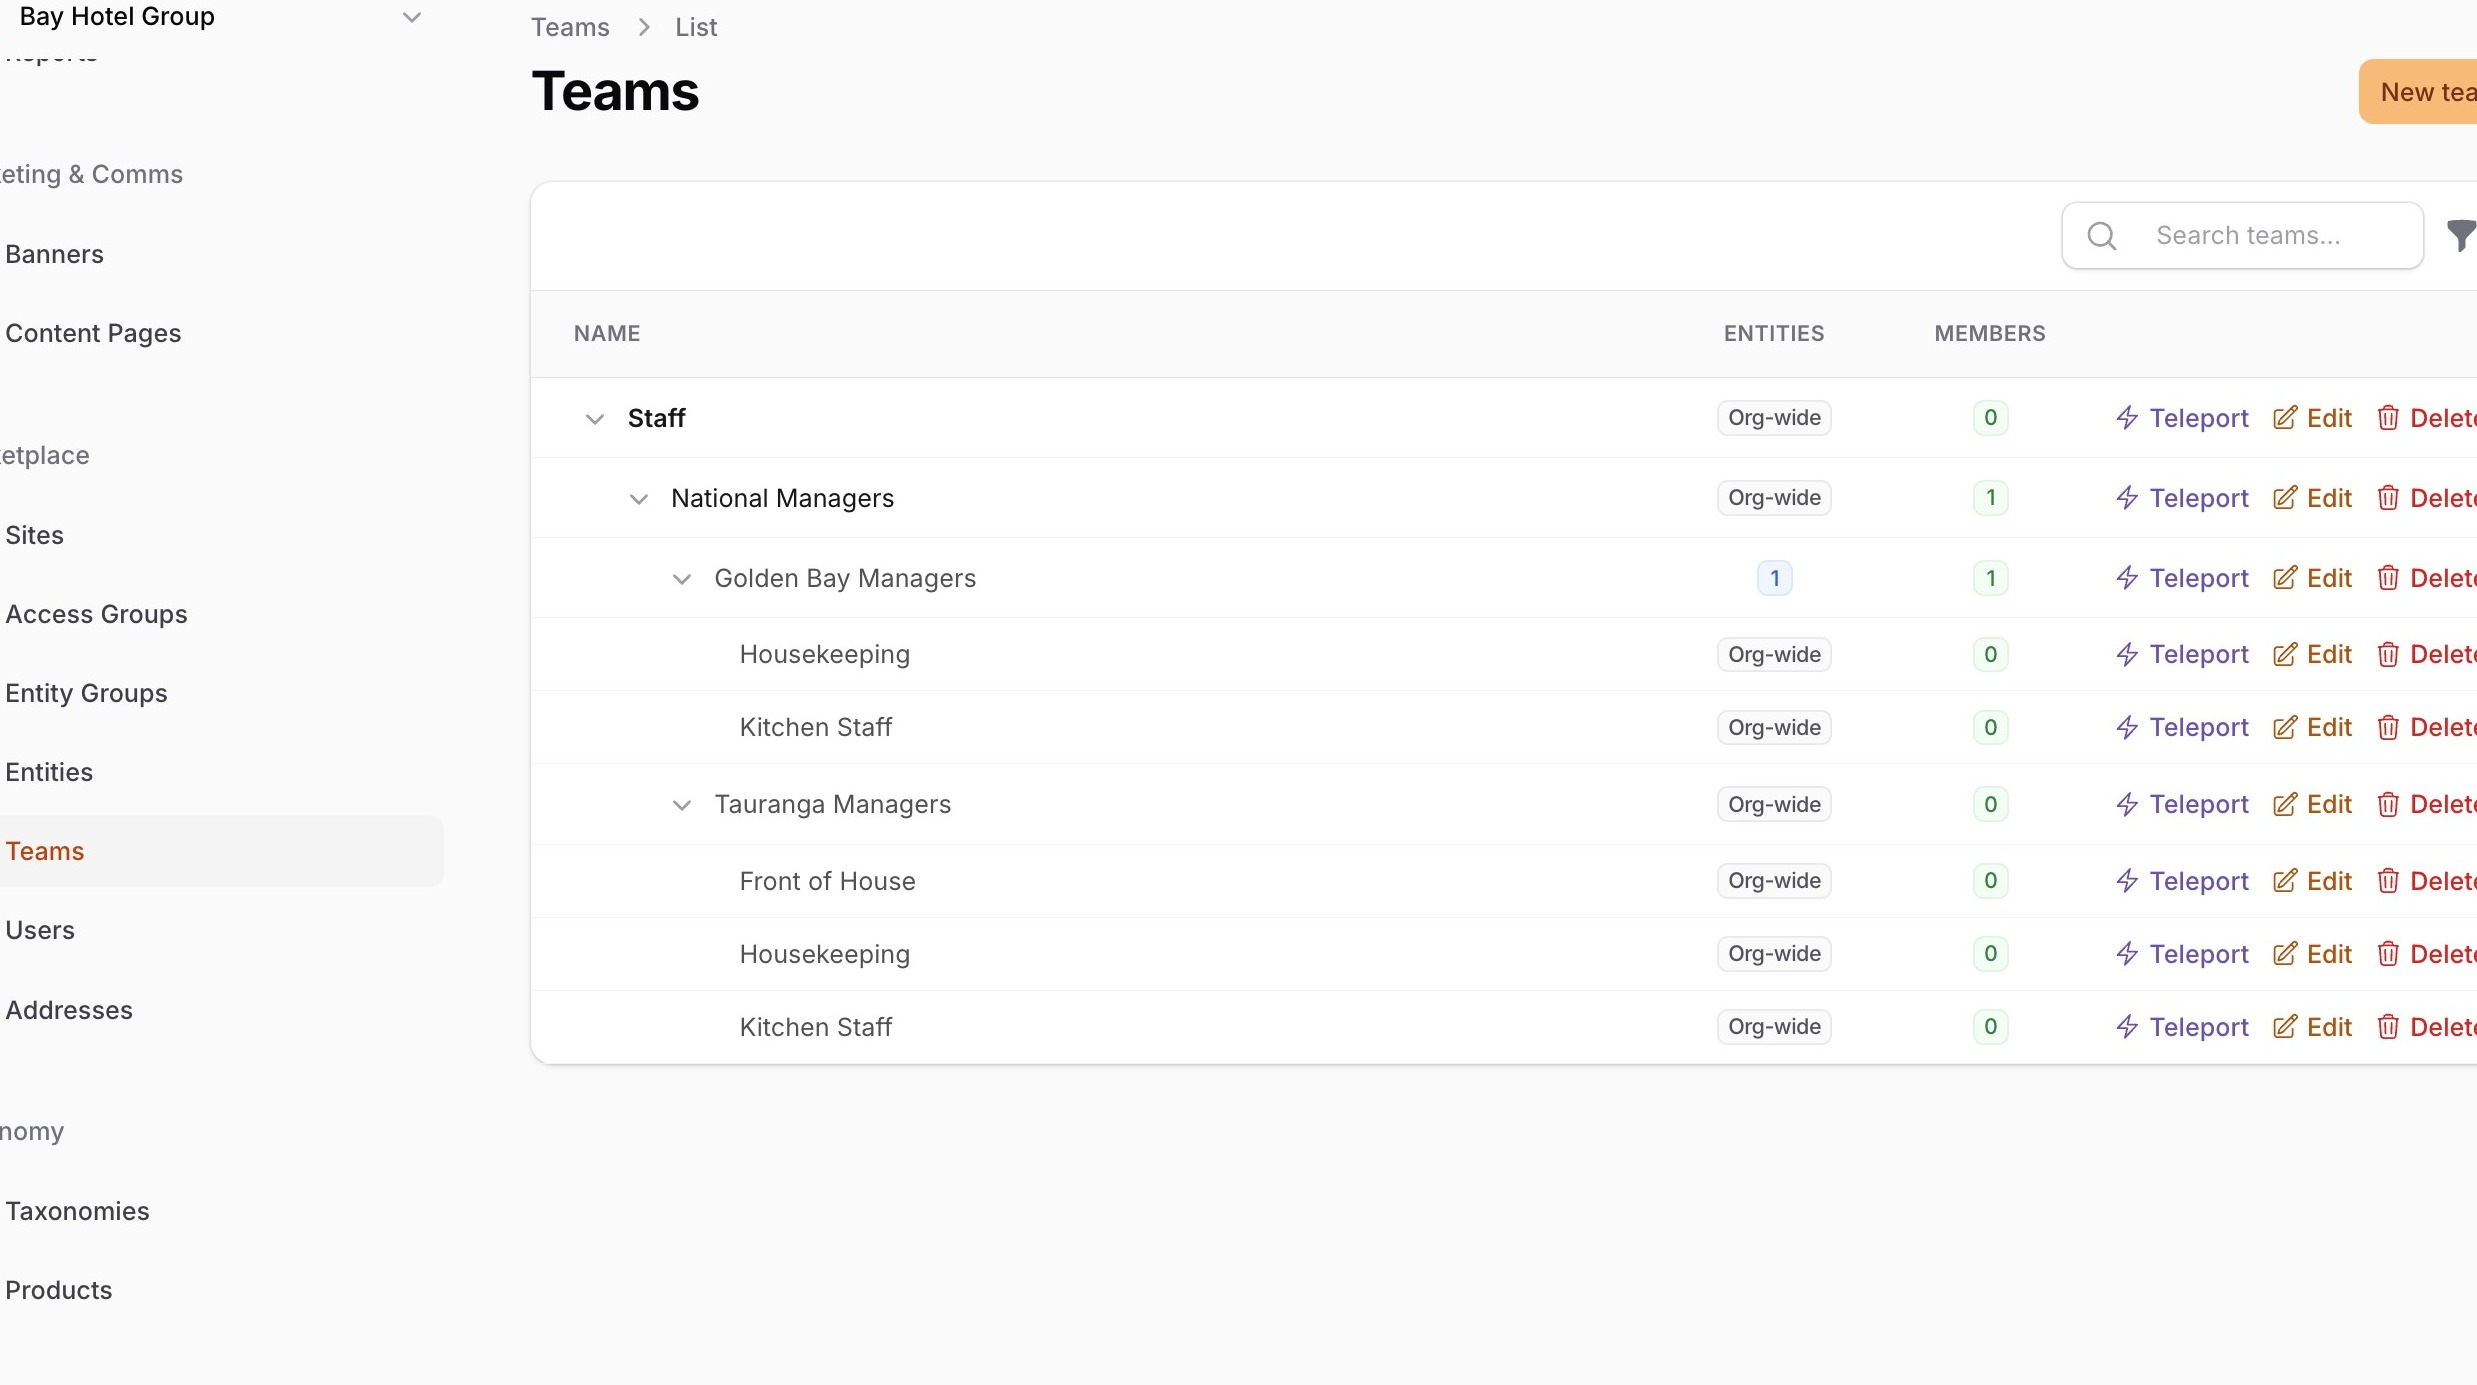
1. Navigate to Teams
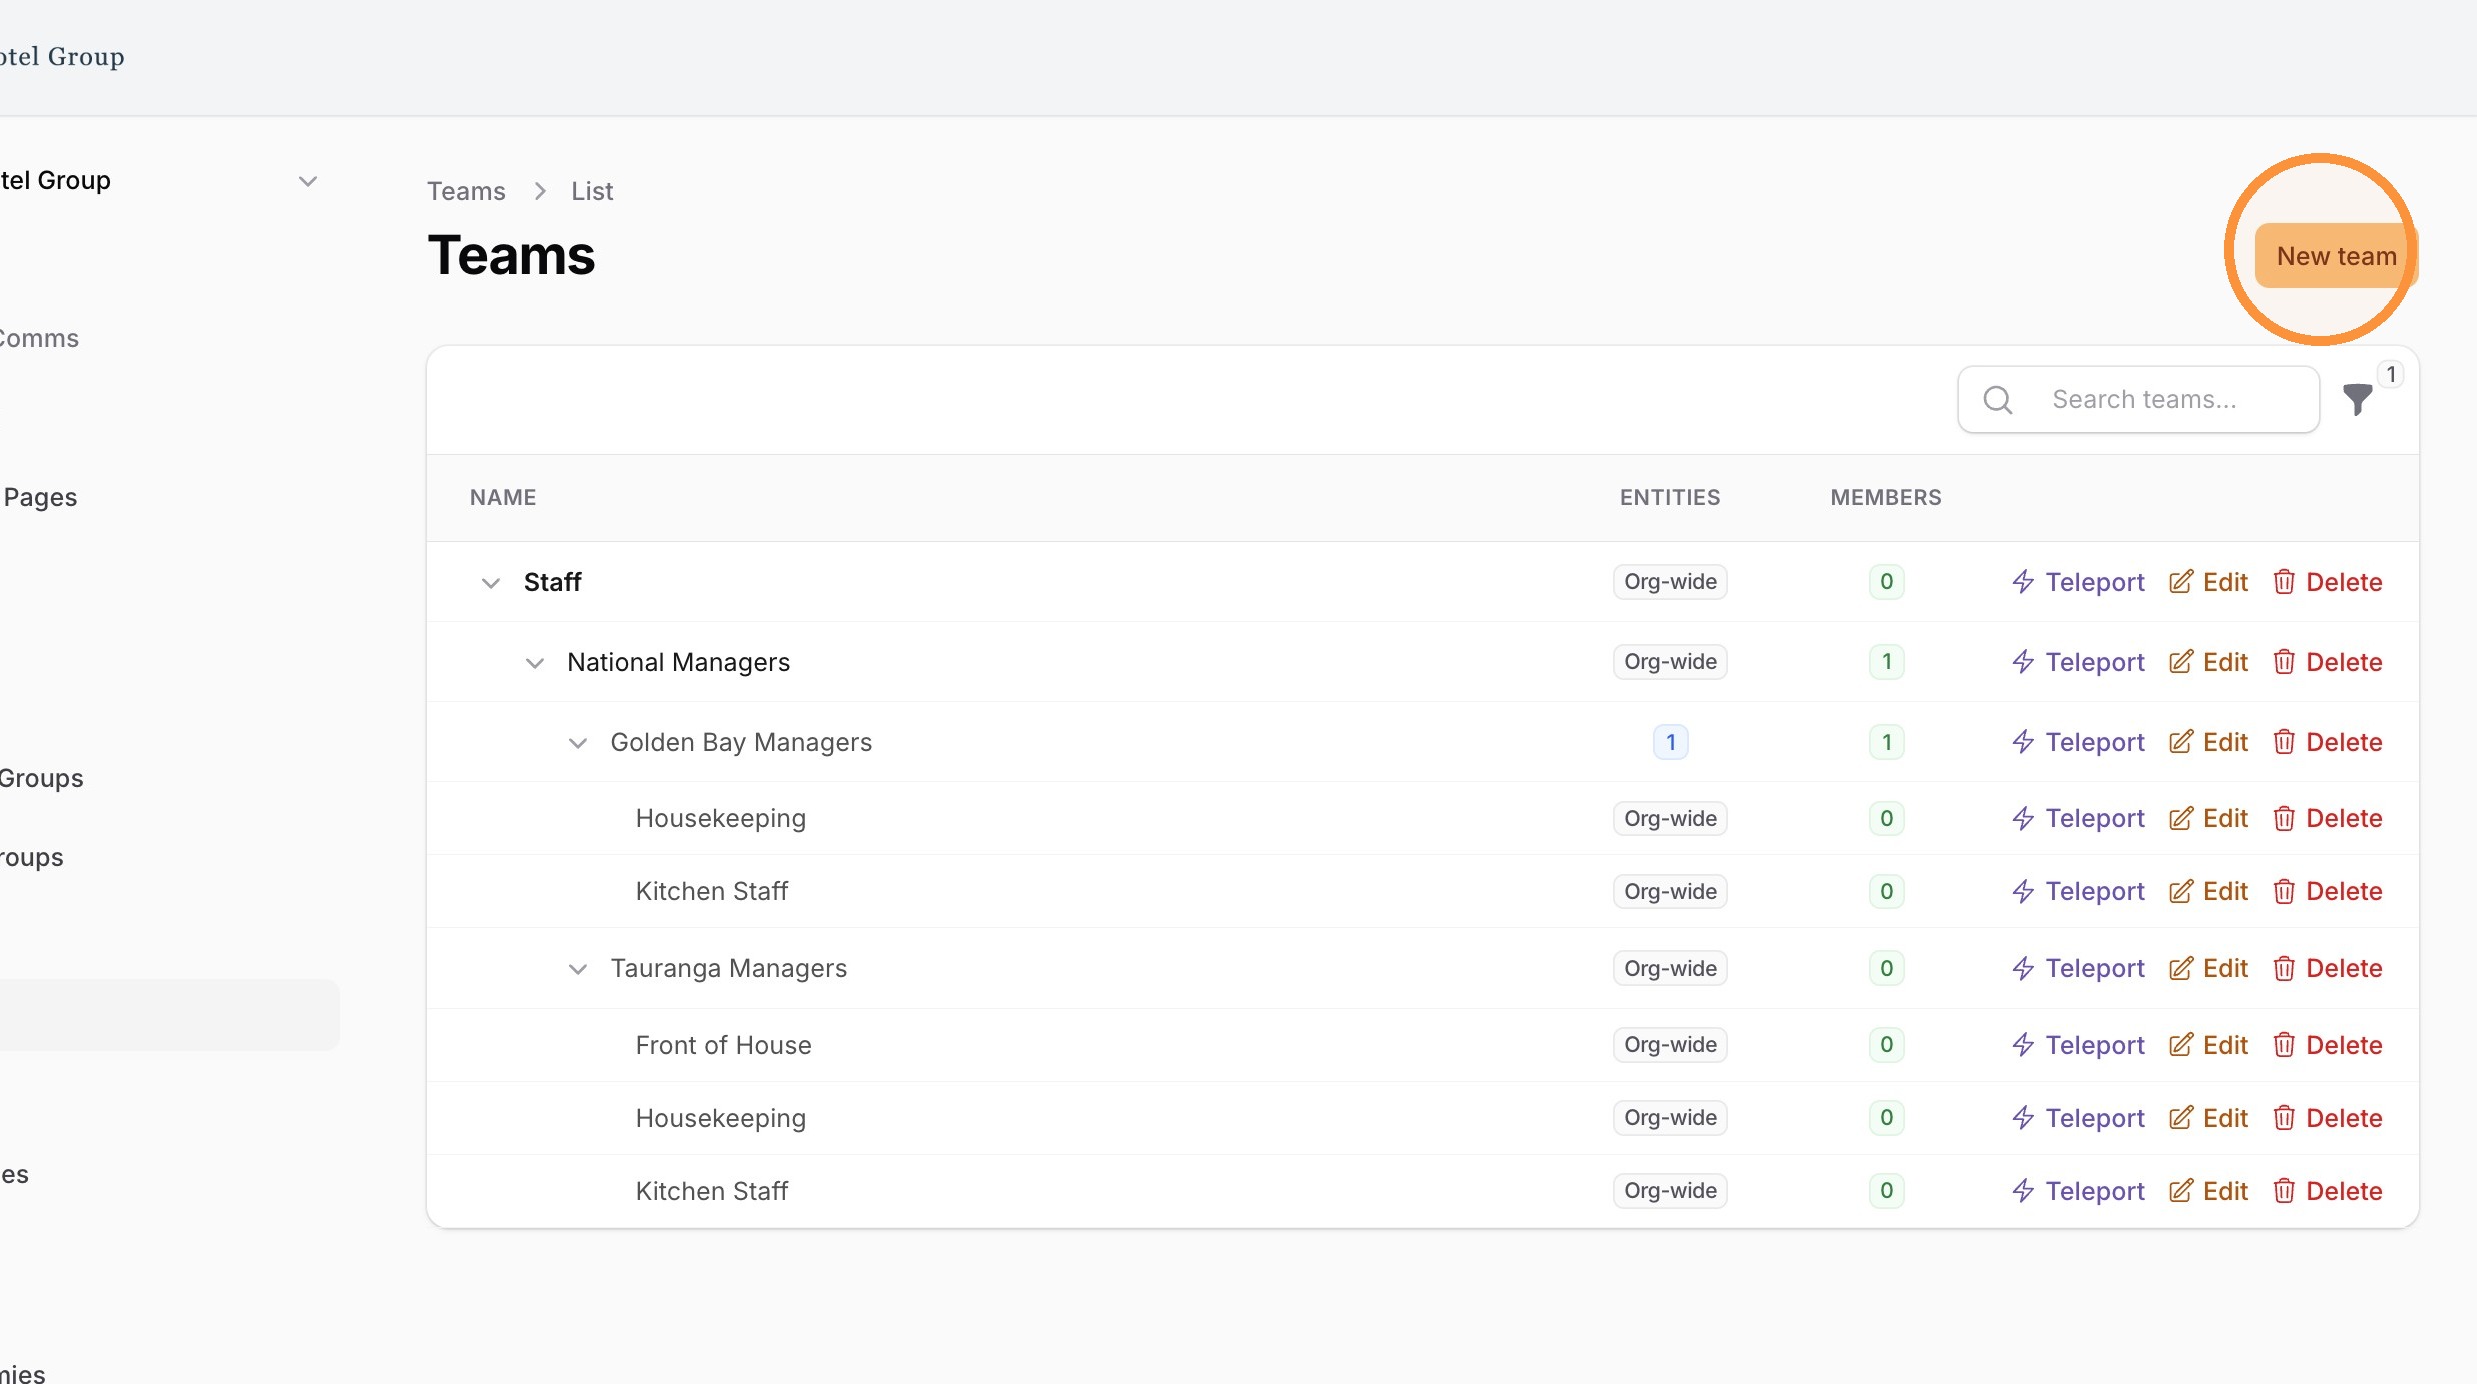
2. Click "New team"
3. Enter Team Name e.g "Front of House - Auckland" in "Name" field
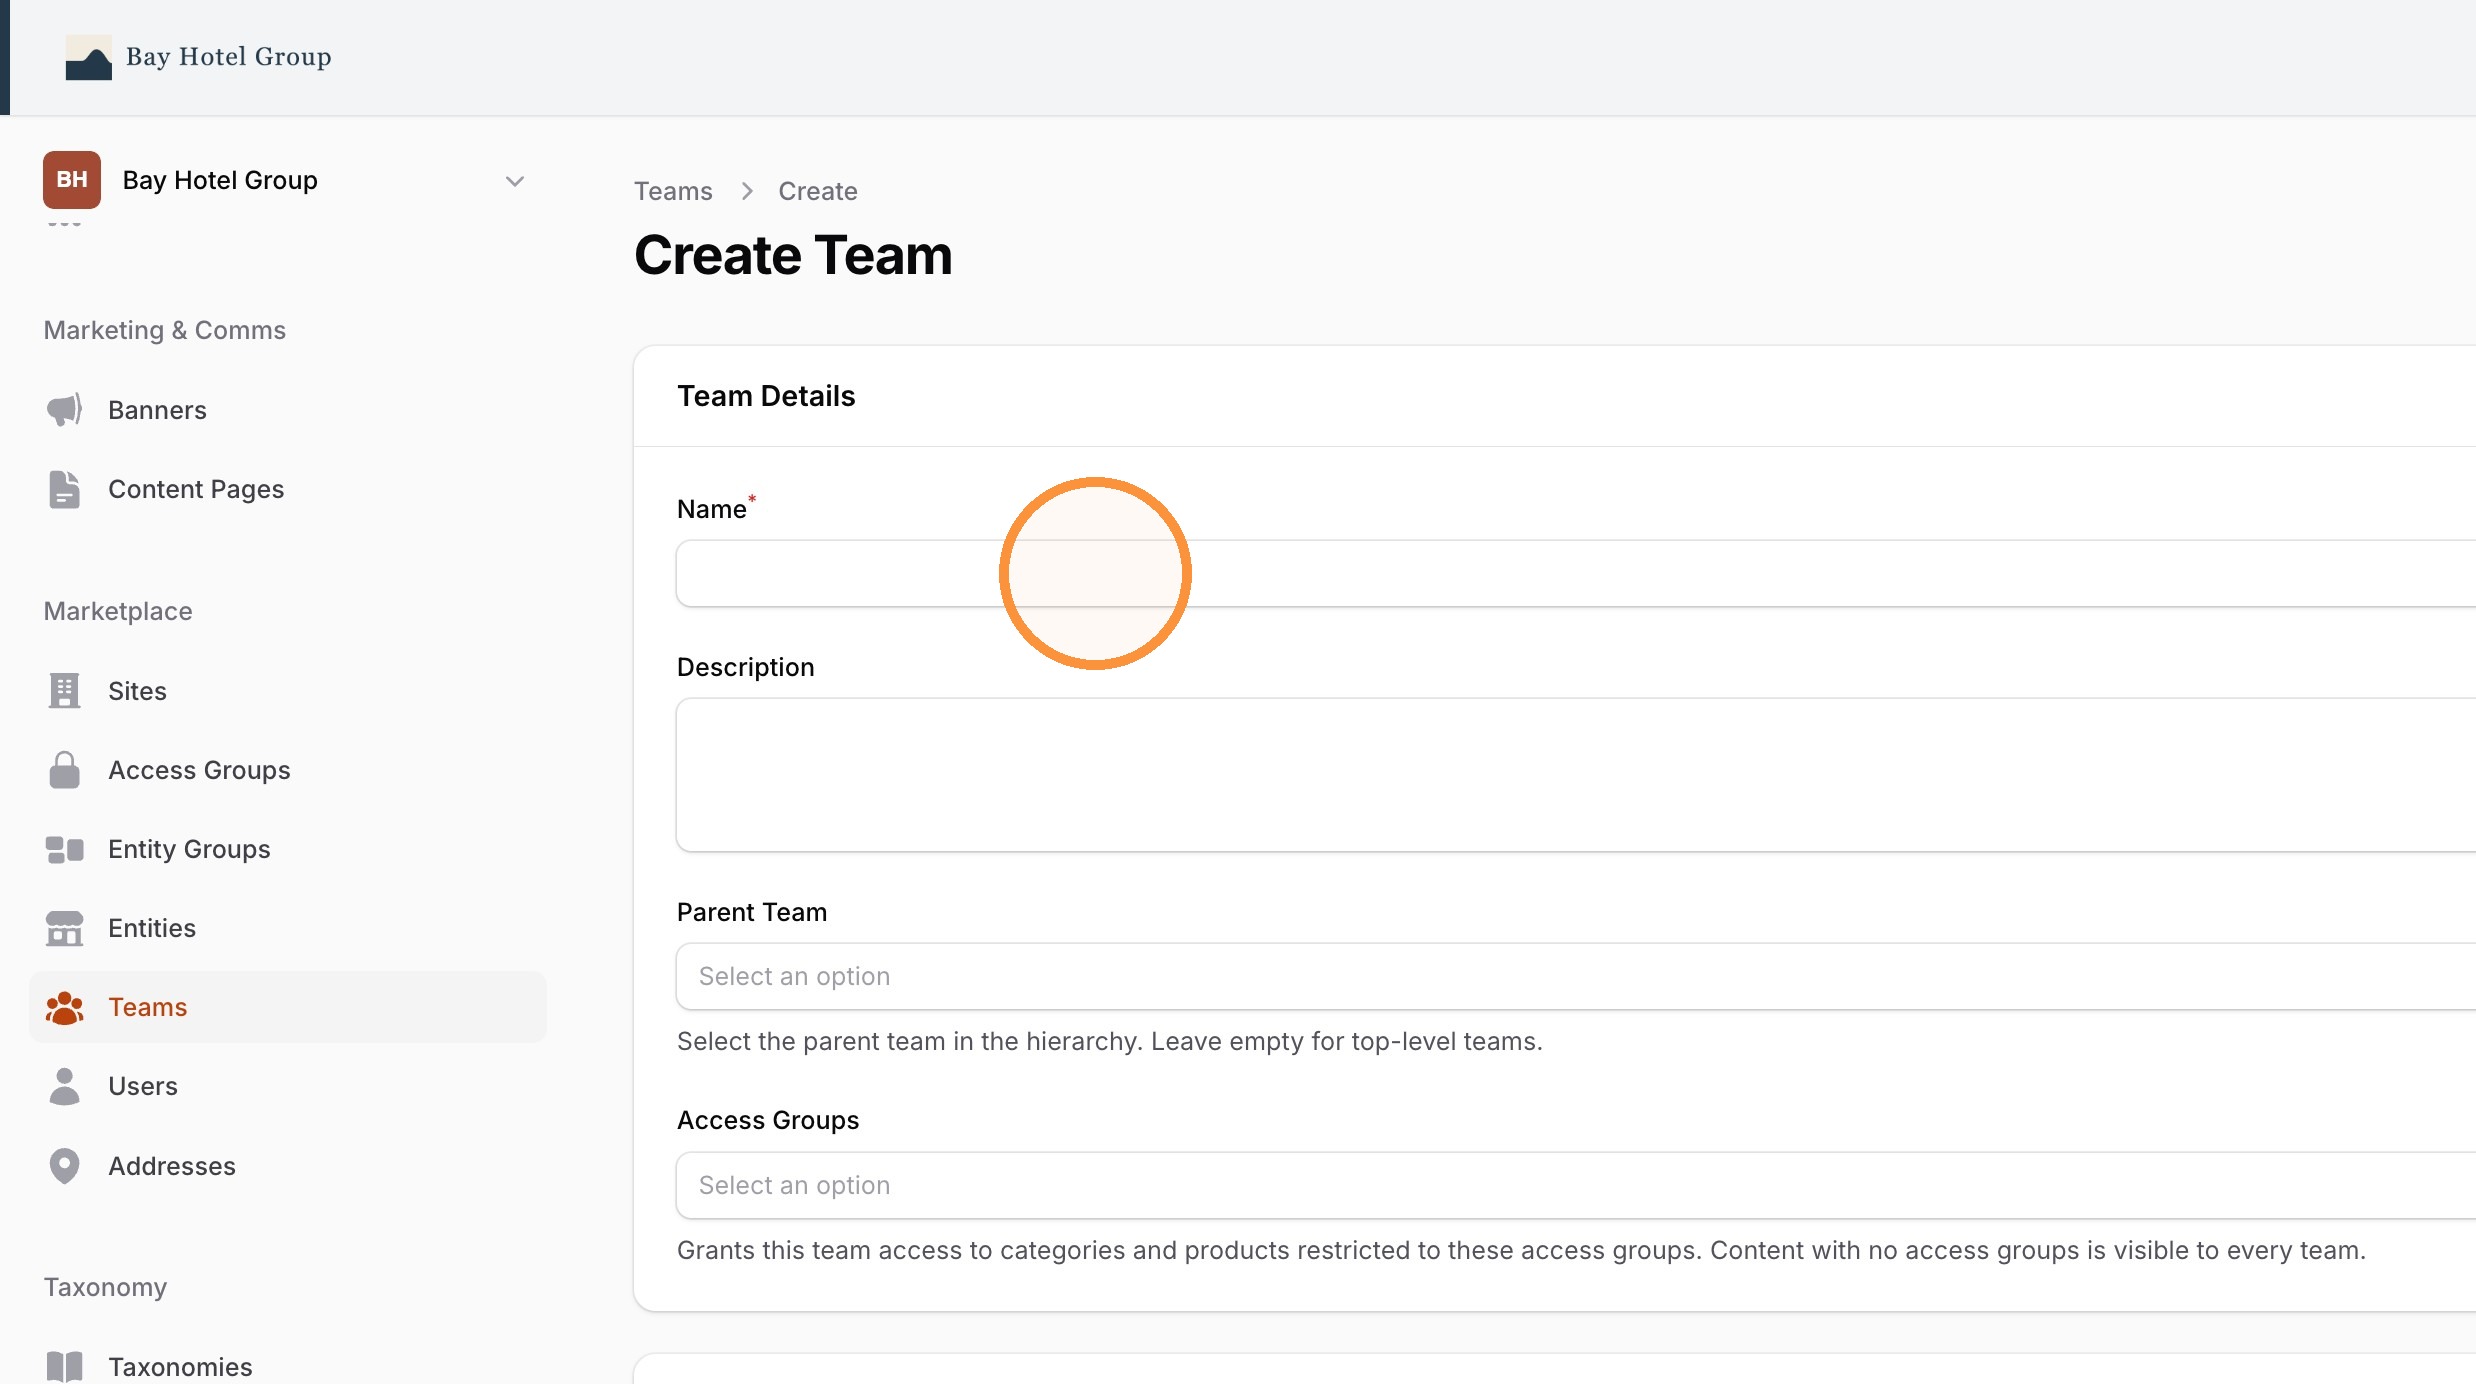
4. Select a Parent, if already setup.
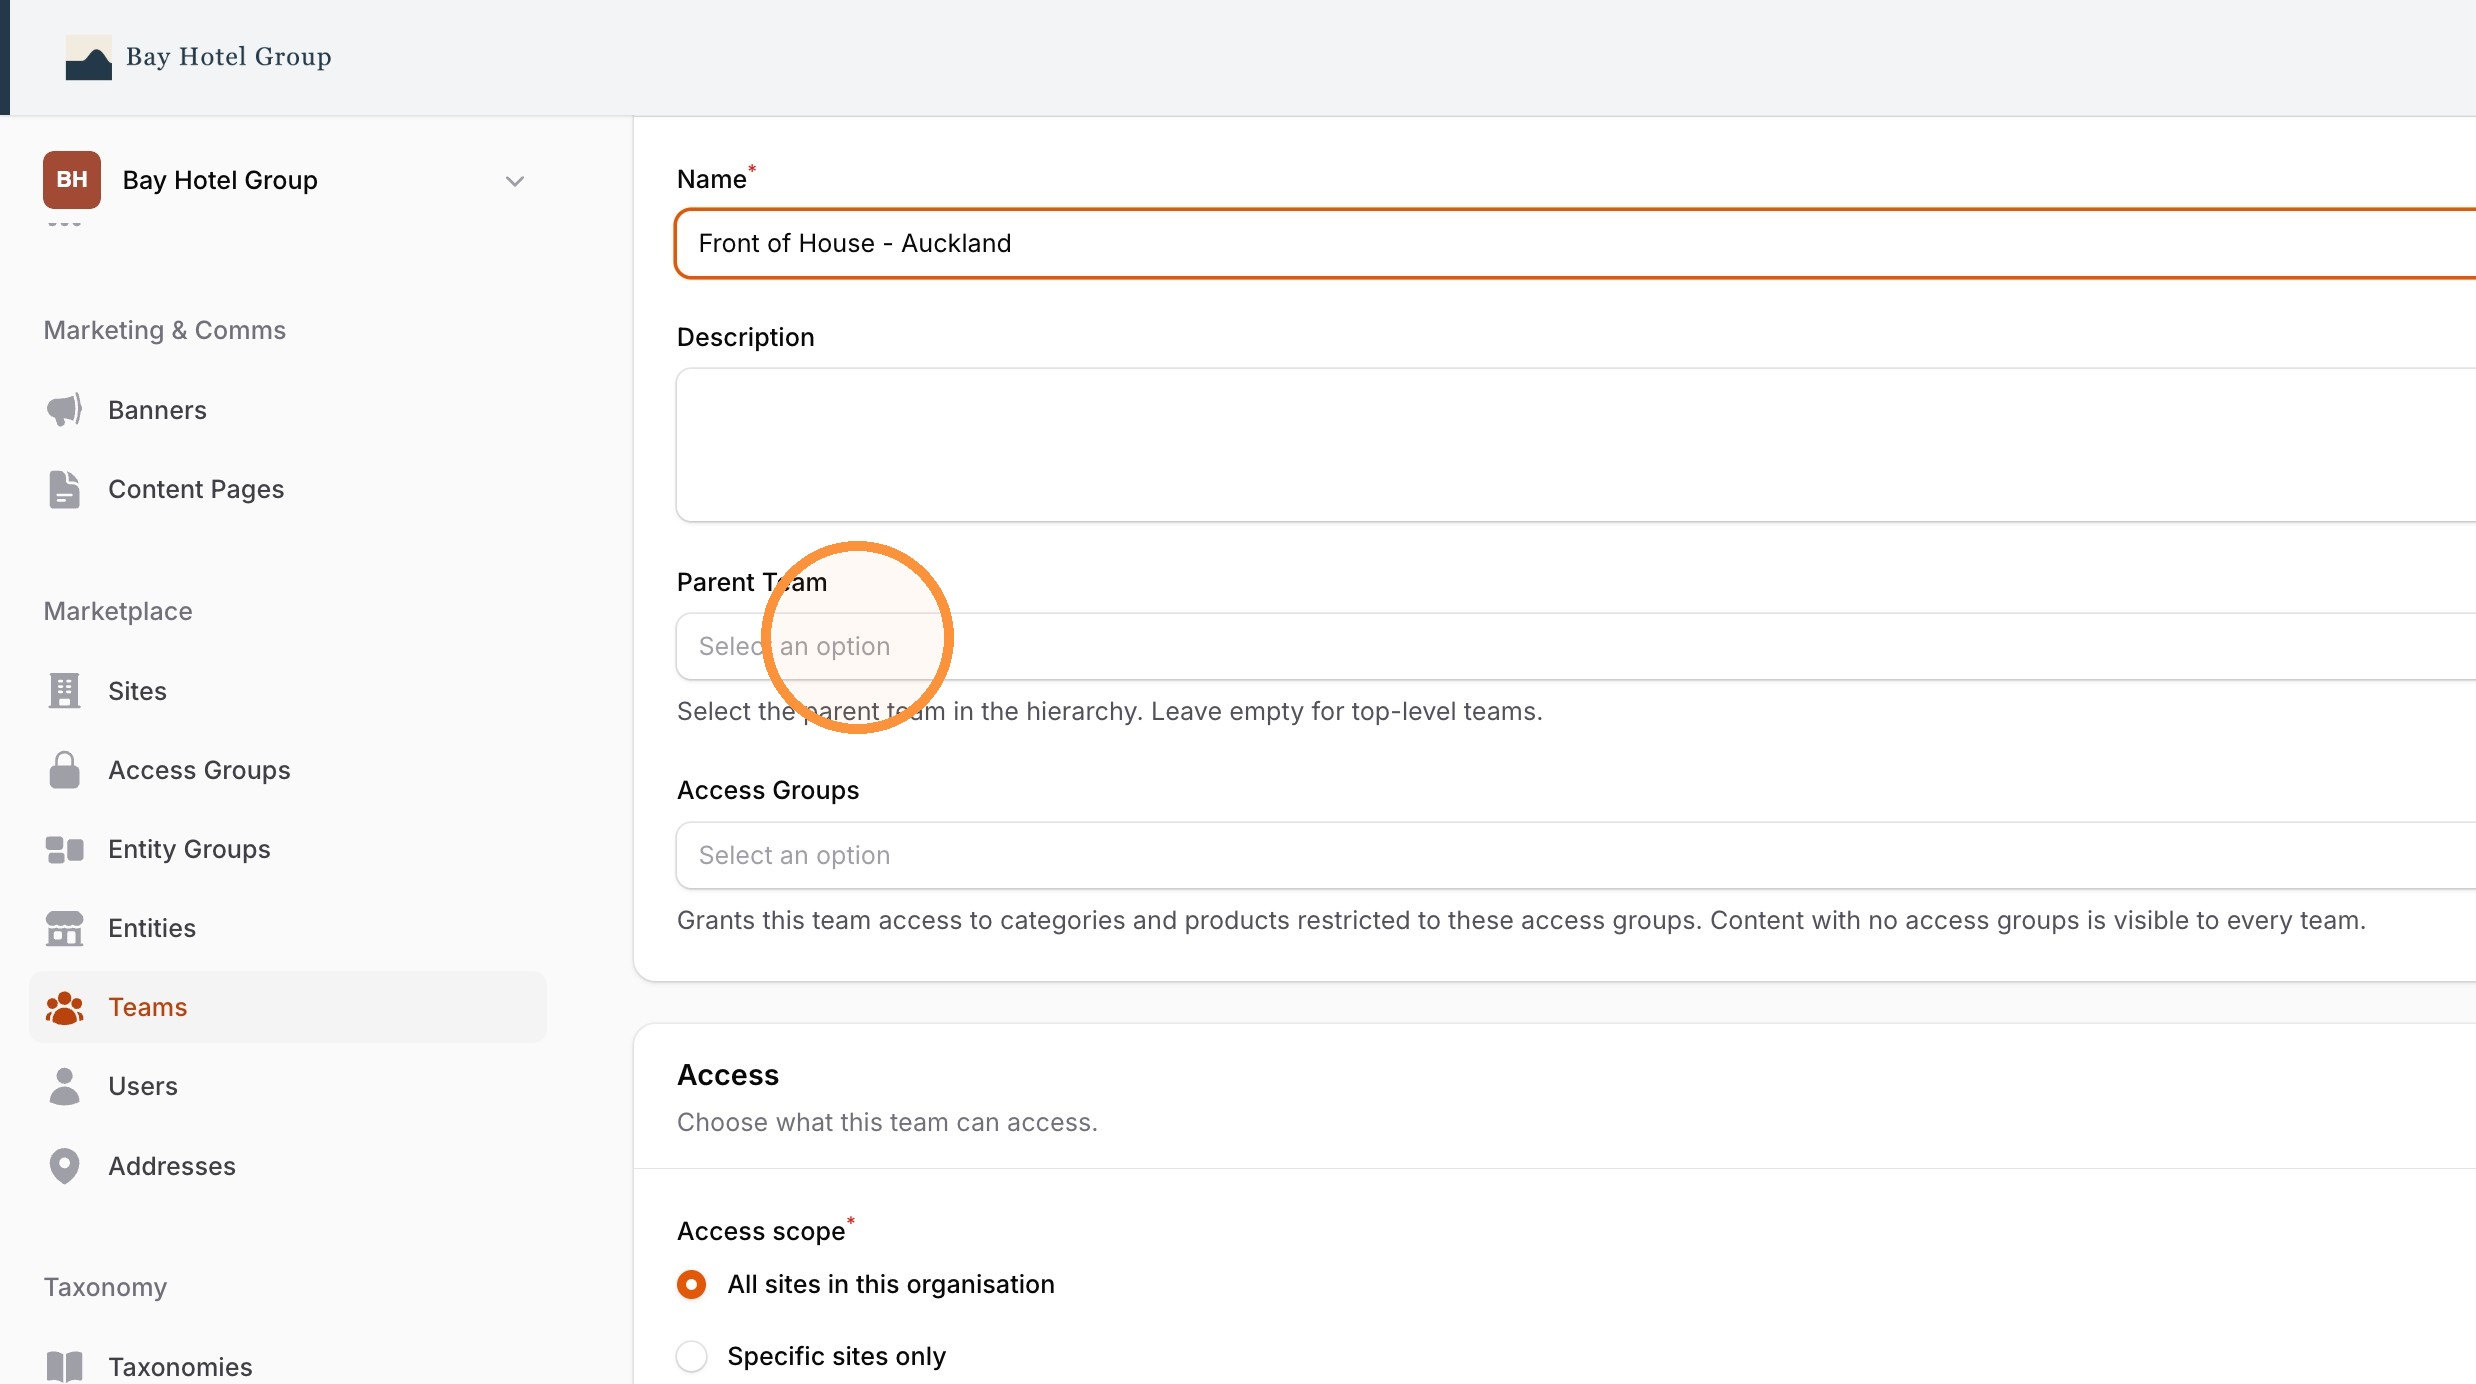
5. Select the specific Teams access across the available Sites and Entities.
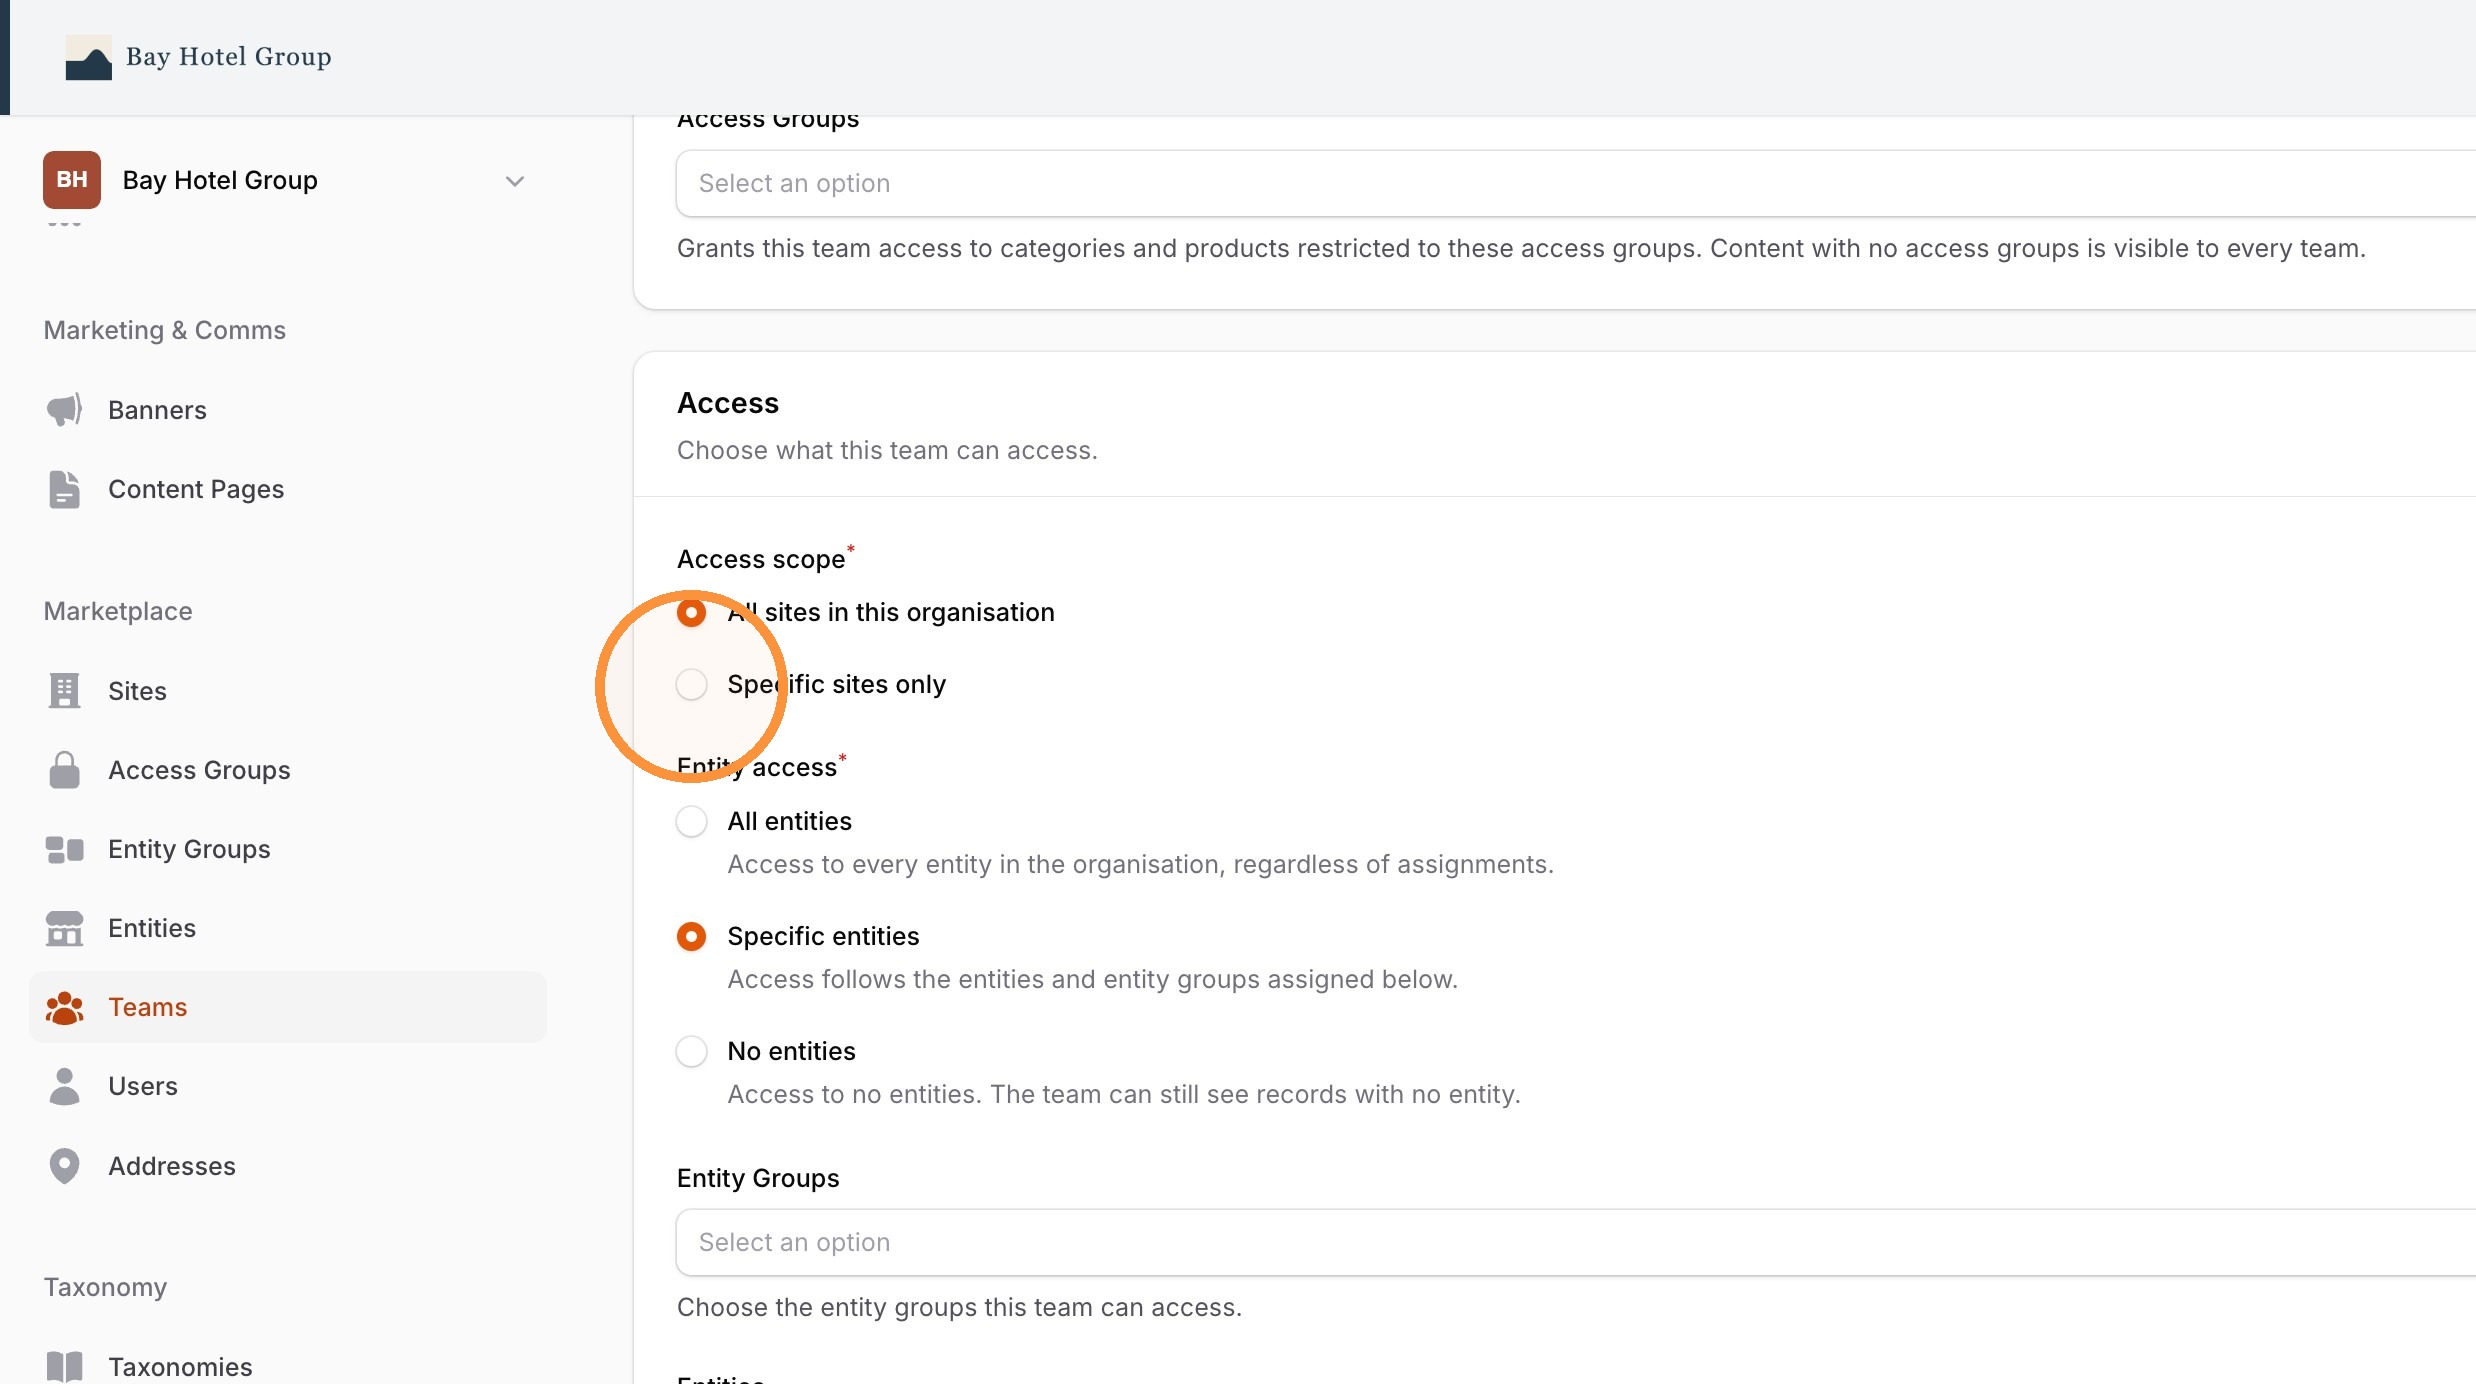
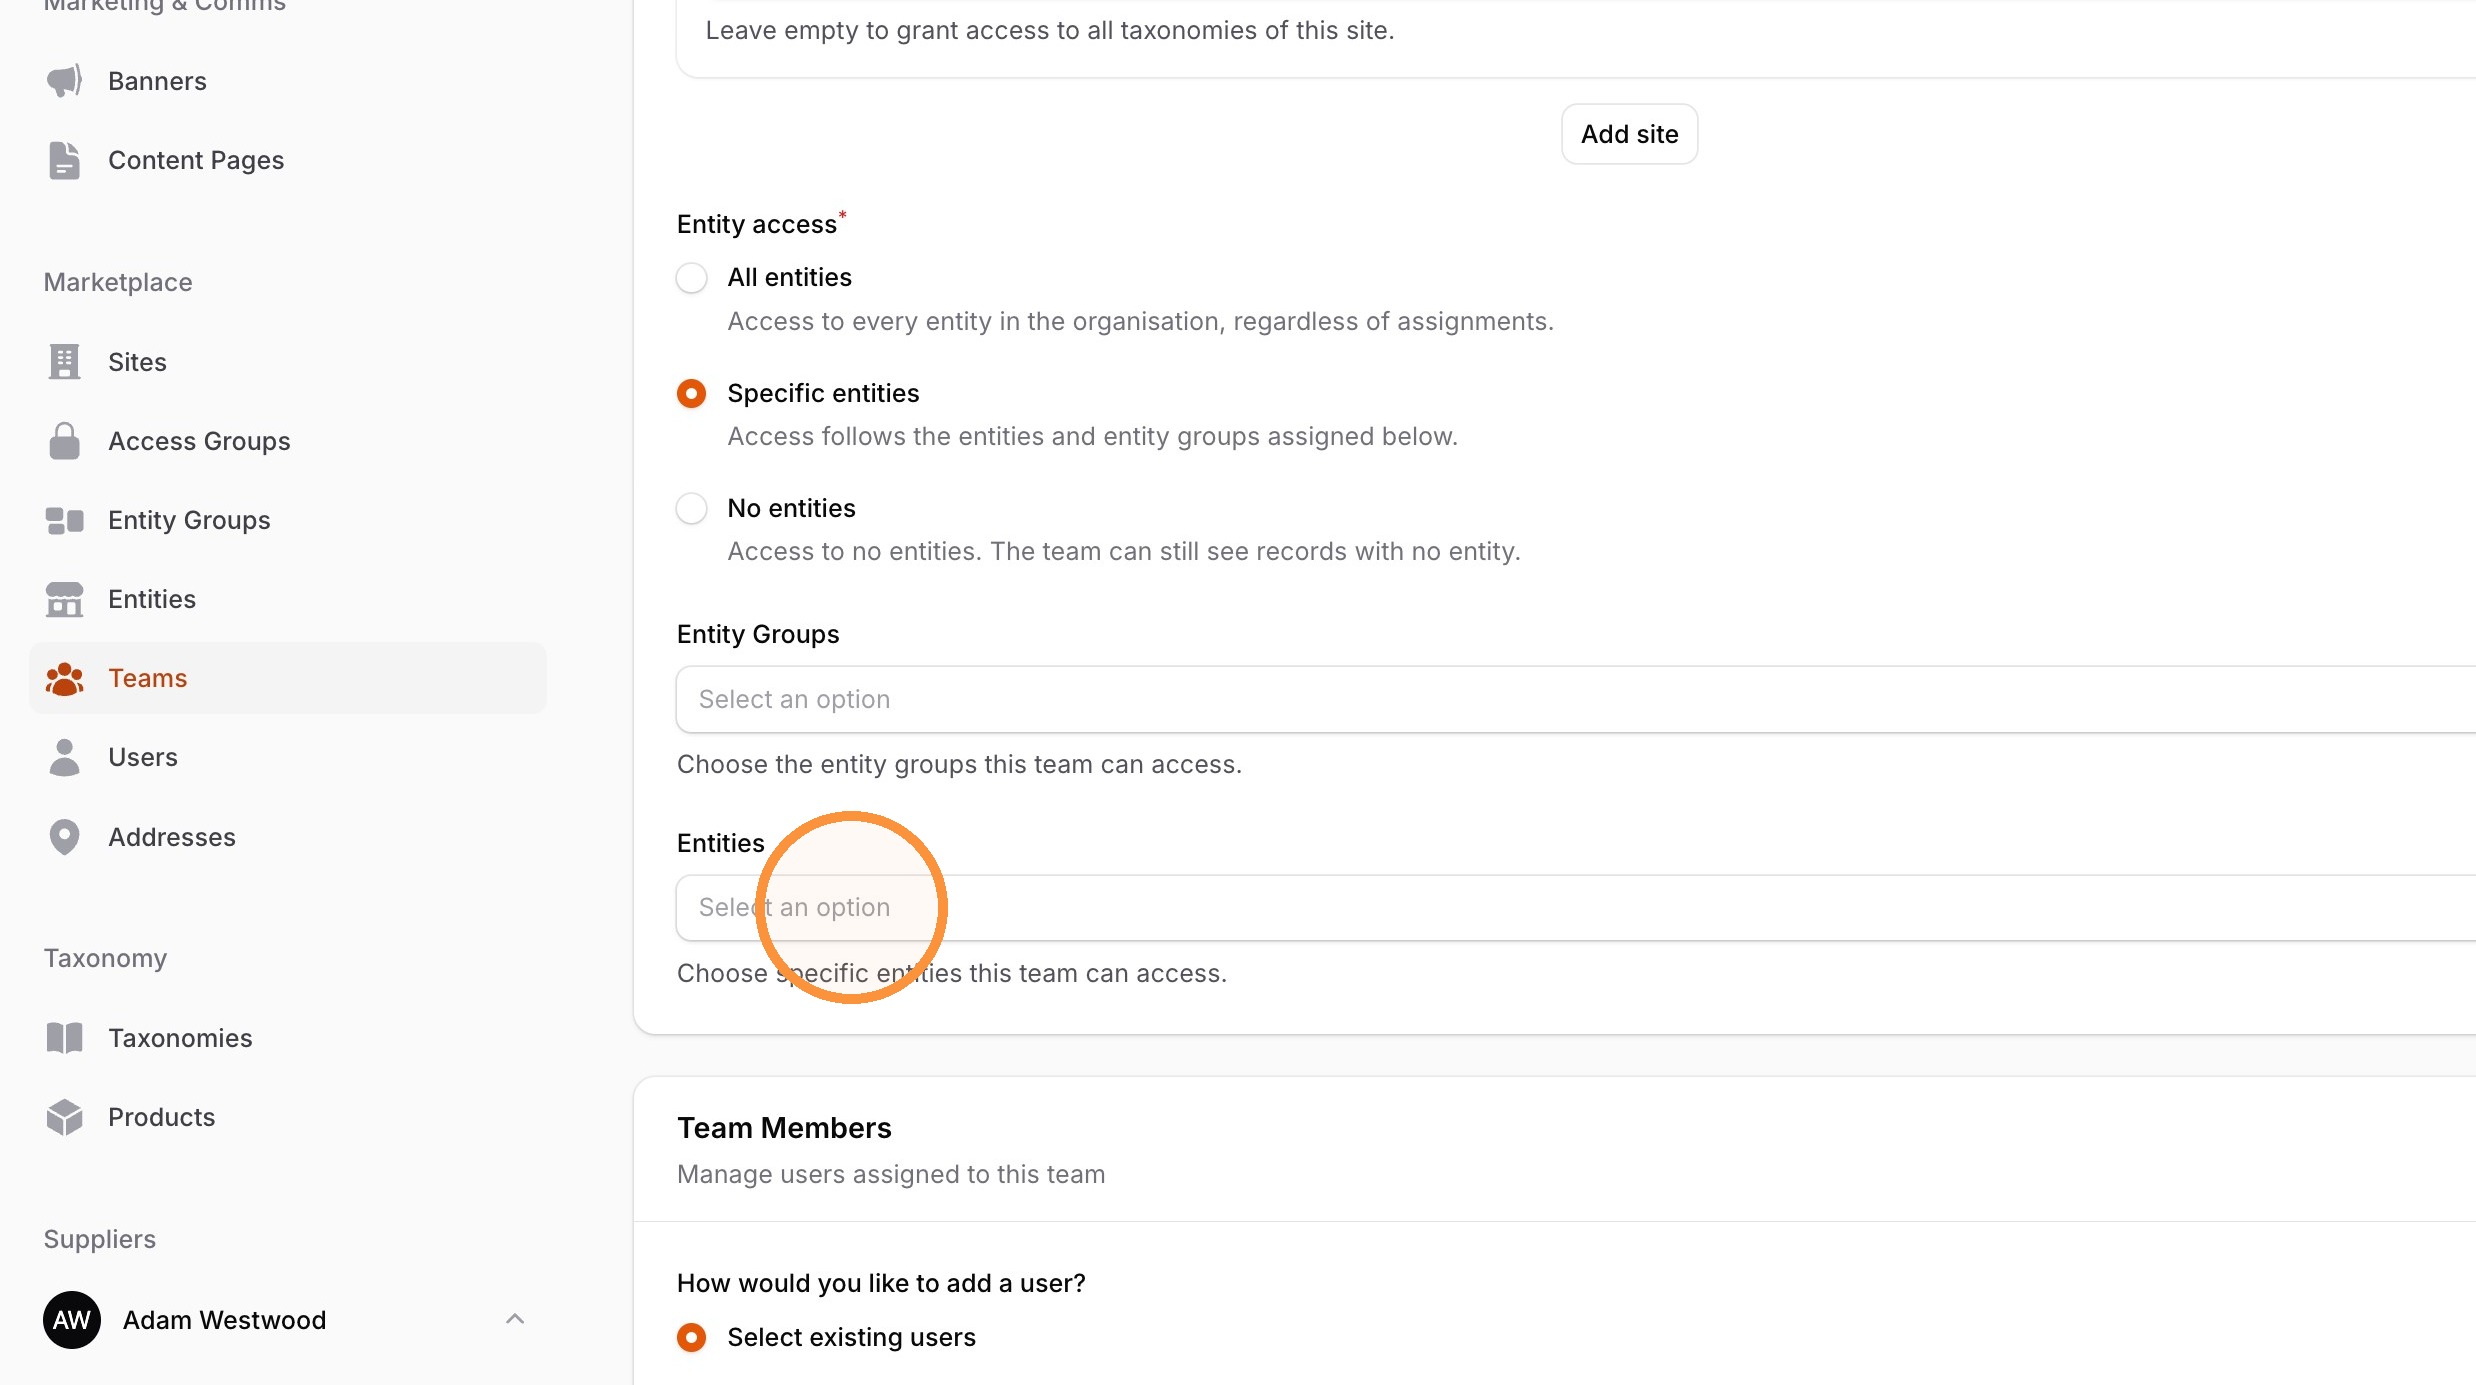
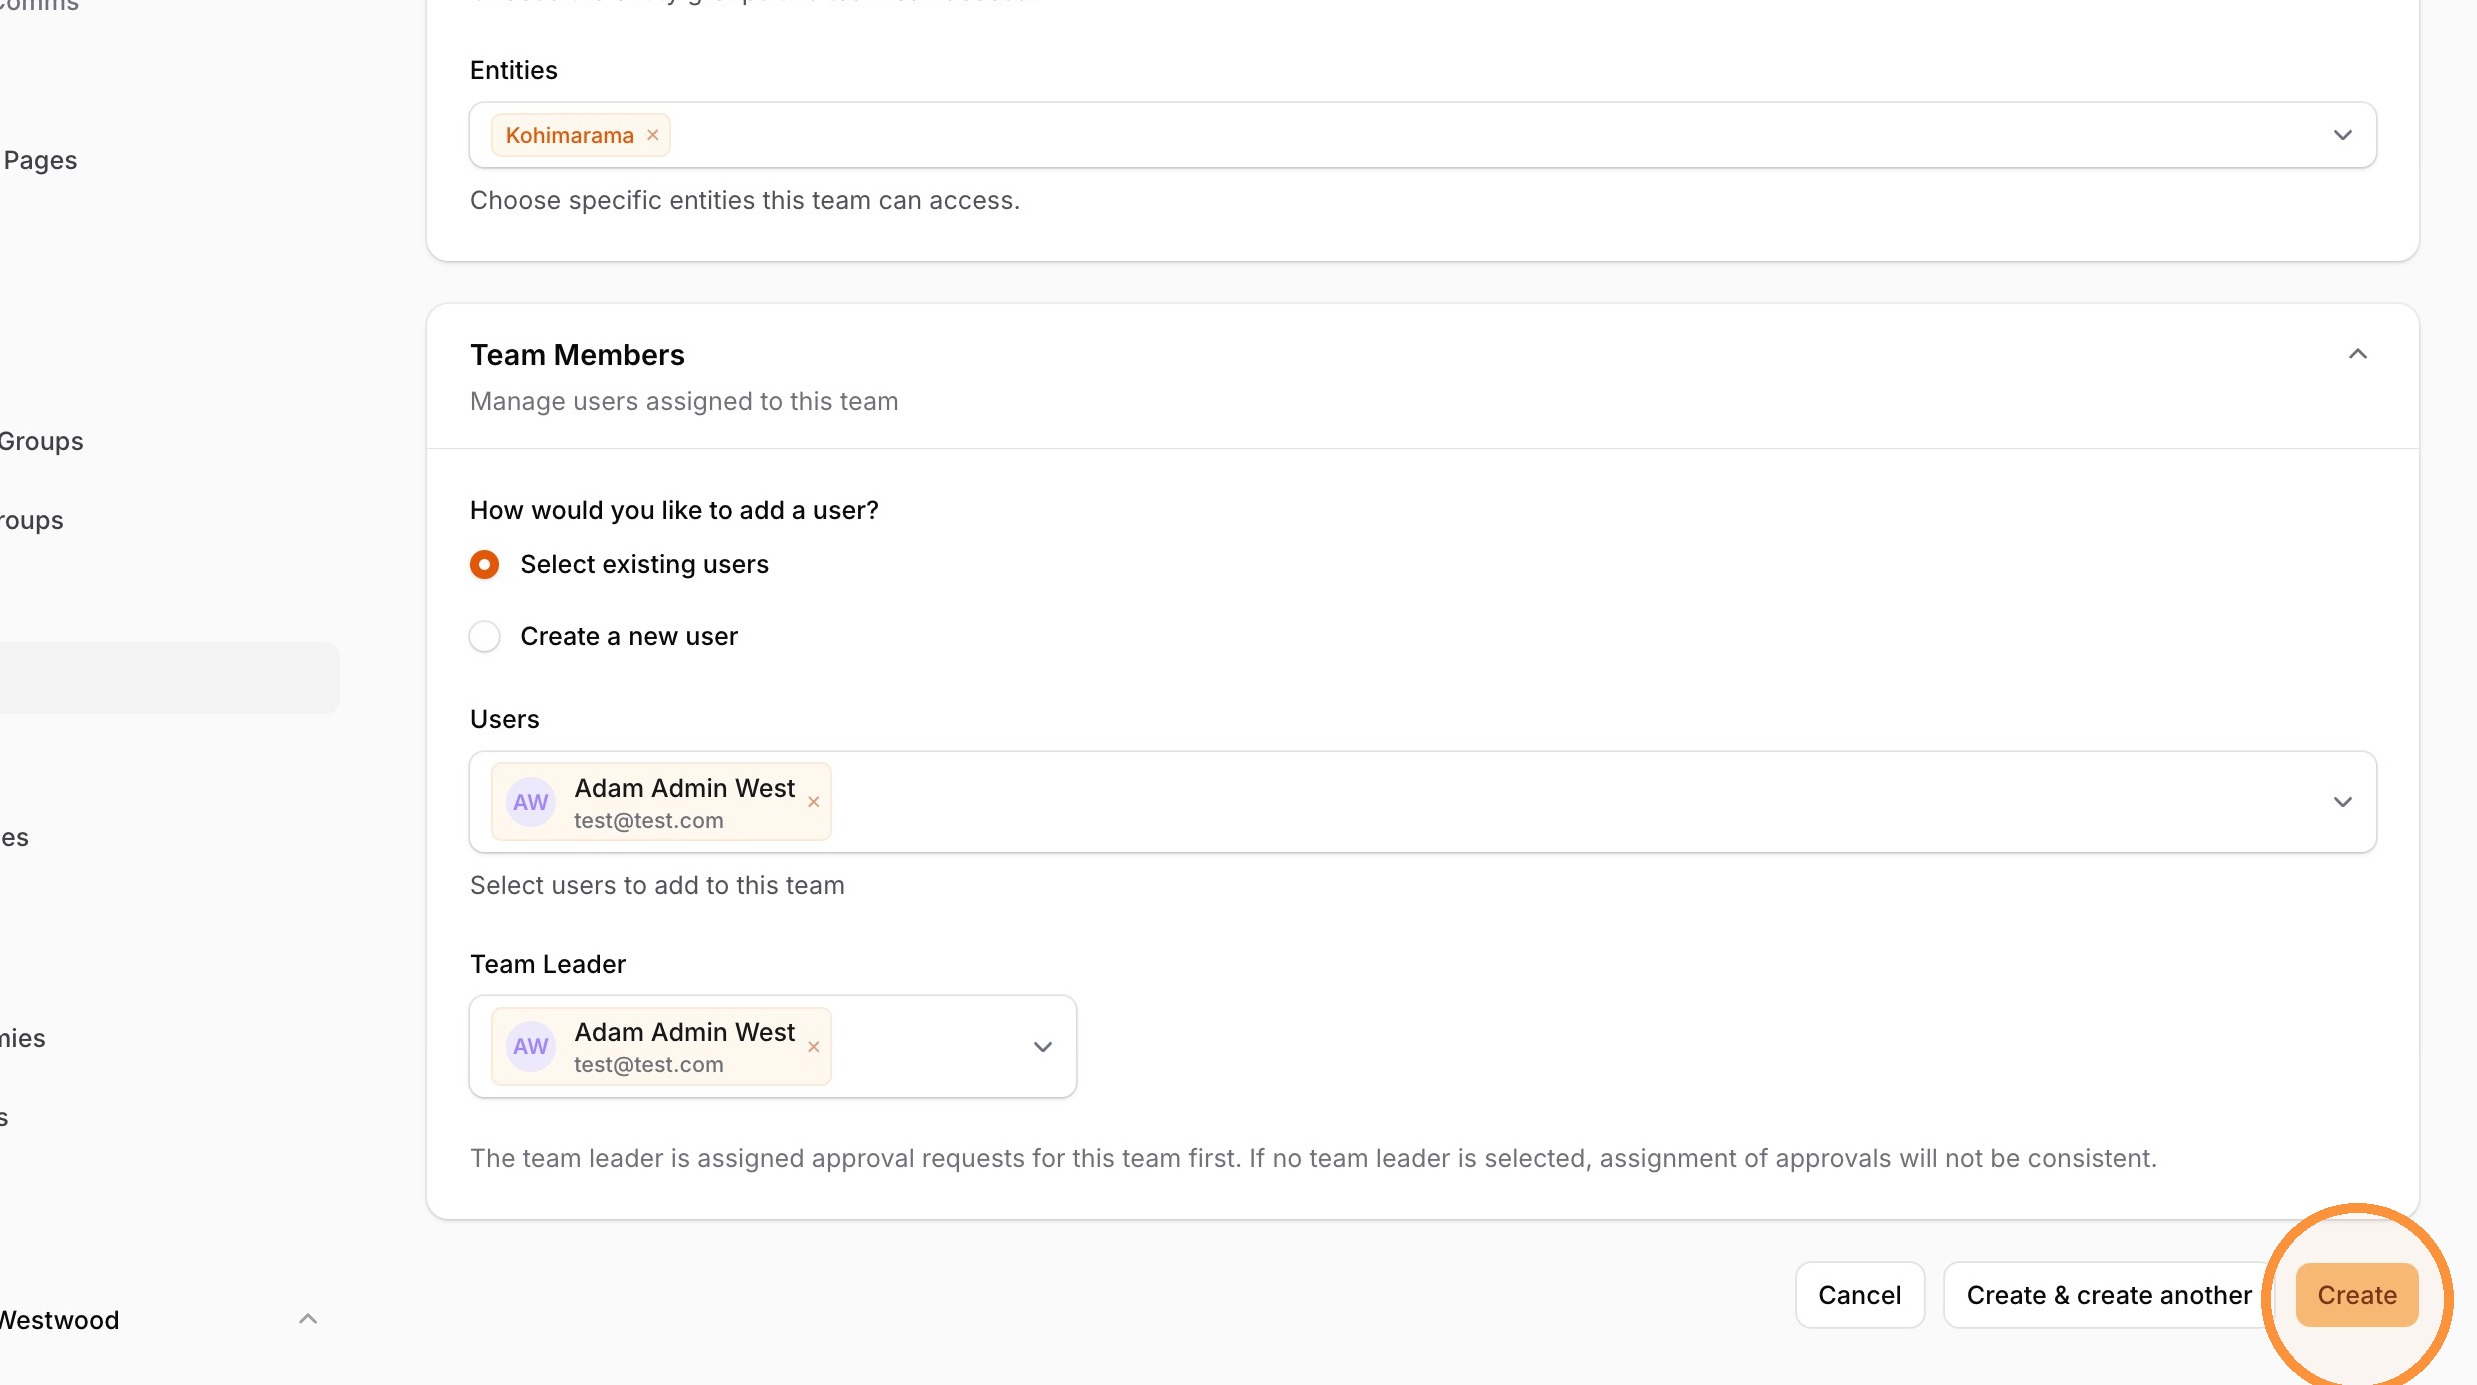
6. Add existing users or create them here, and add a Team Leader
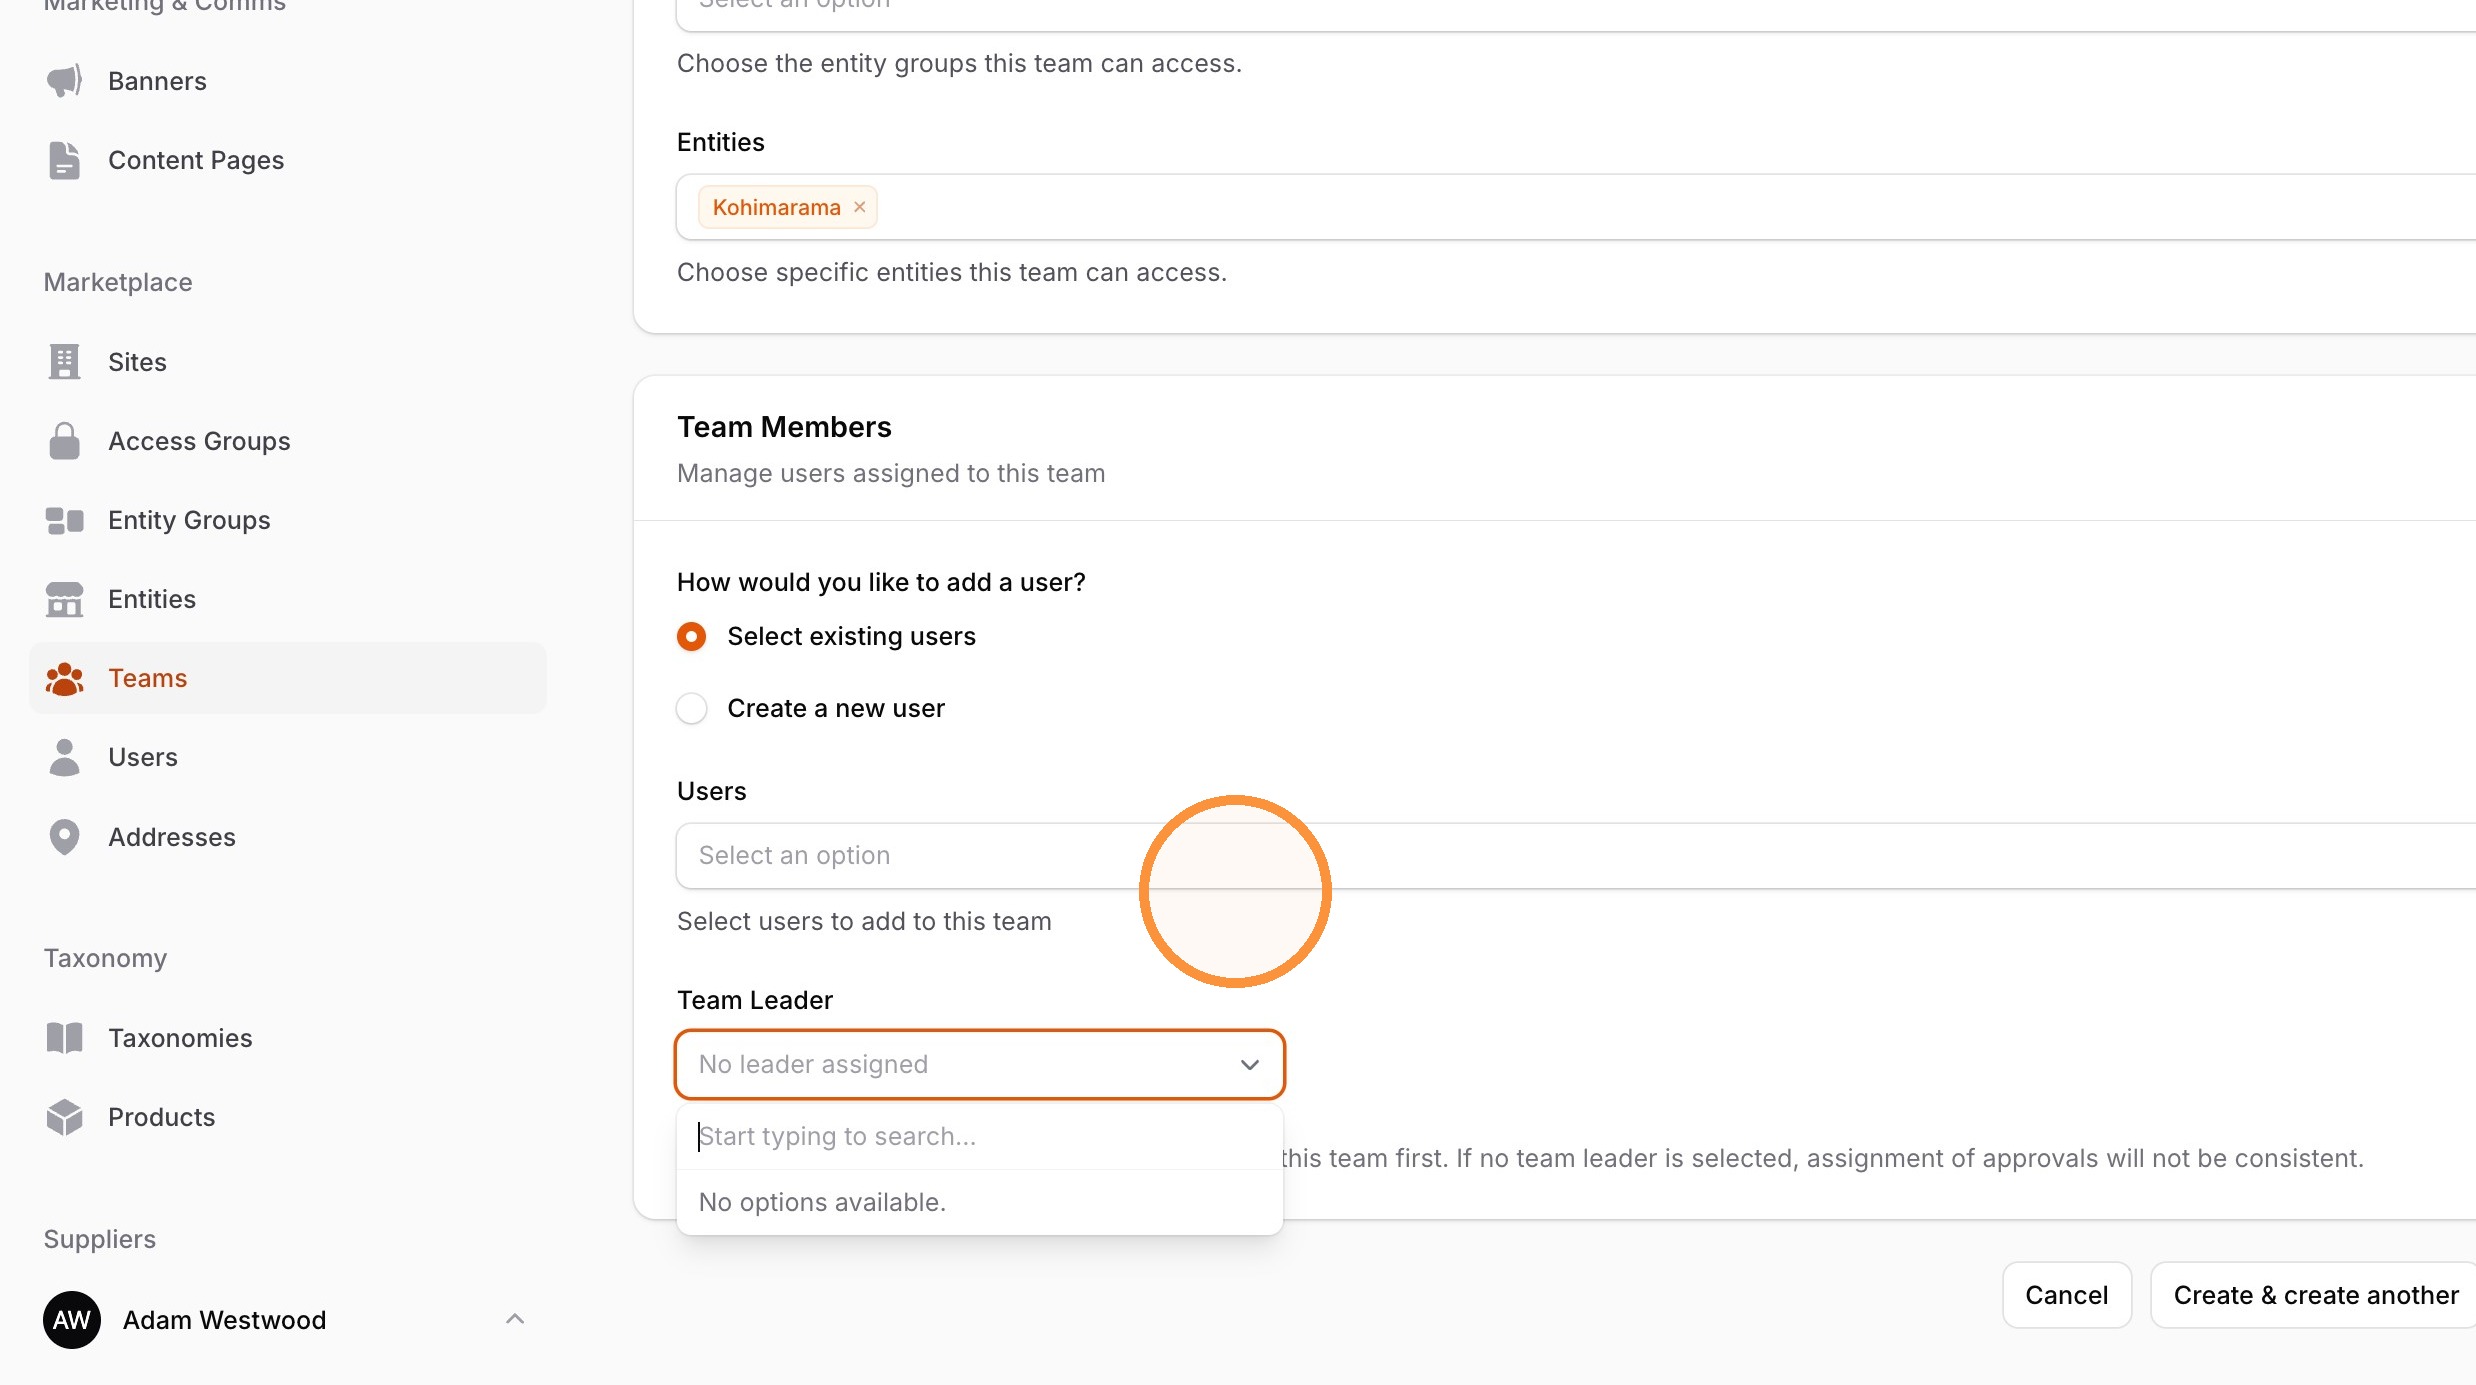
7. Click "Create" to save team.
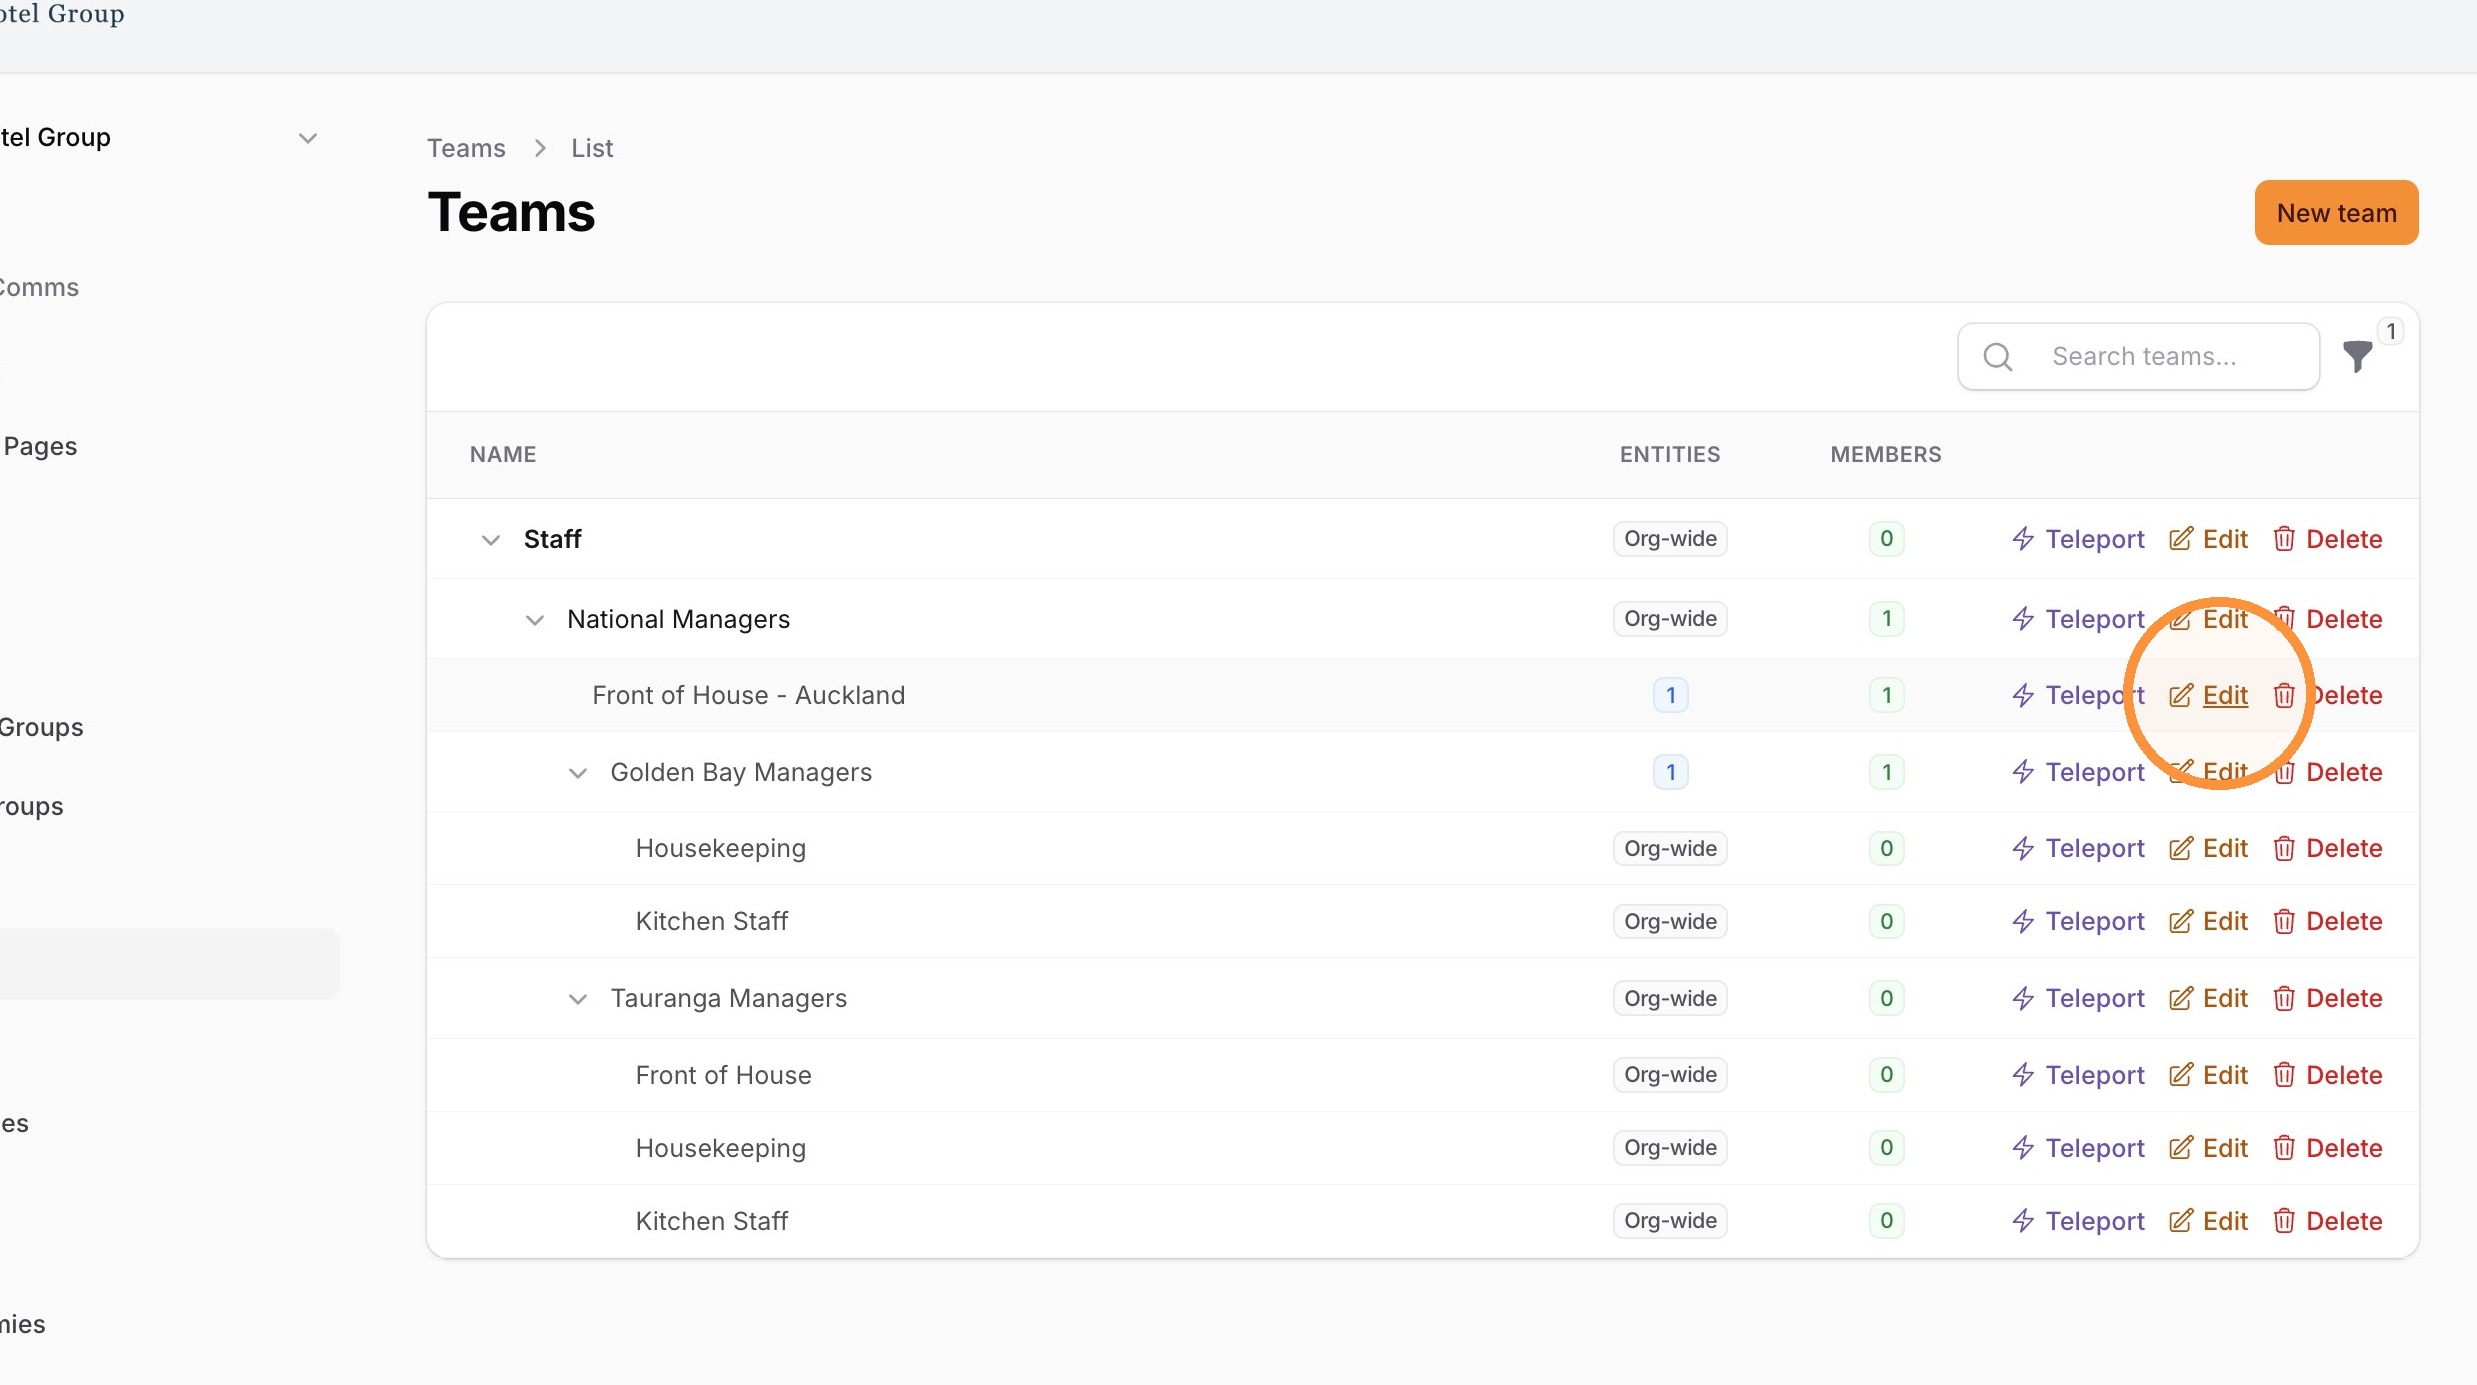
From the Teams list, select the newly created team to edit the permissions and approvals.
8. Click "Edit" for the Team you just created to add Permissions and Approvals
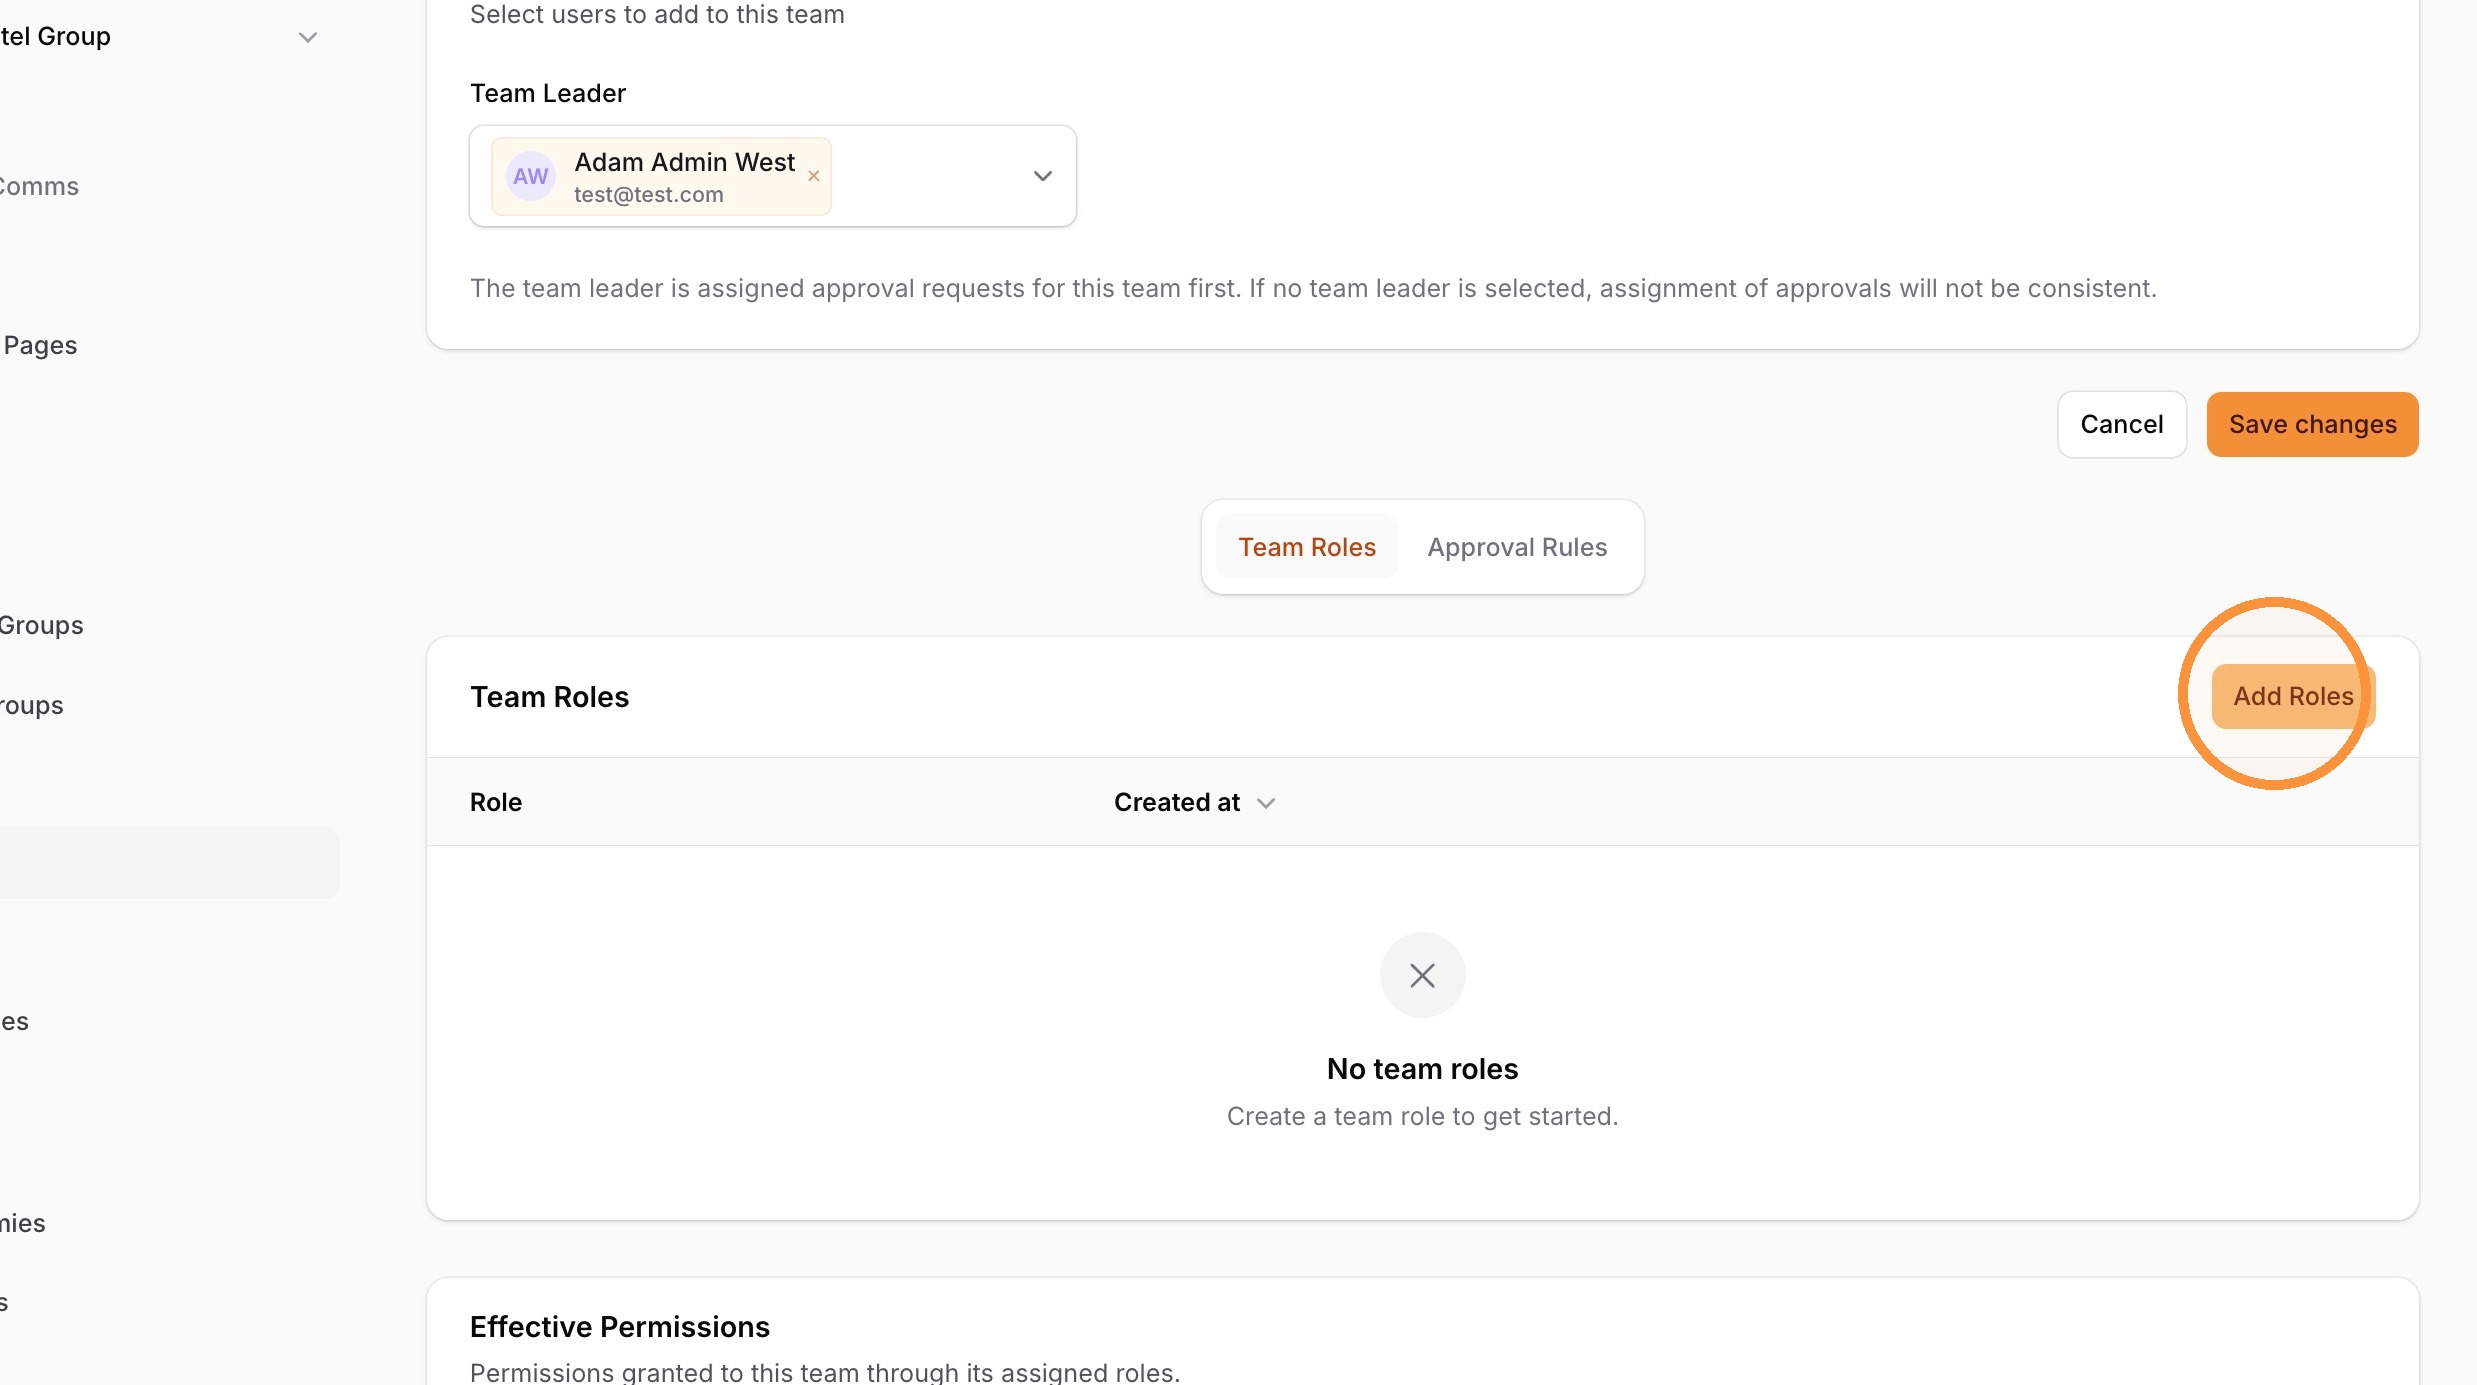
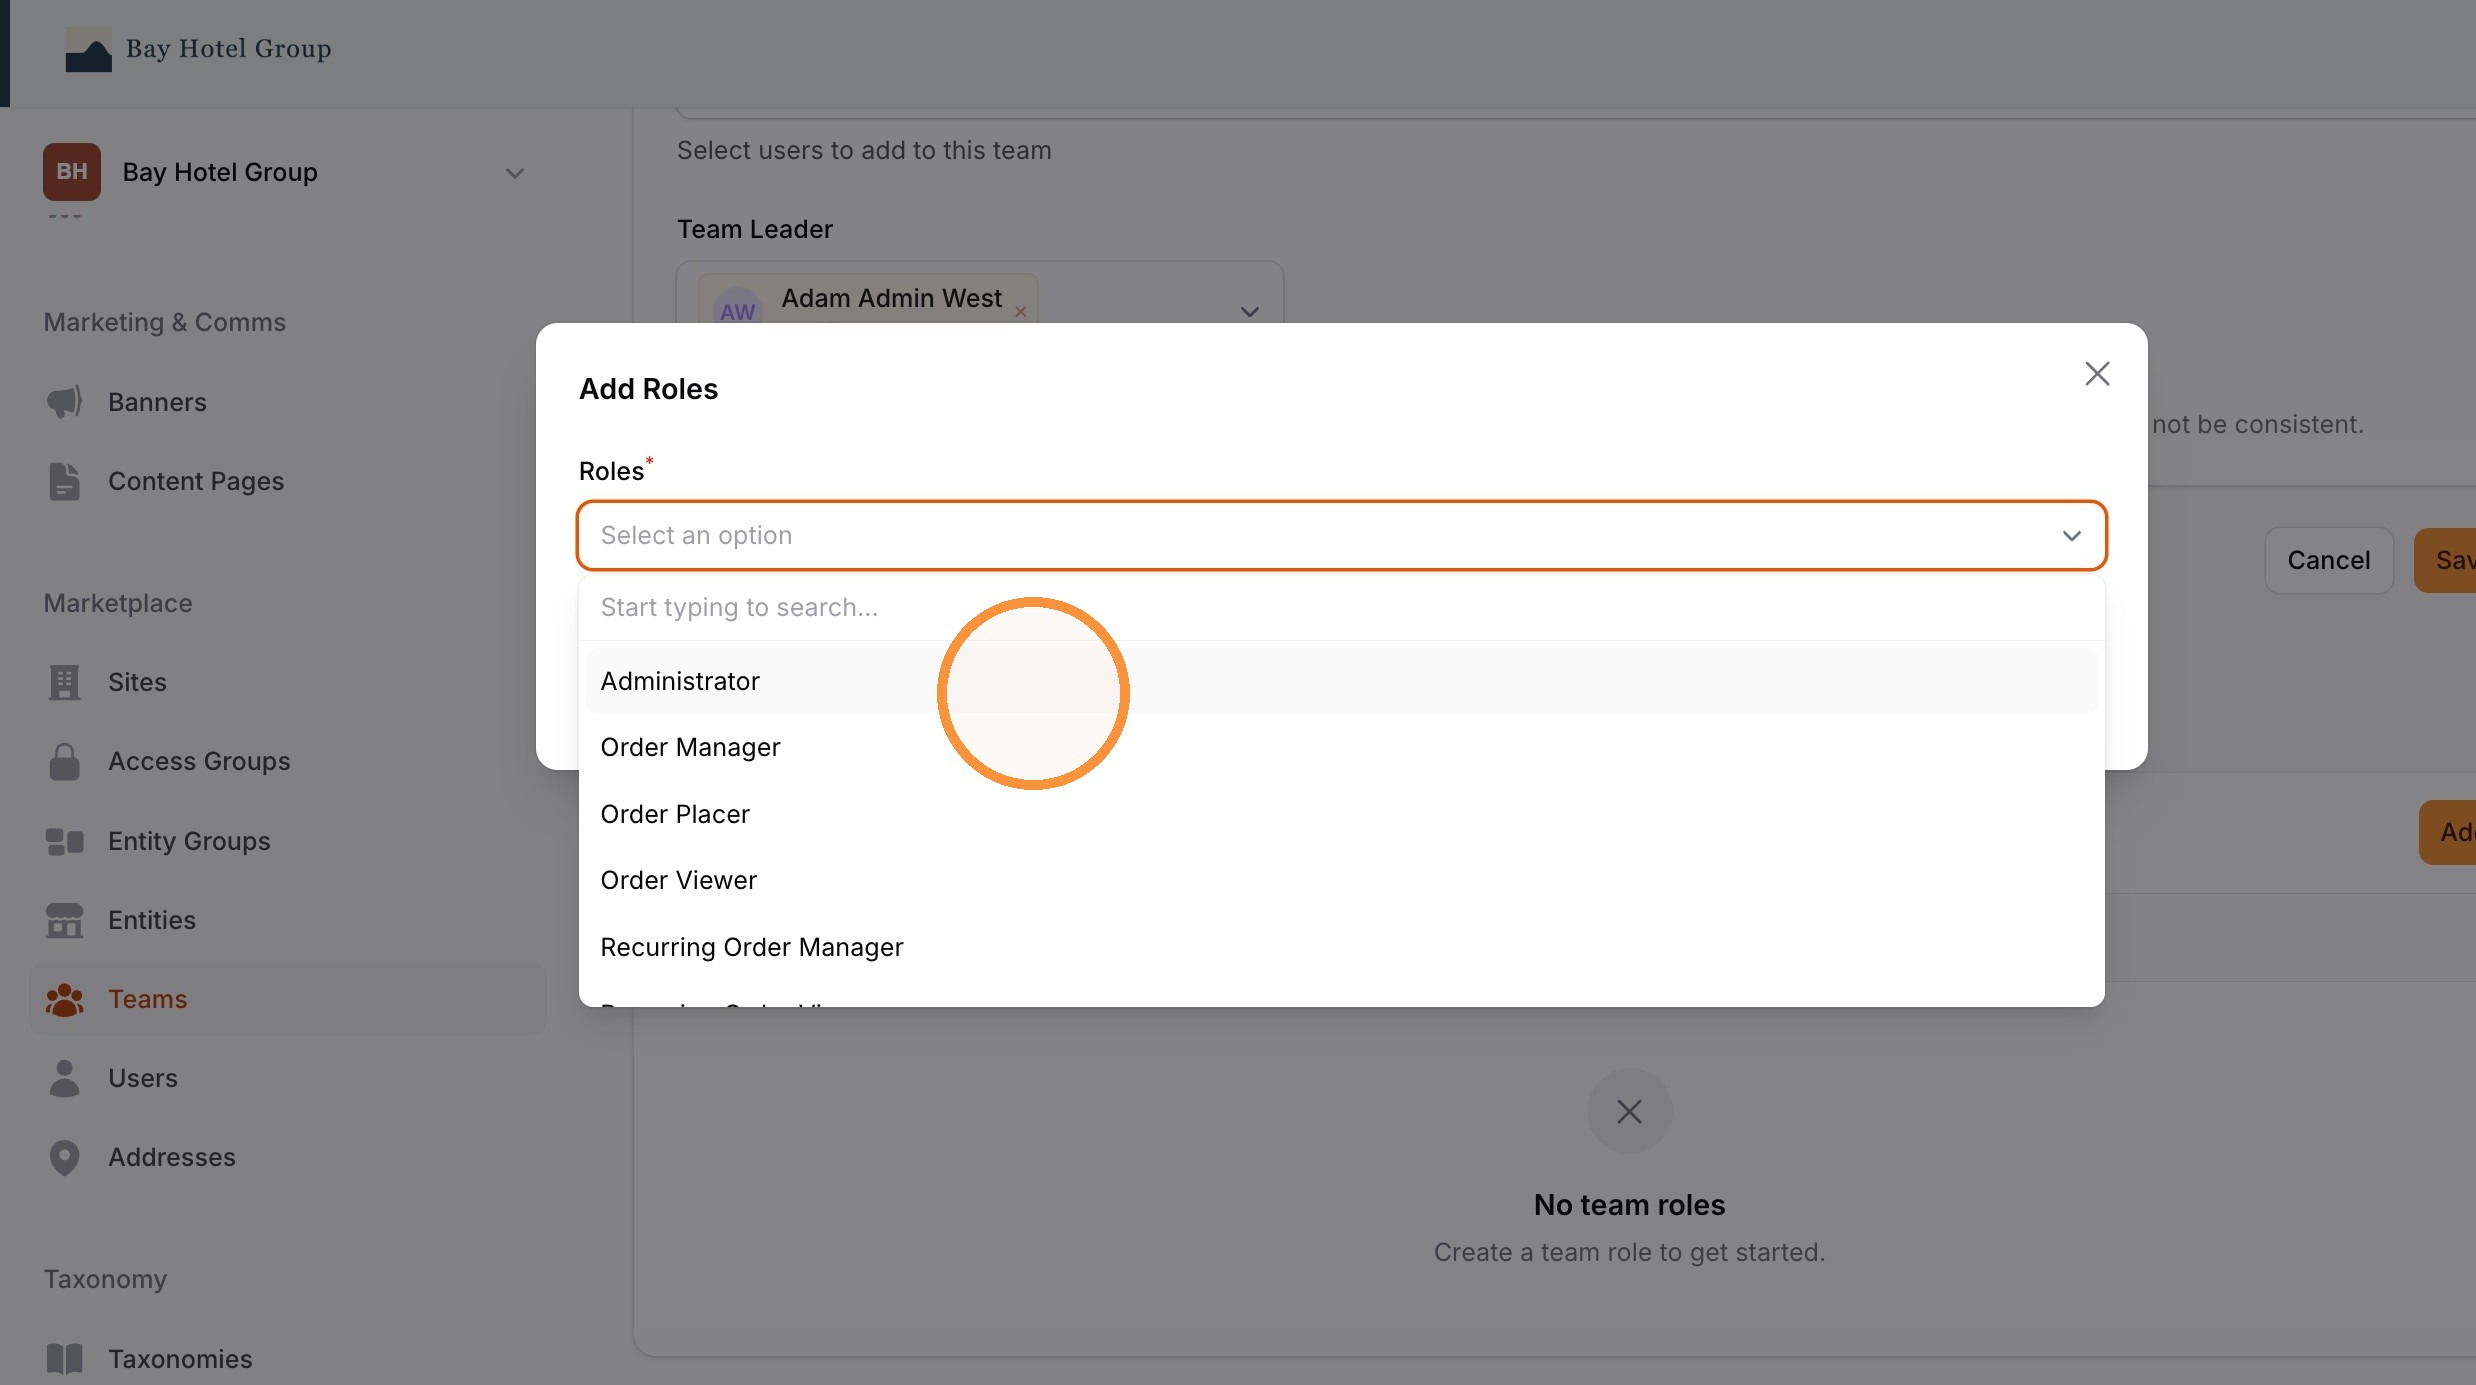
9. Click "Add Roles"
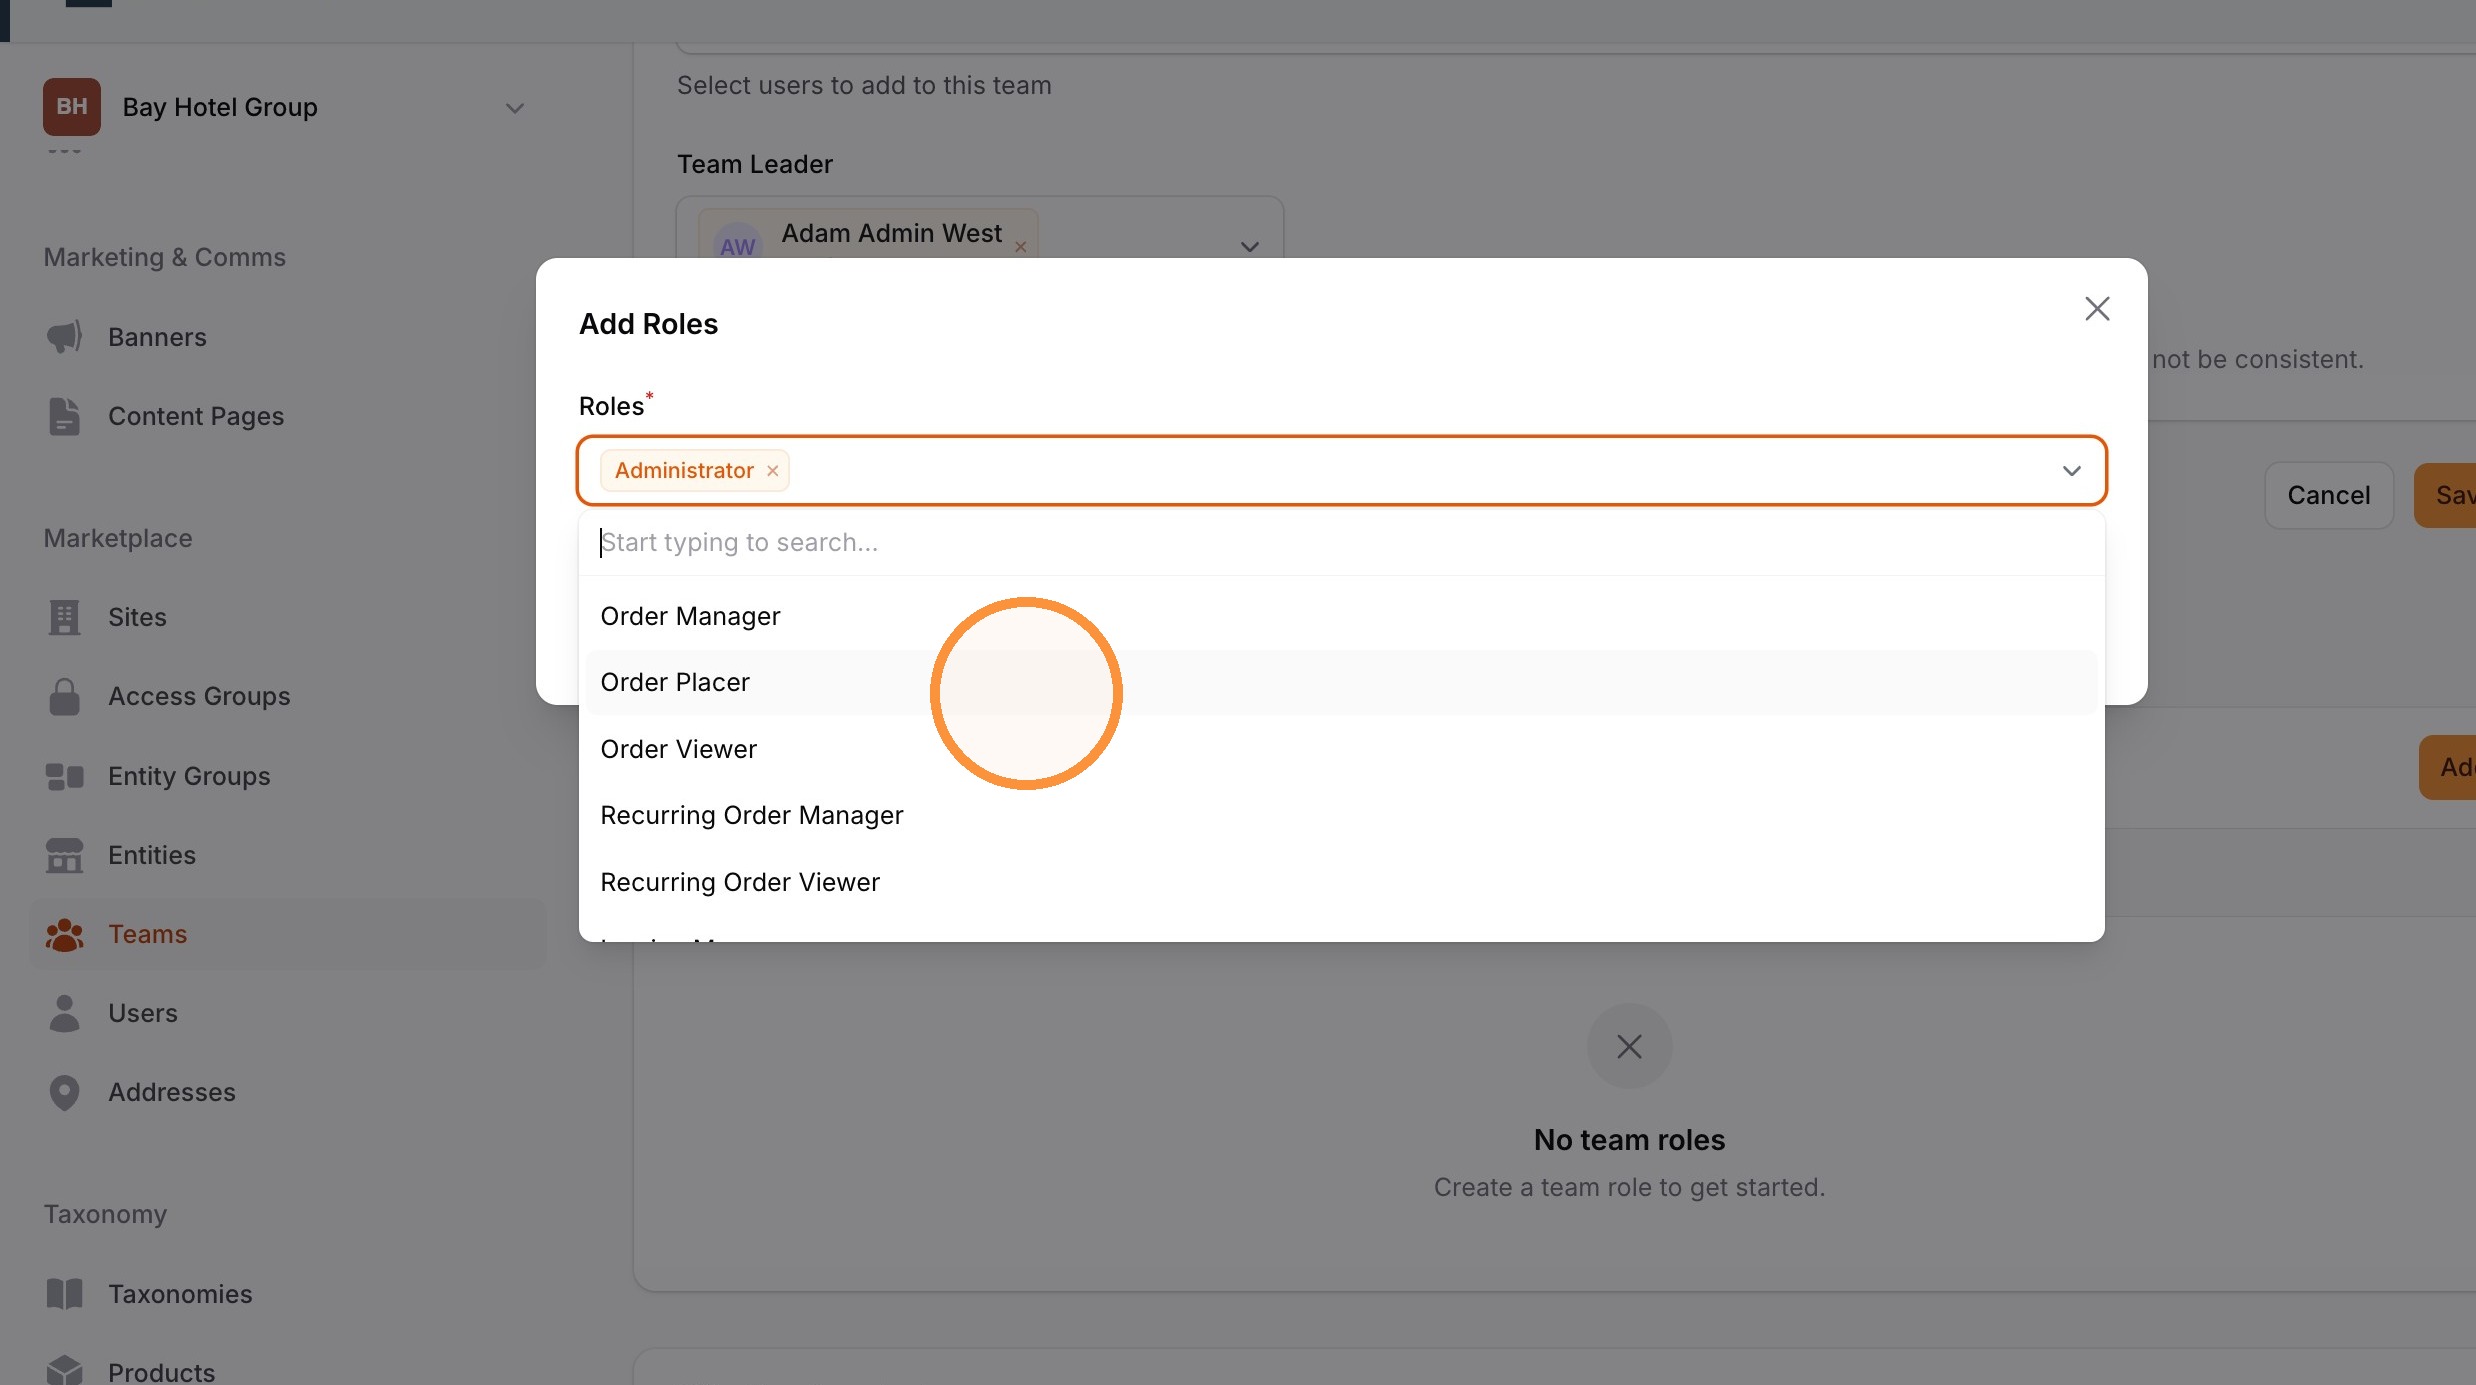
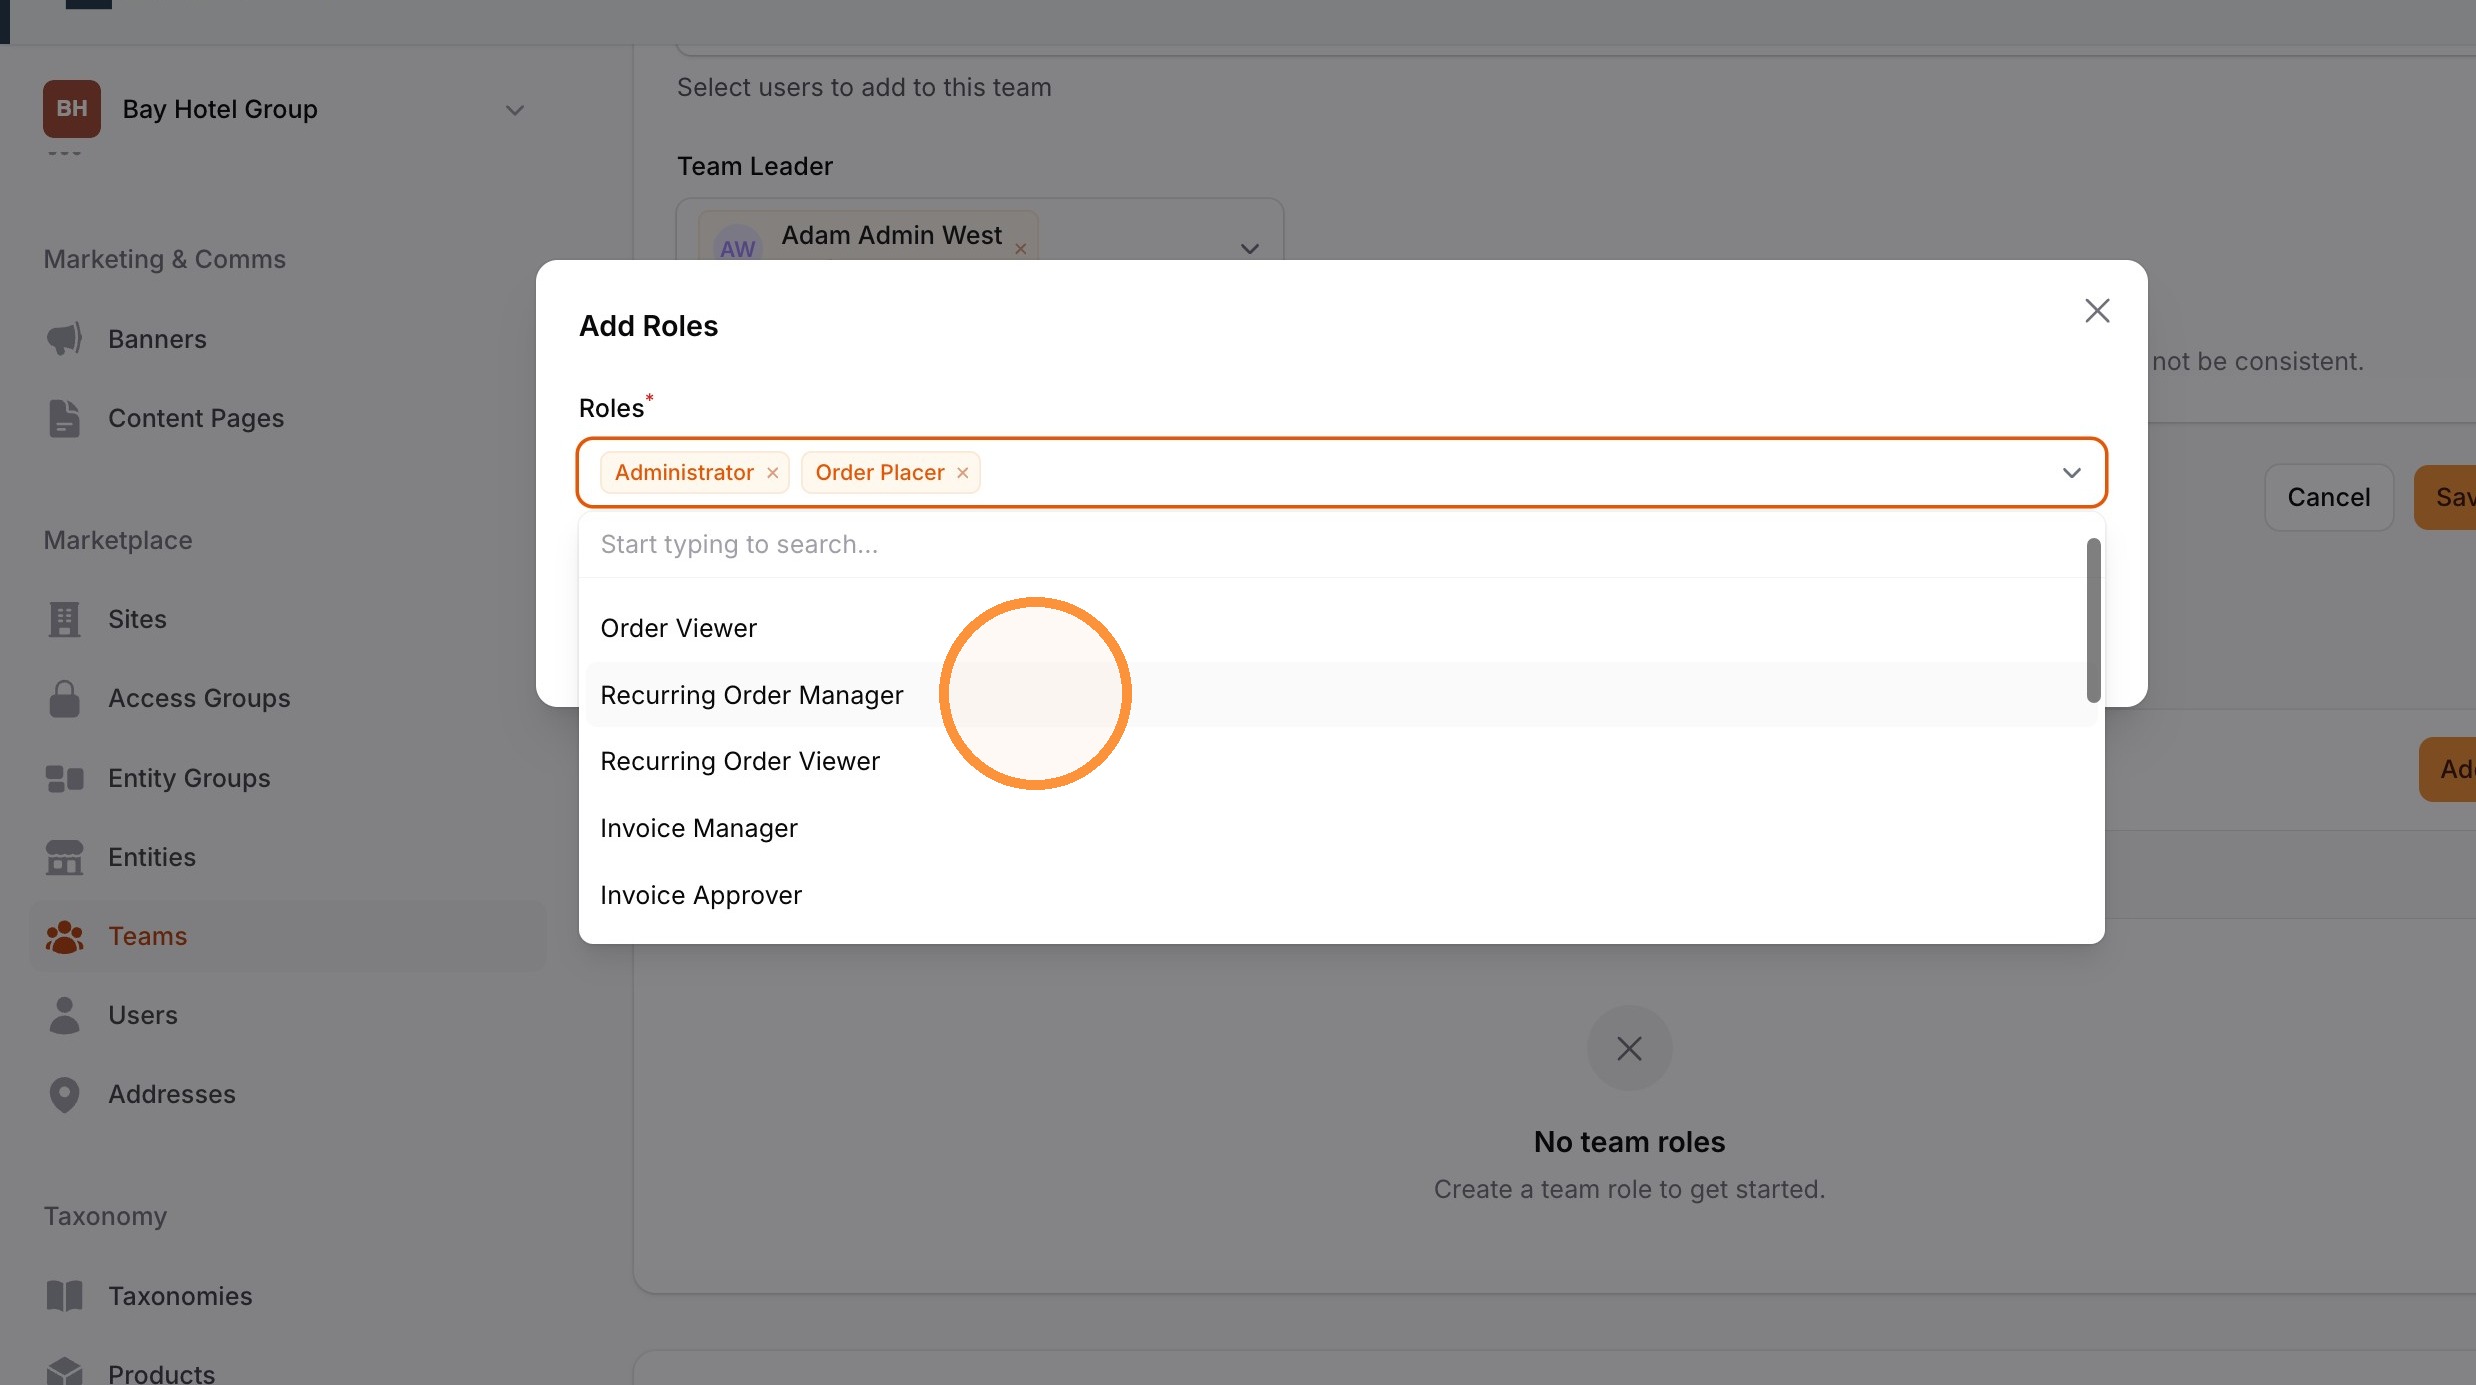
10. Select Roles that apply to this Team
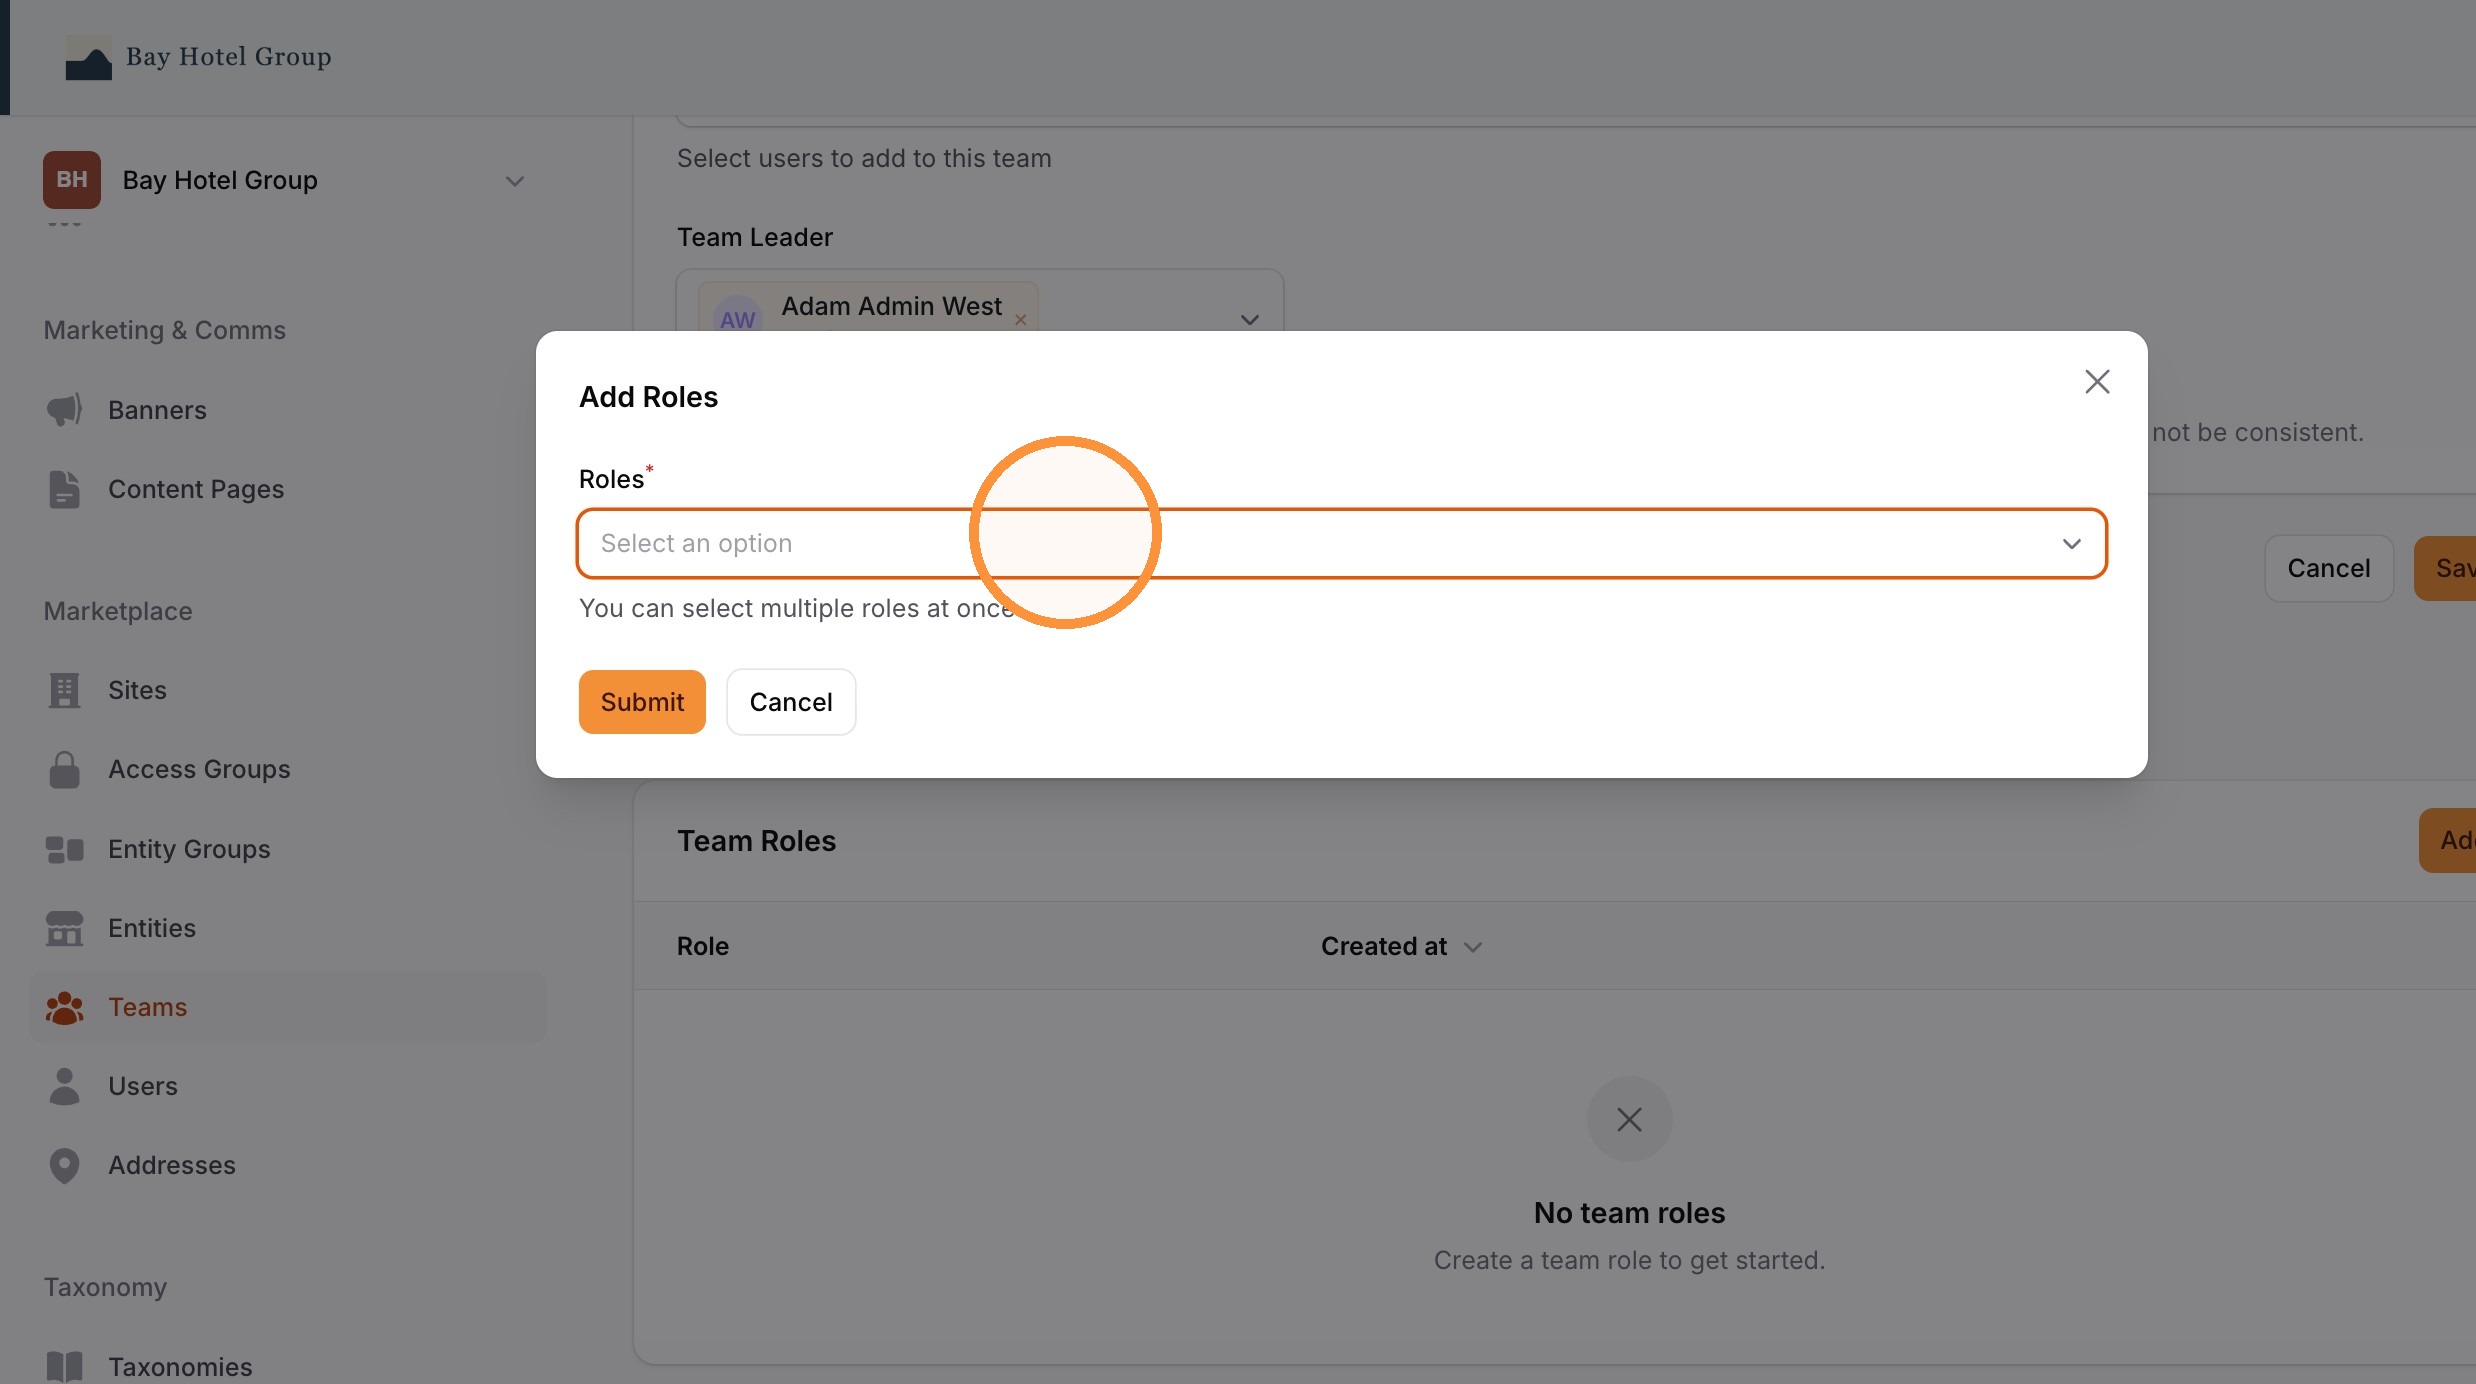
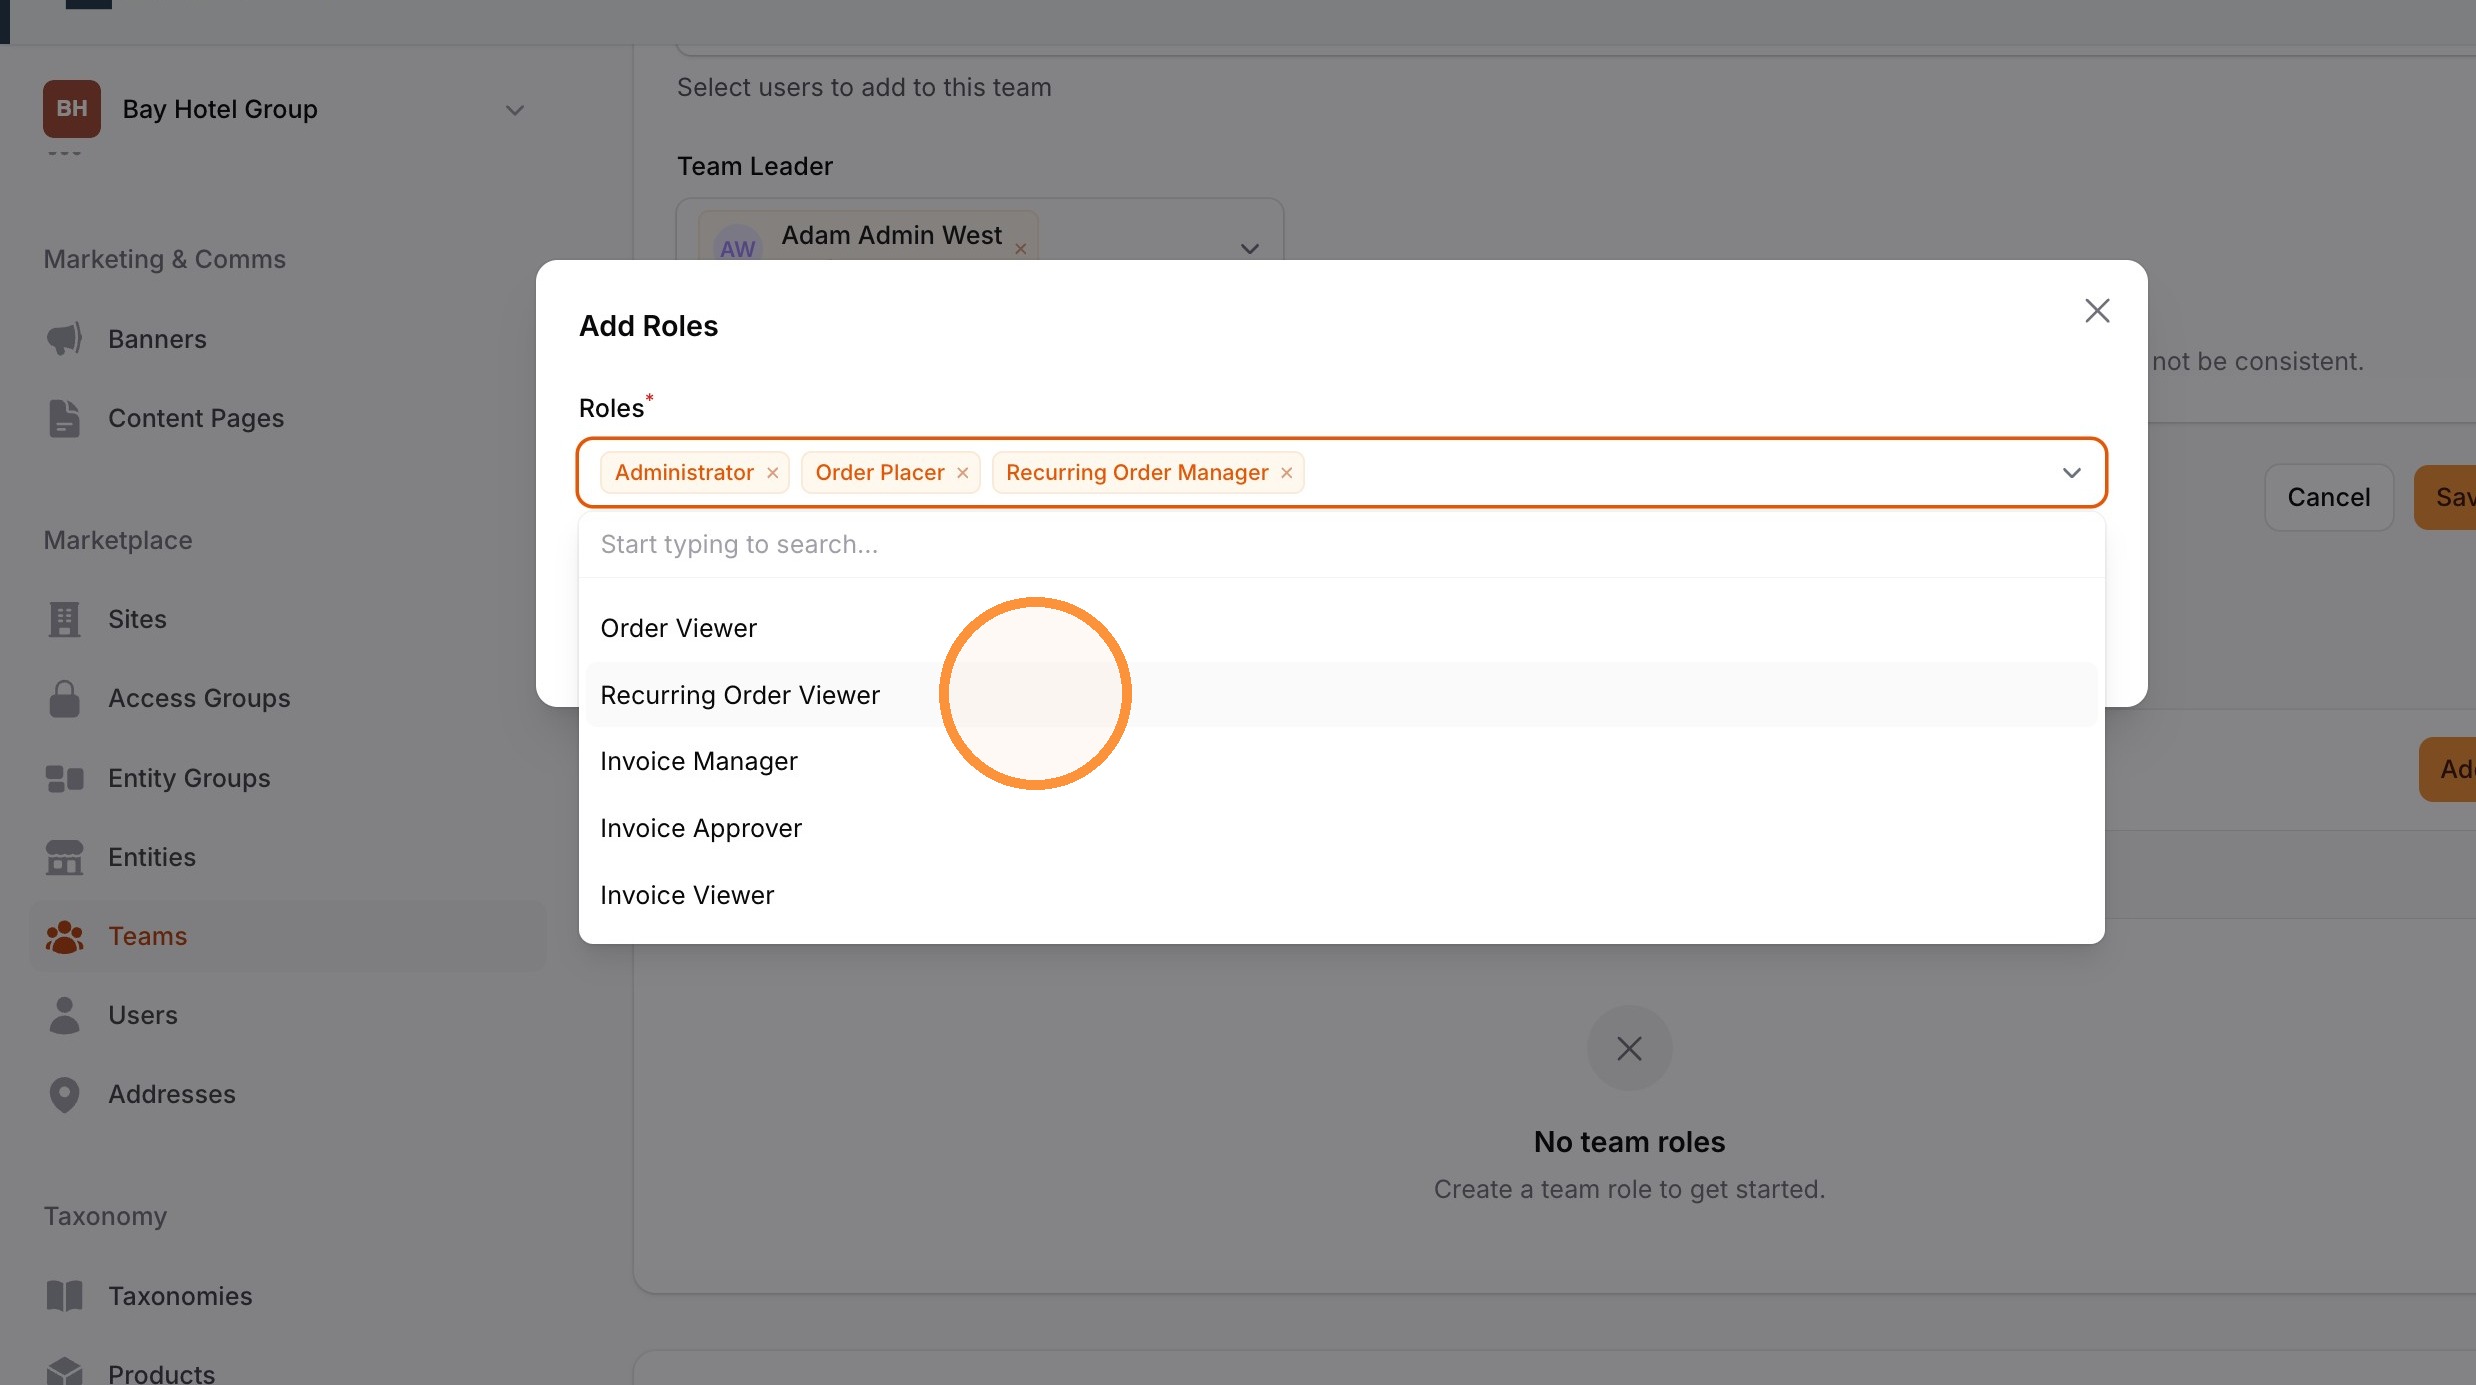
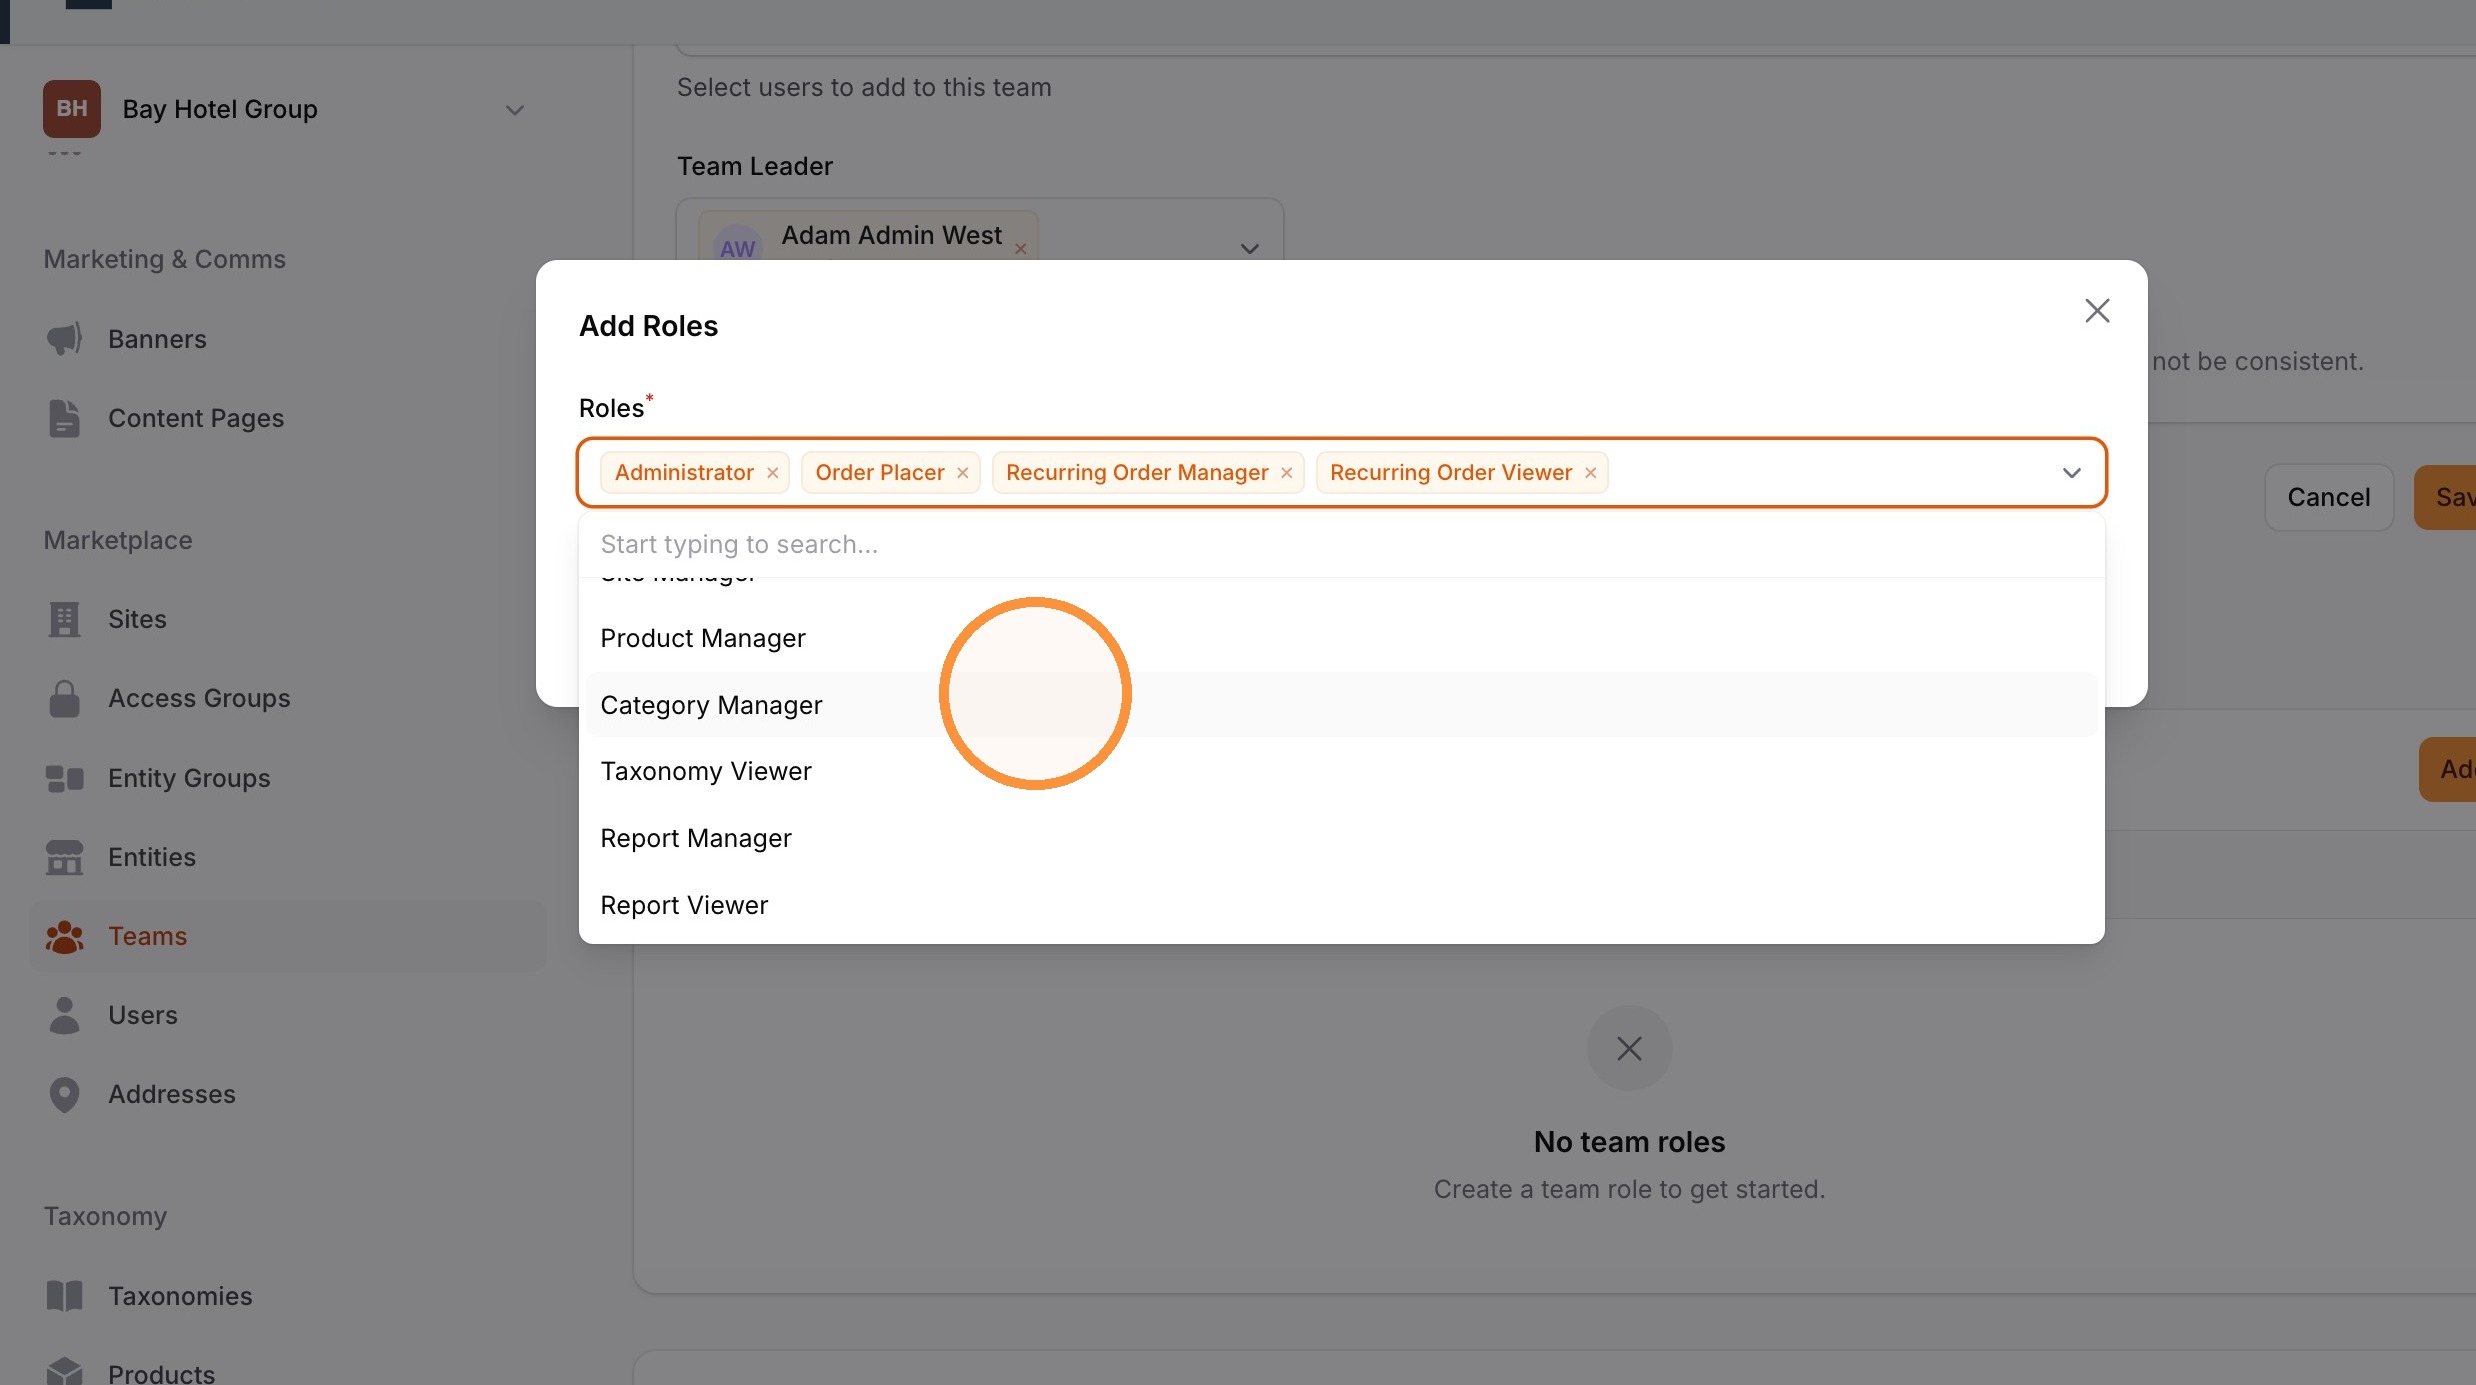
11. Click "Submit" to add selected roles.
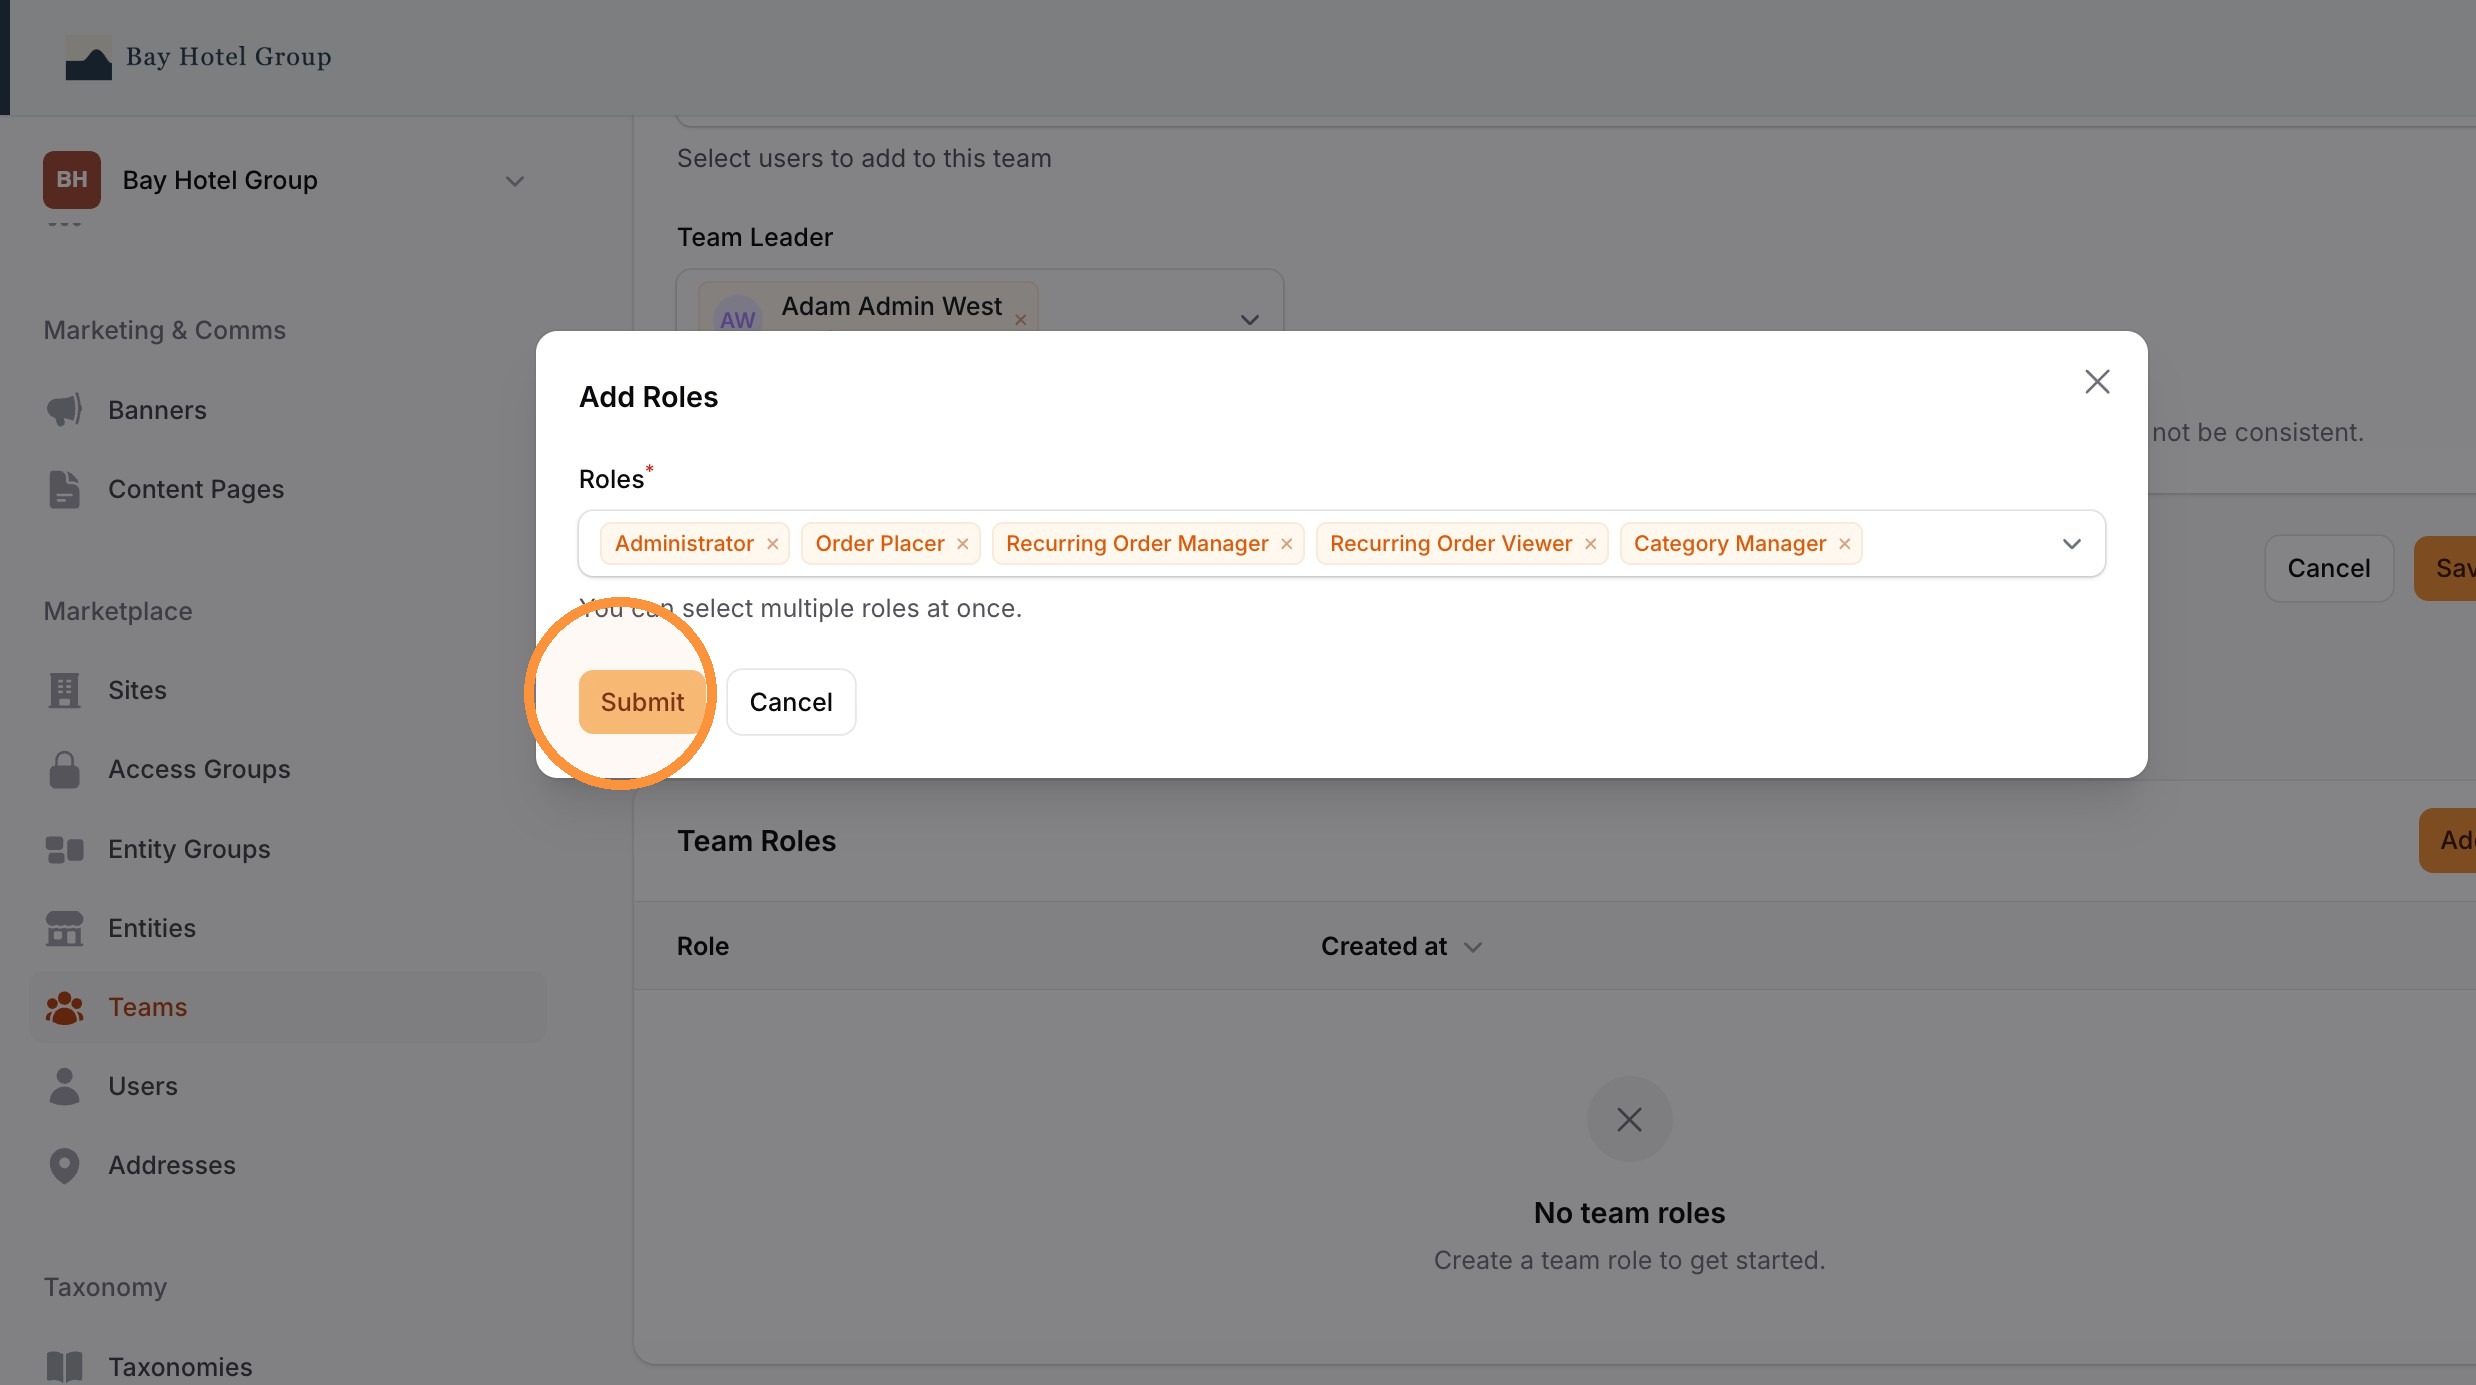
12. Select "Approval Rules" tab.
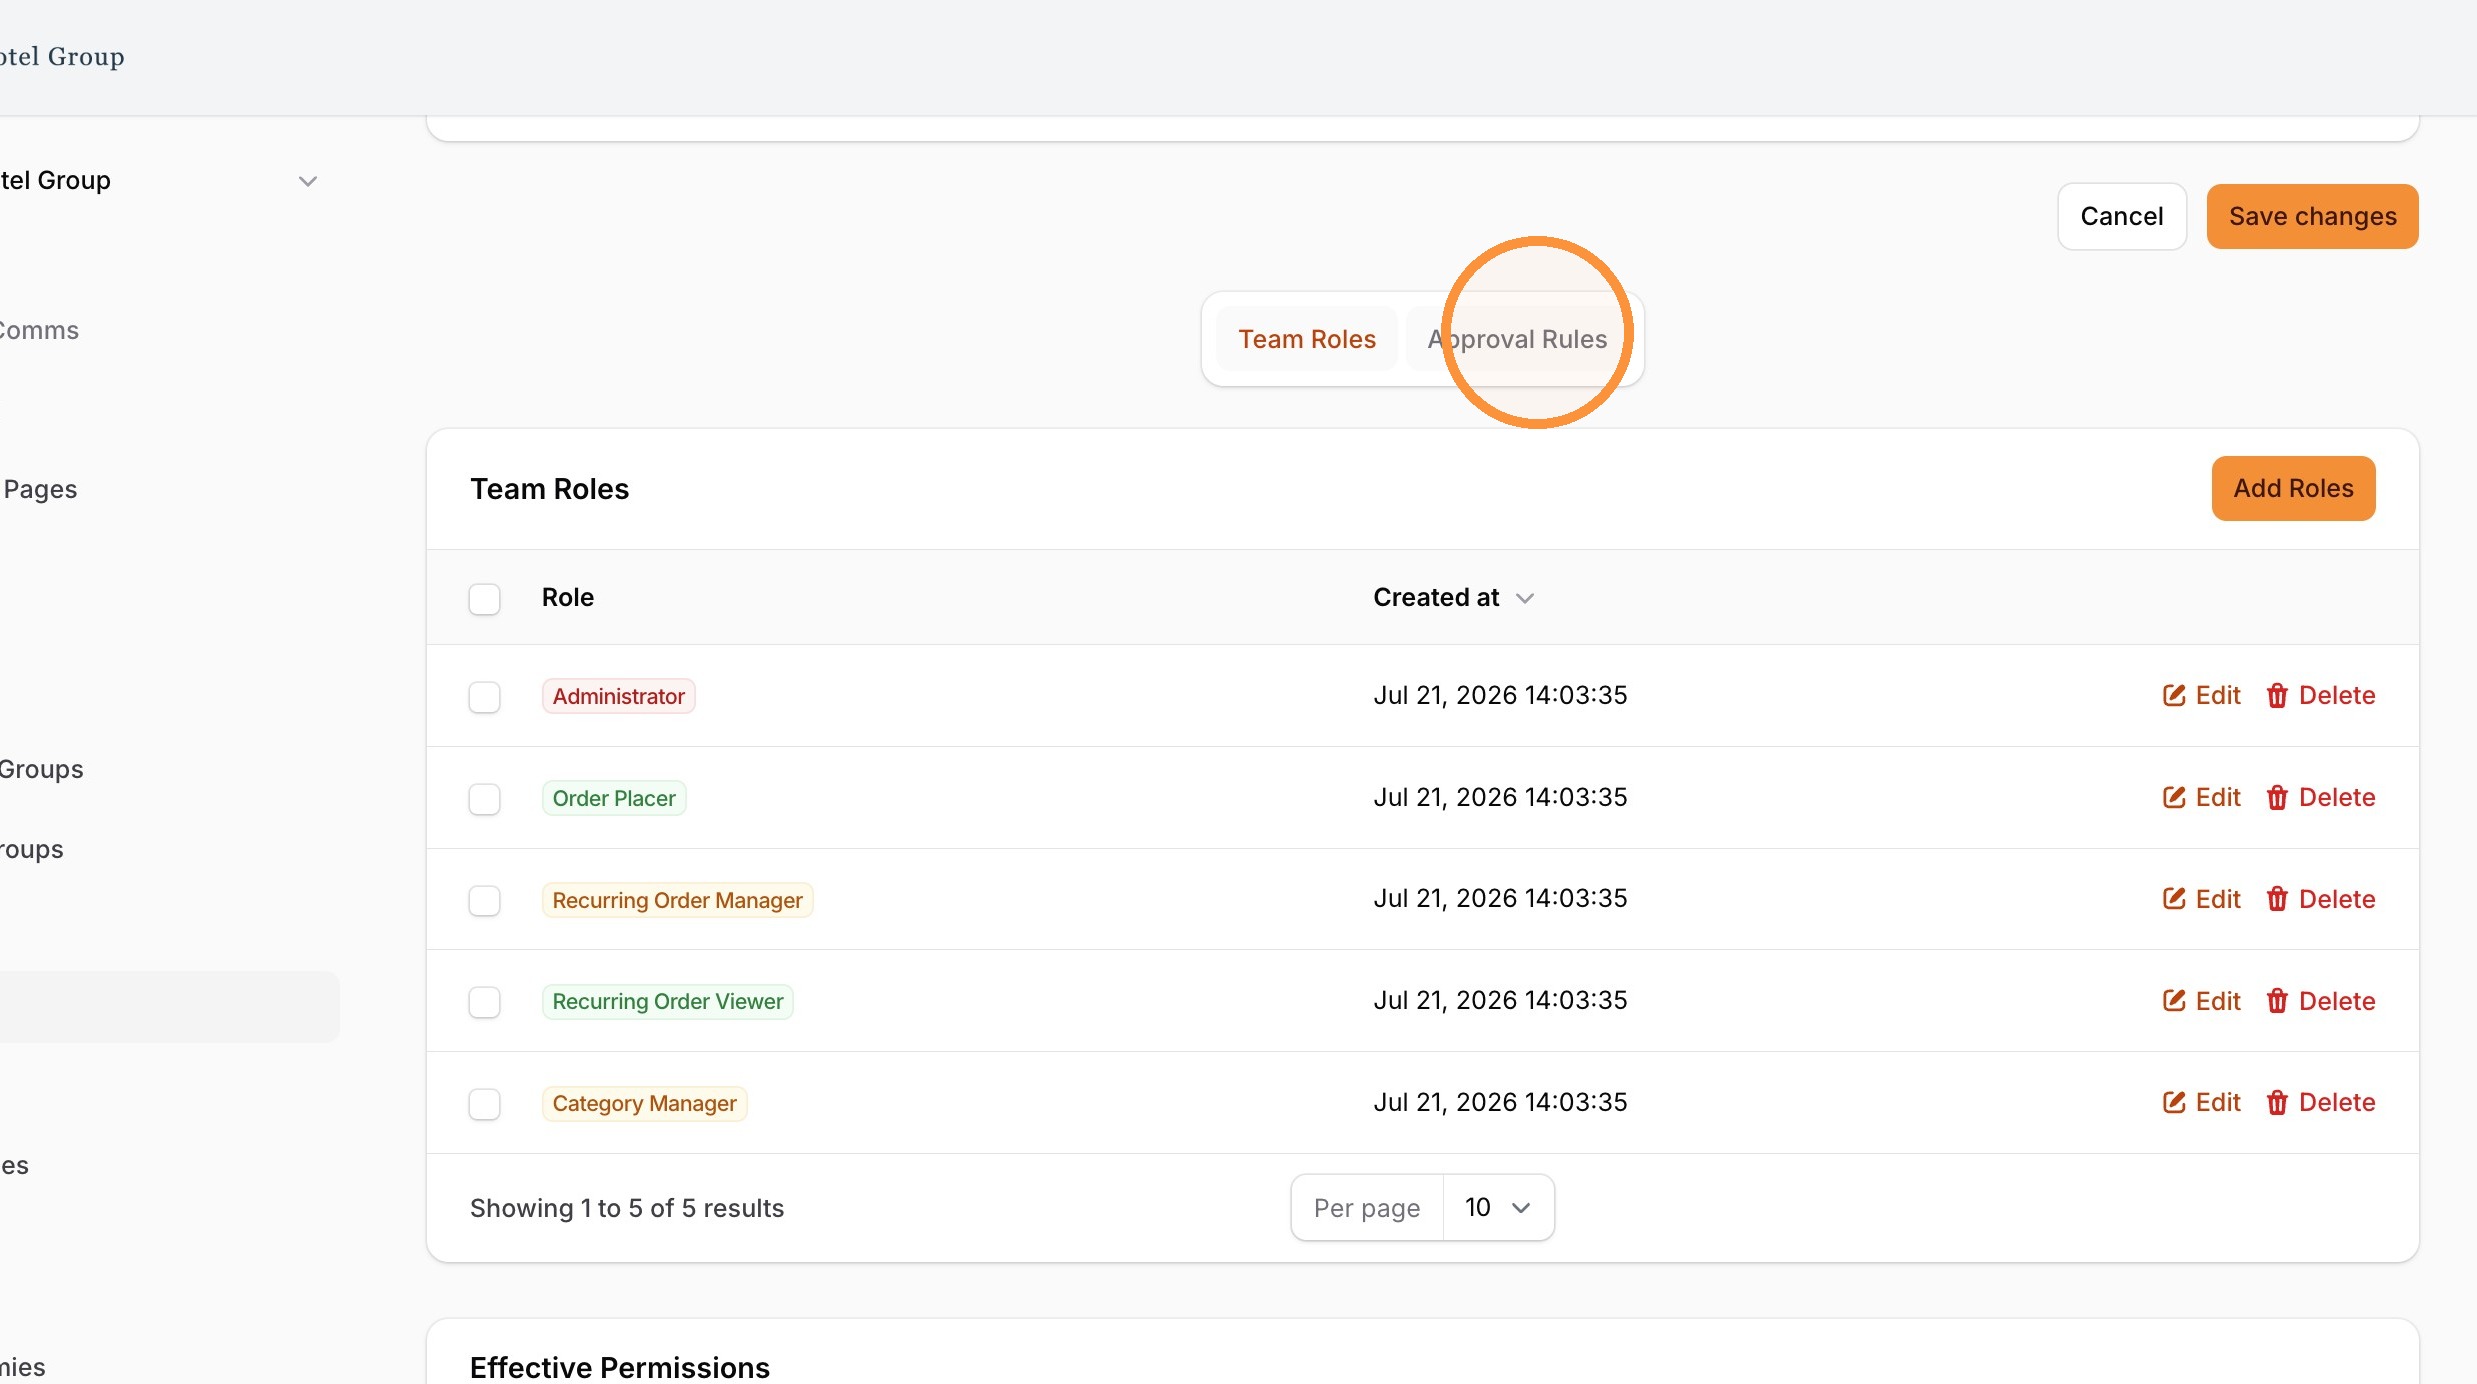
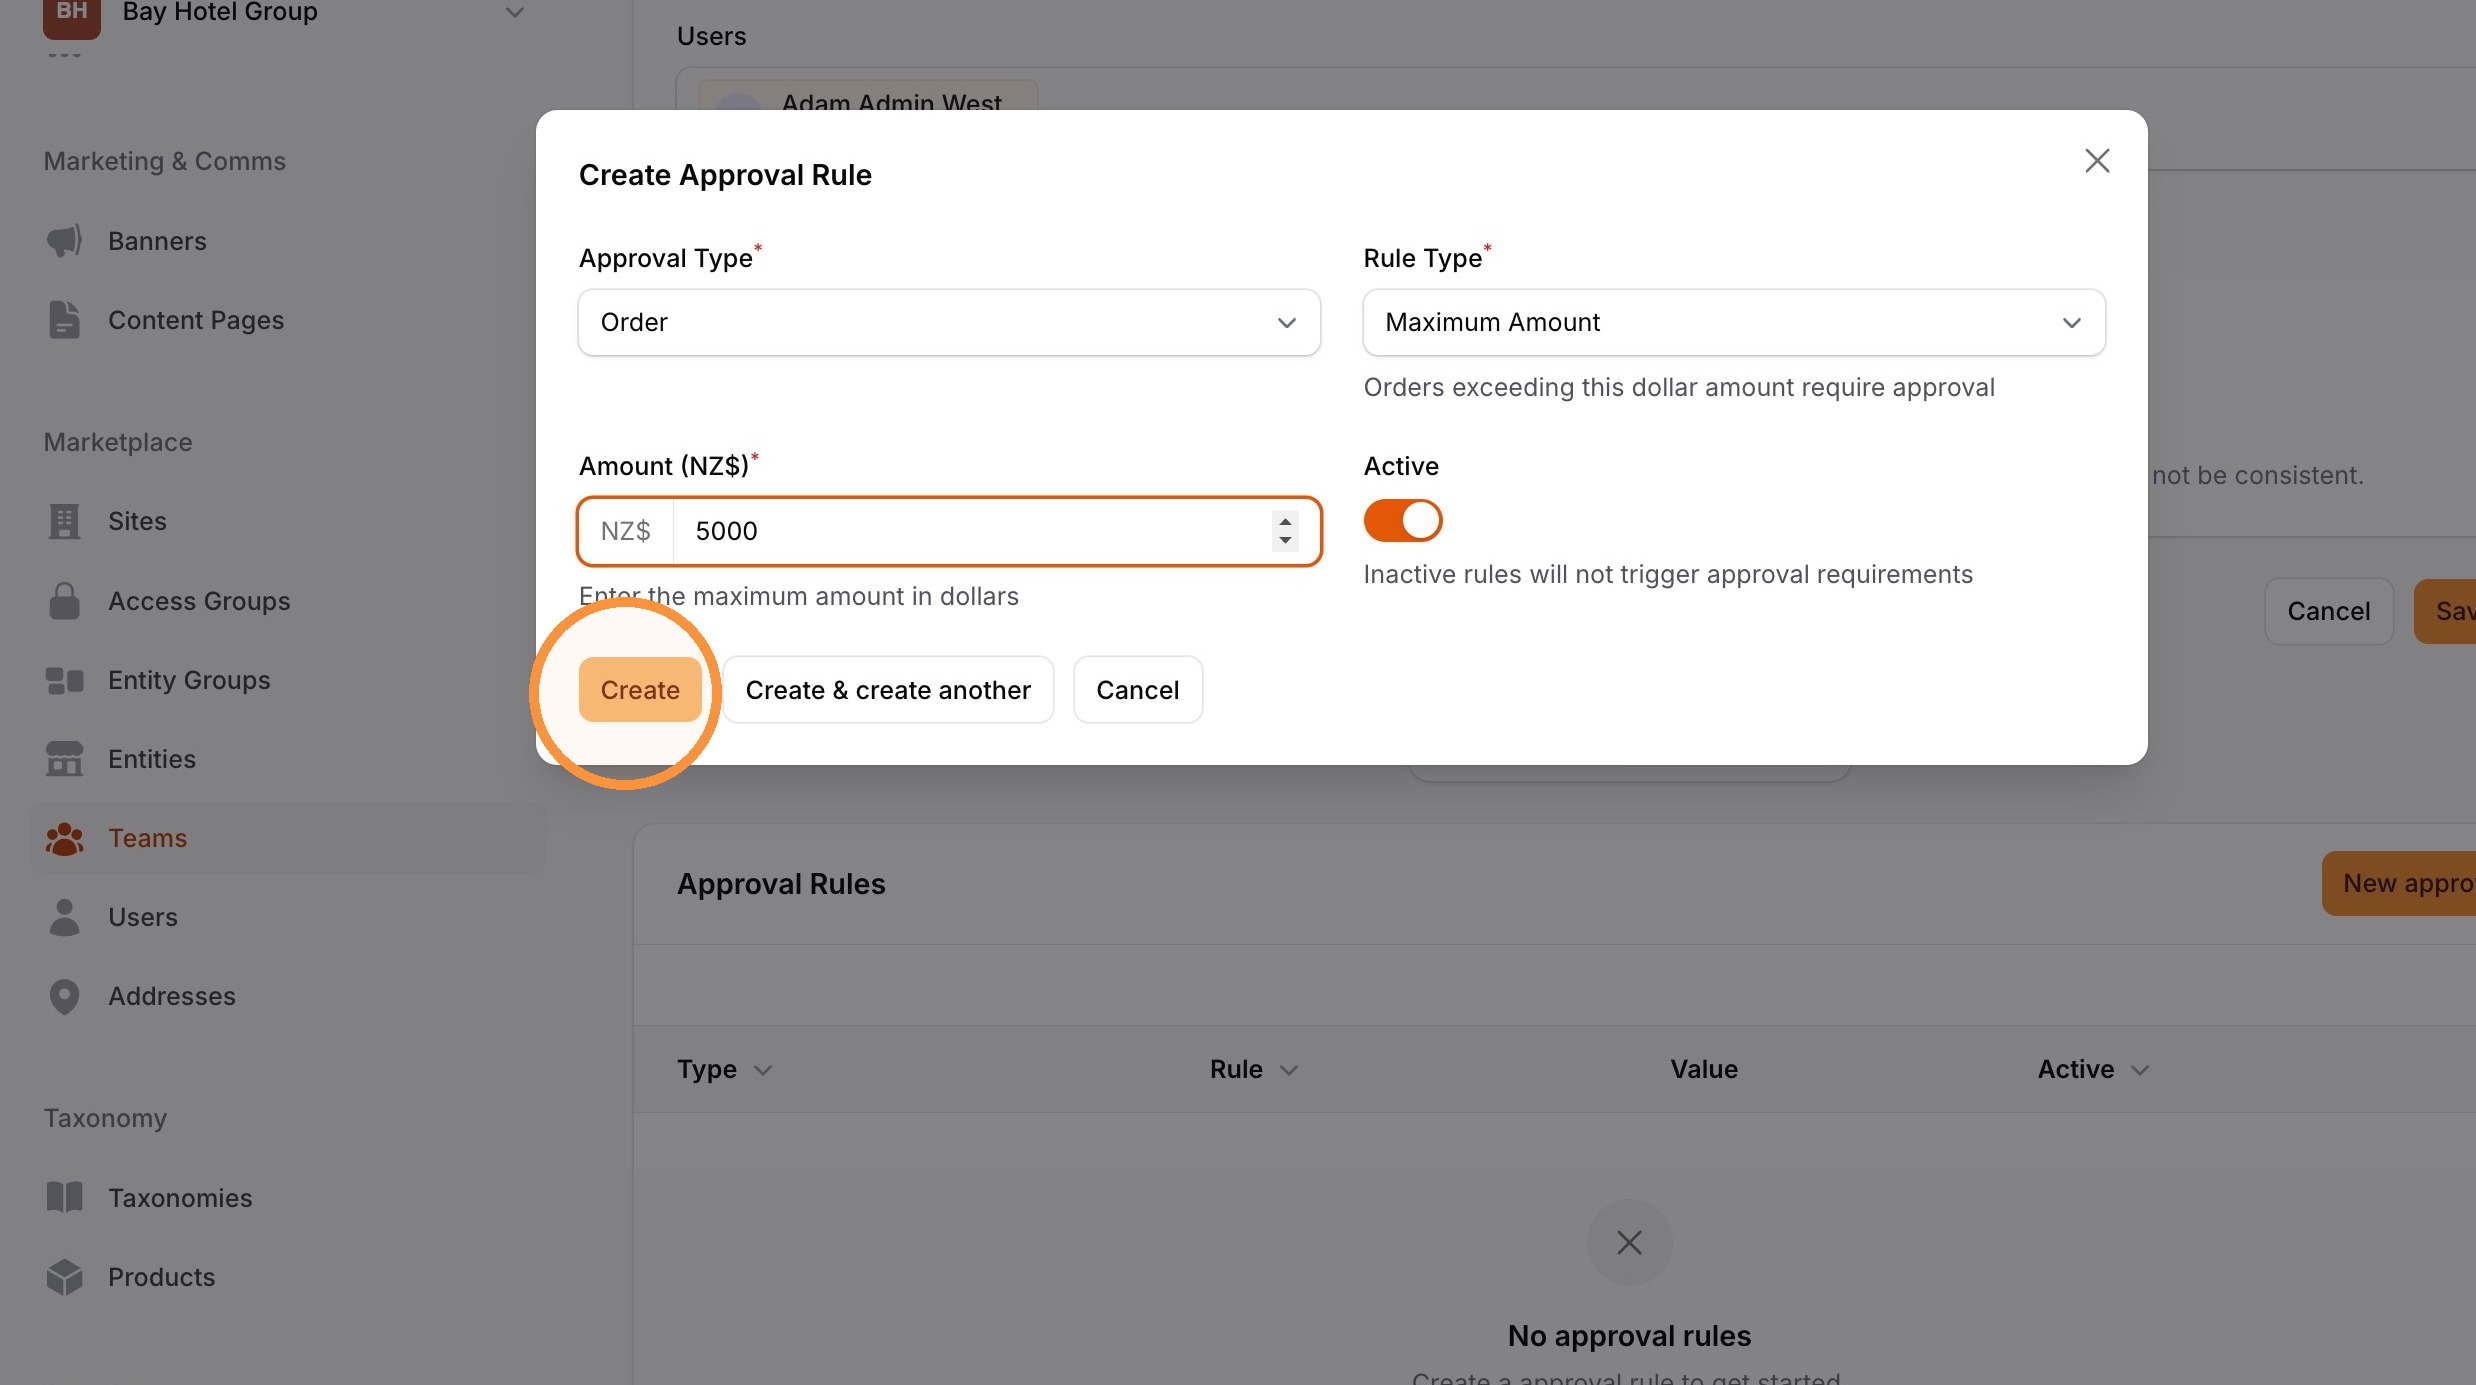
13. Click "New approval rule"
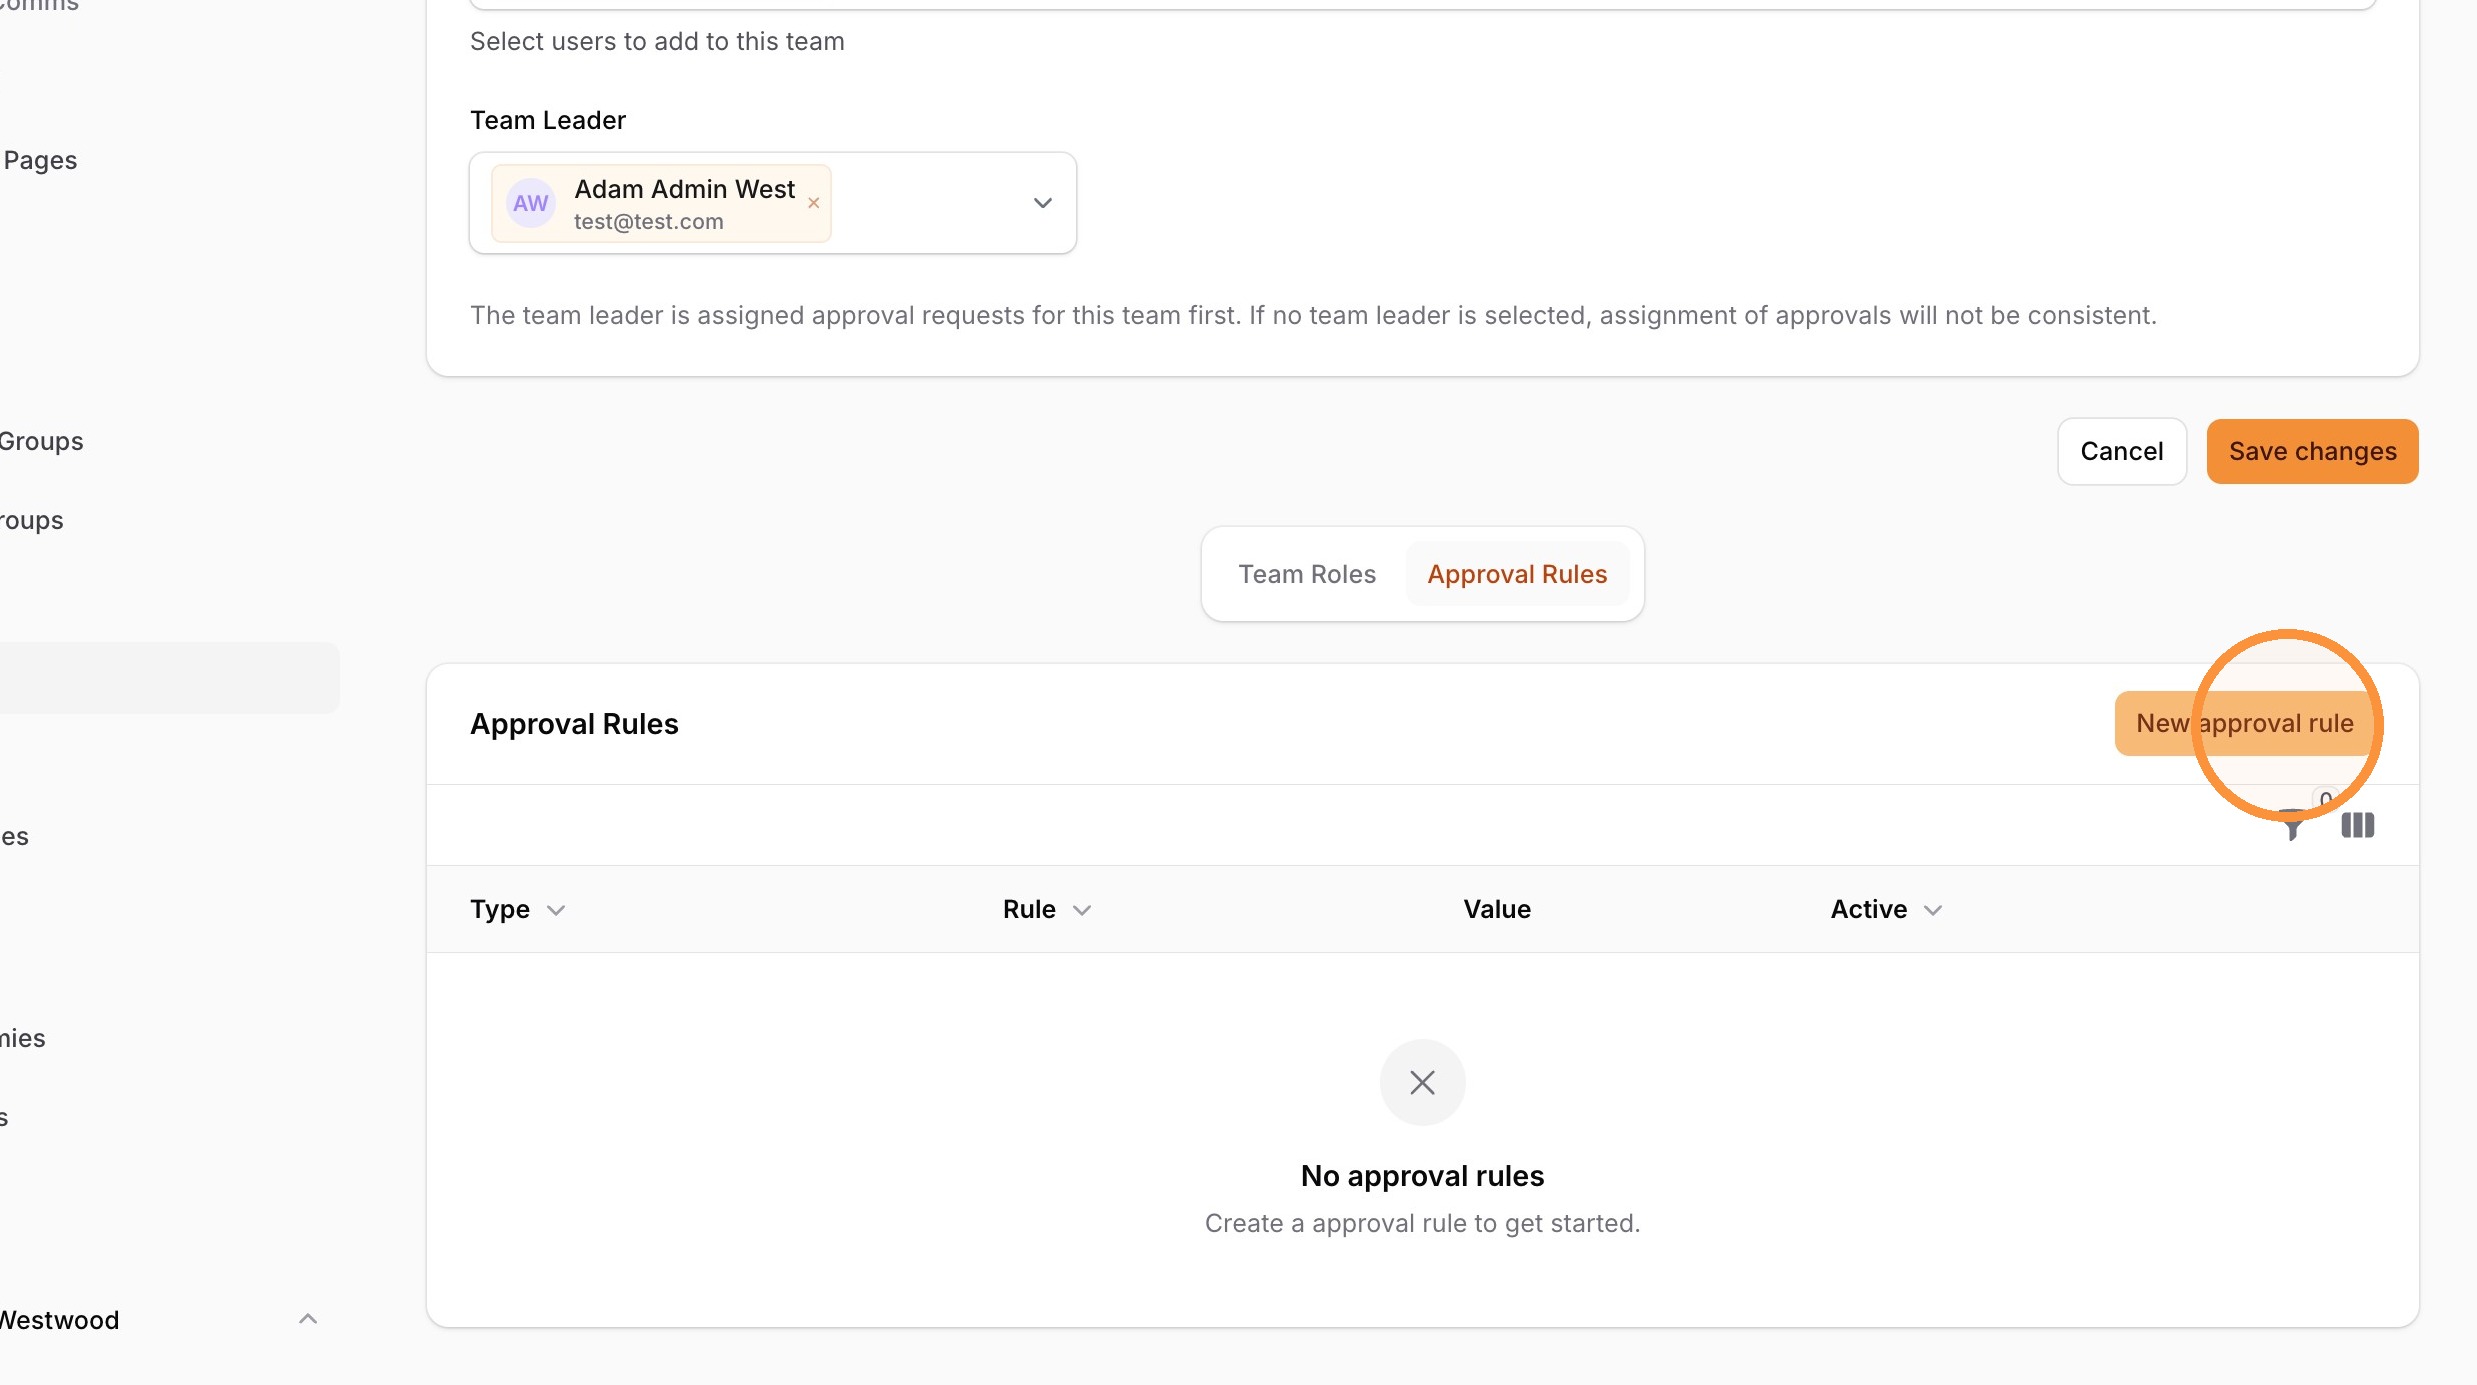
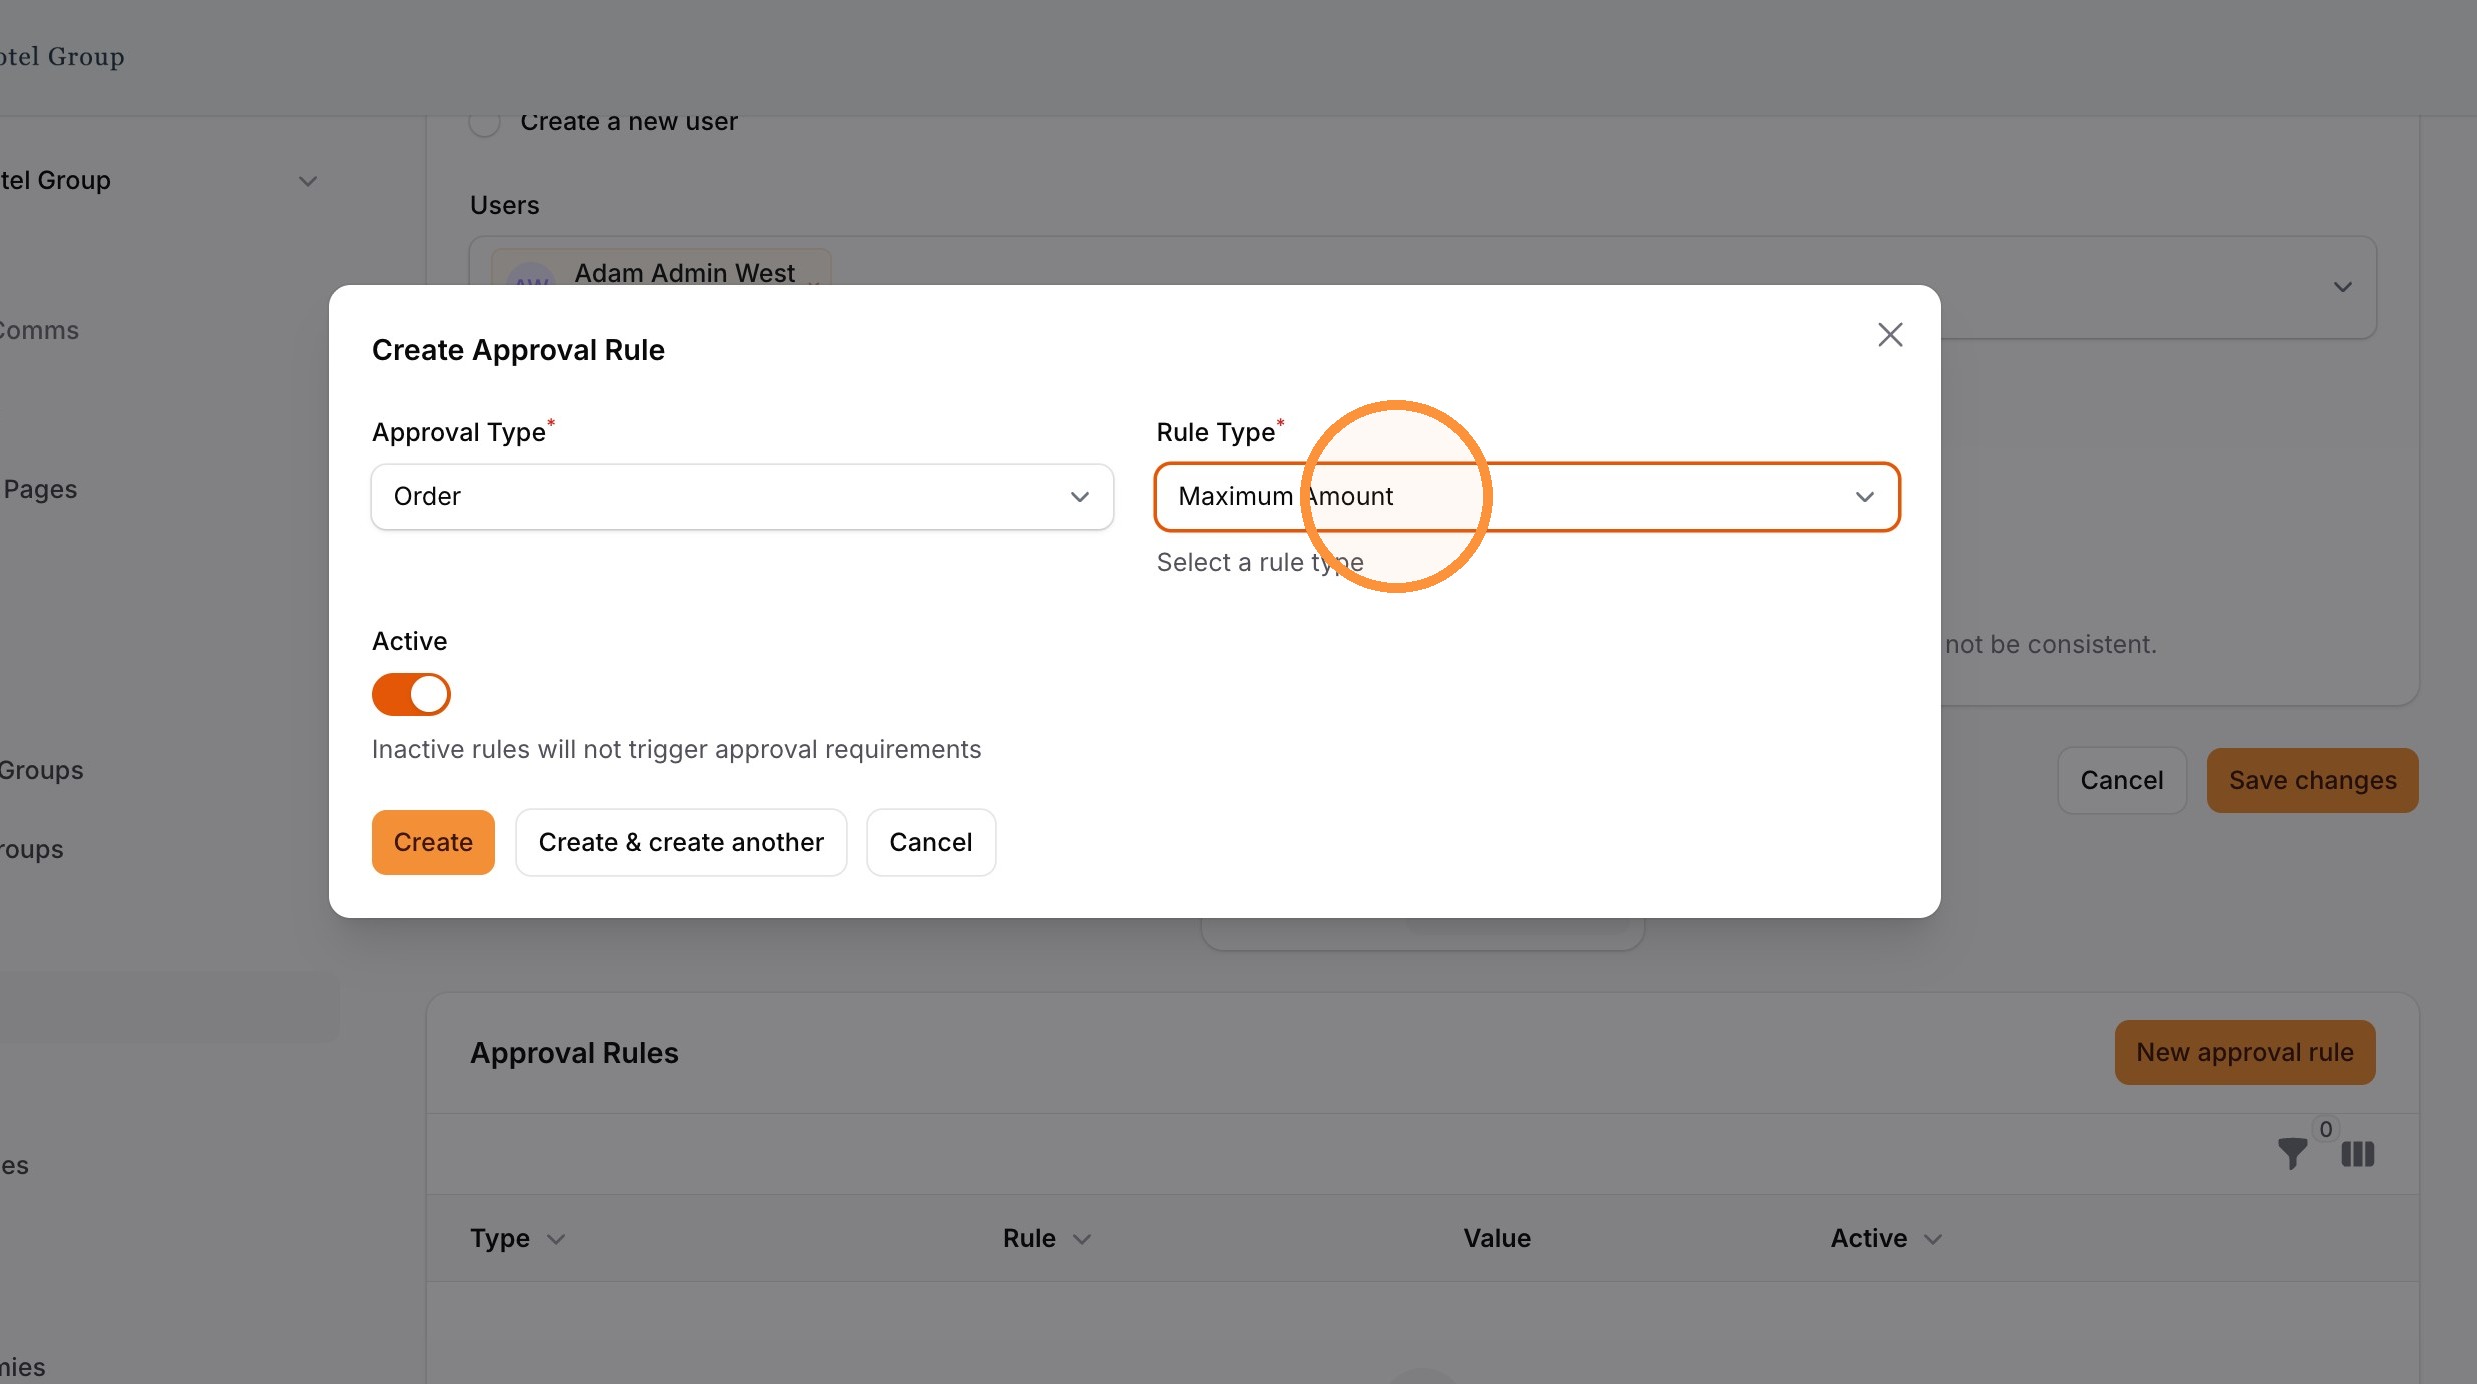
14. Select "Maximum Amount" from "Rule Type" dropdown.
15. Enter an amount in "Amount" field
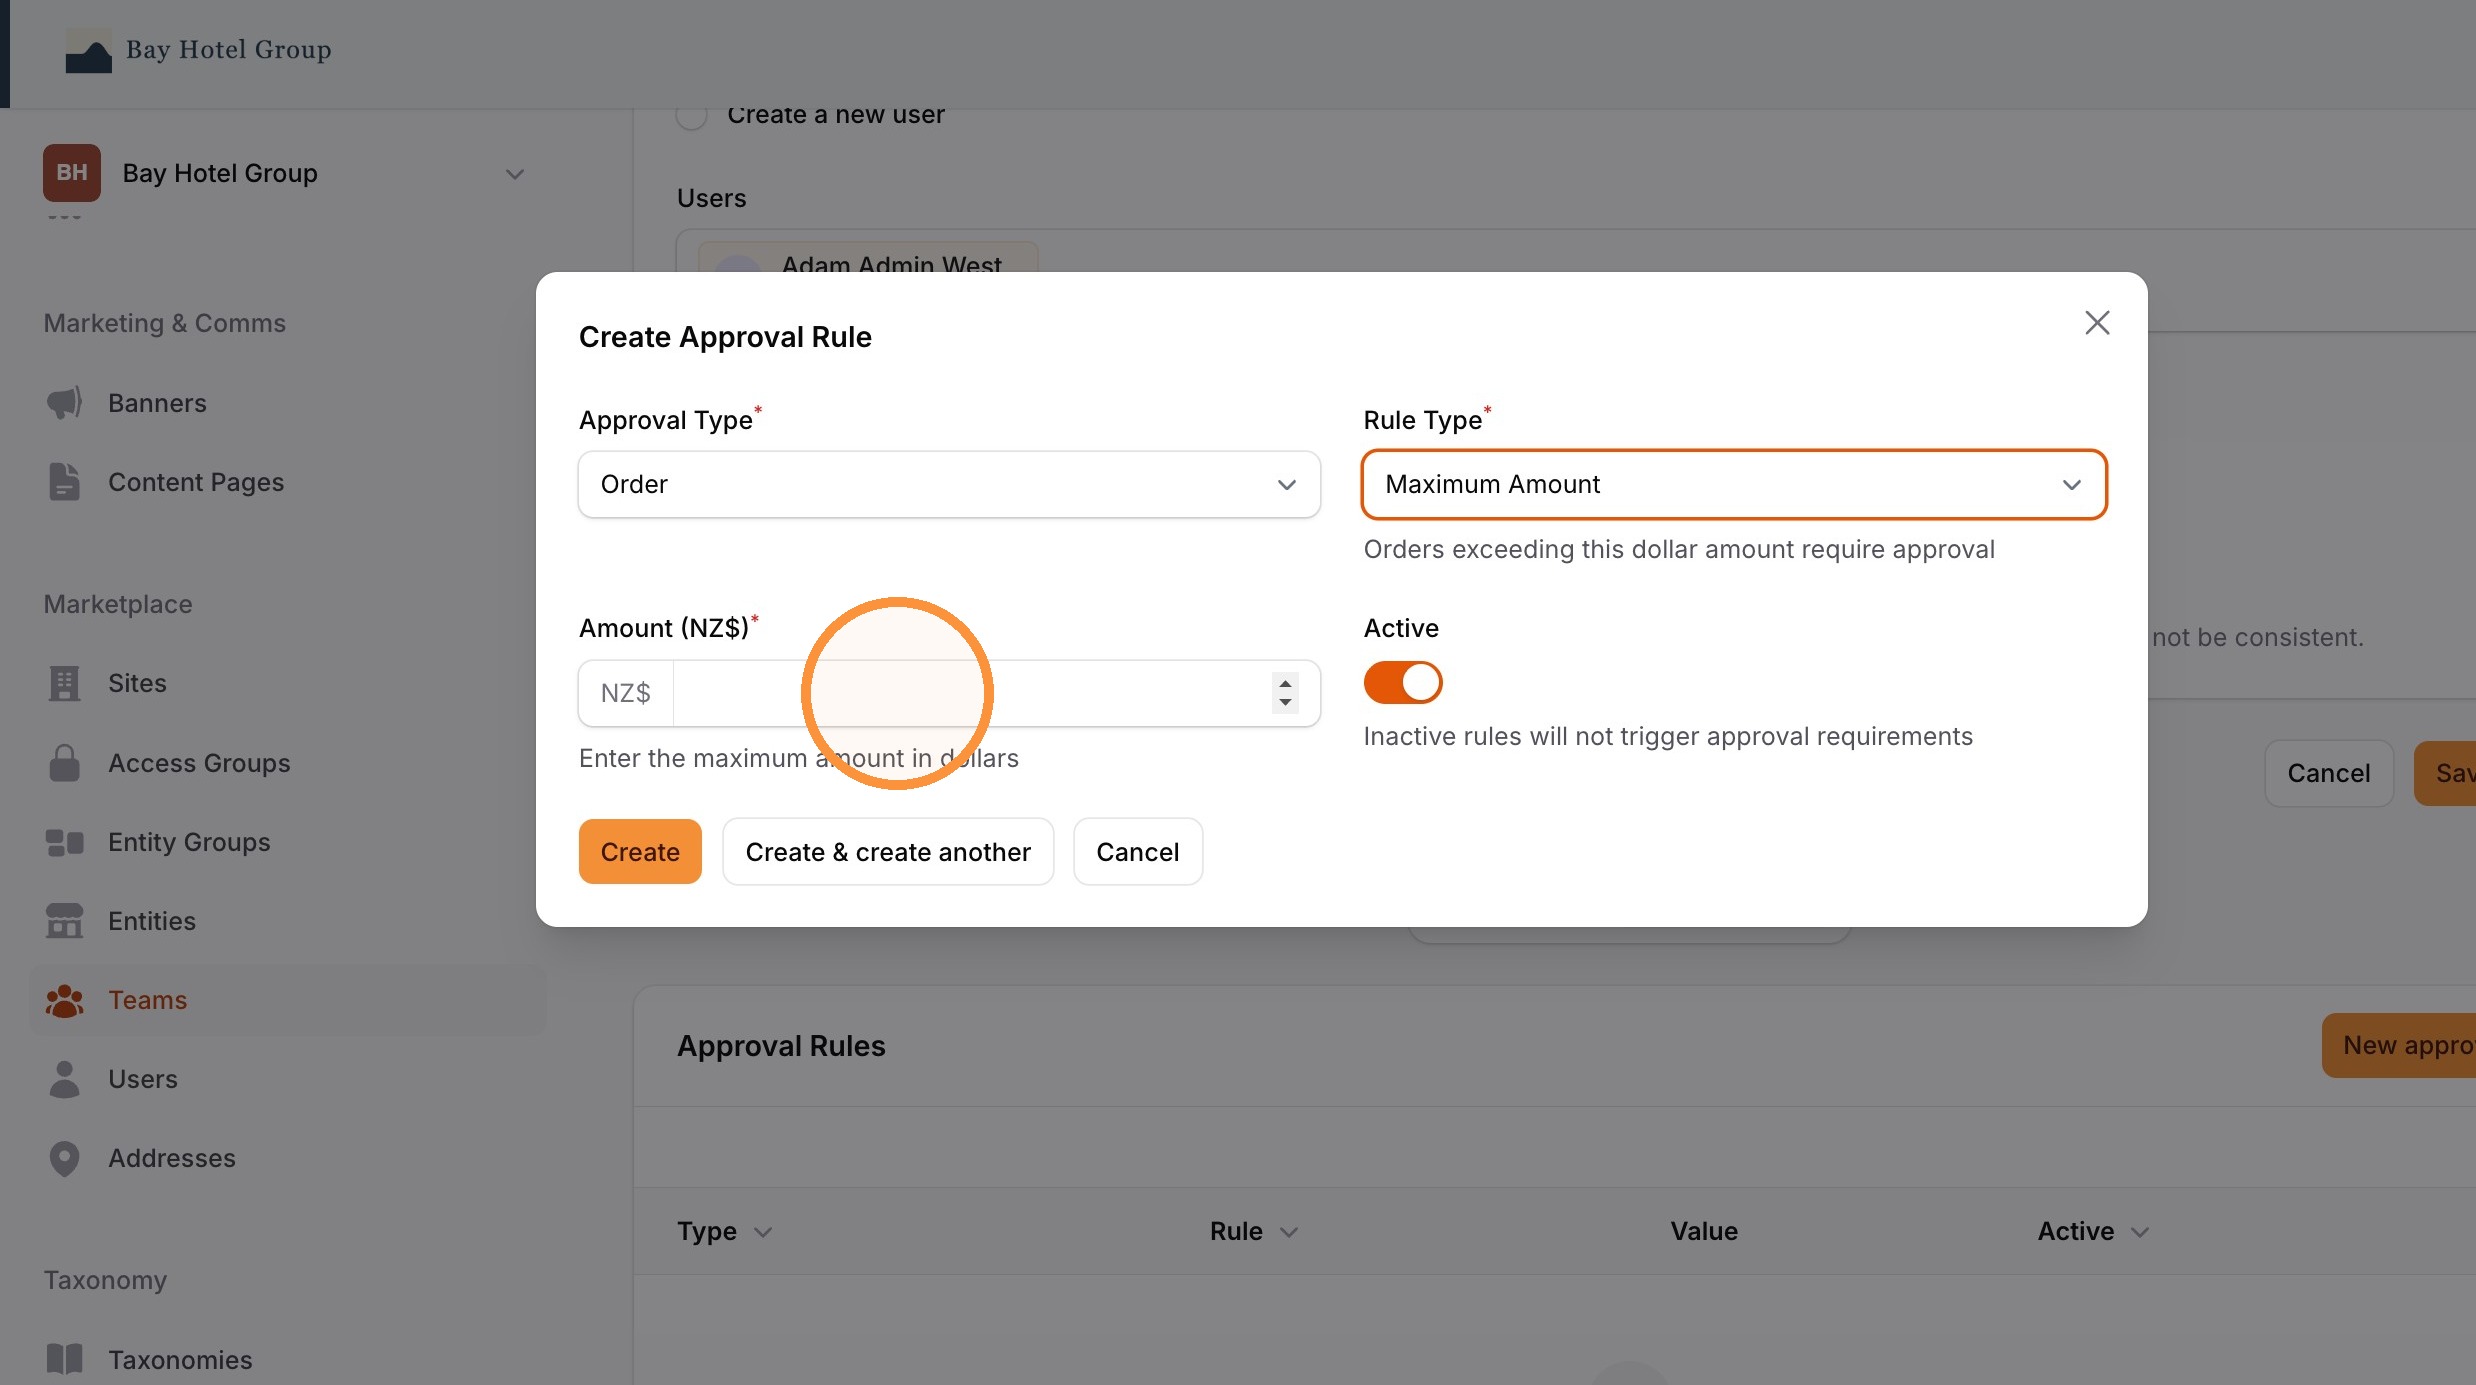
16. Click "Create" to save the approval rule.